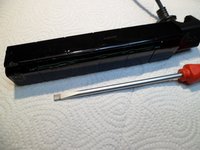
crwdns2915892:0crwdne2915892:0
Before disassembling, unplug the Camera from the PS4.
crwdns2942213:0crwdne2942213:0
-
-
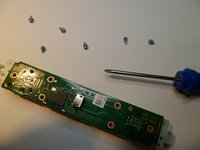
There are two PH0 Screws in the socket which hold the cable.
-
Unscrew two PH0 Screws and pull off the cable holder.
-
-
-
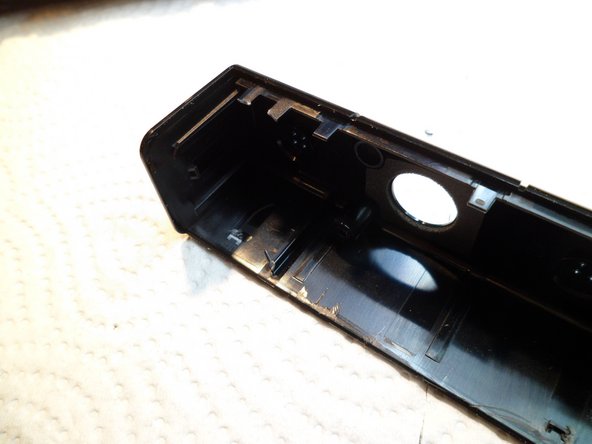
The next two PH0 Screws are located BEHIND the two polycarbonate-plates of the two camera-lenses. Take a sharp tweezer and stab under that plate. The plates are glued with a sticky tape to the housing. These plates are very fragile and will break if handled incautious.
-
-
-
There is one more PH0 screw to remove. This one is behind the other lens.
-
This was the easy part.
-
-
-
-
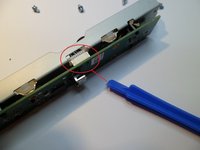
Encore two photos where to locate these nasty clips
-
-
-
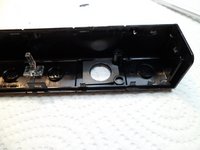
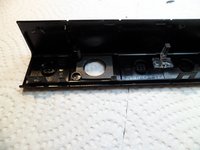
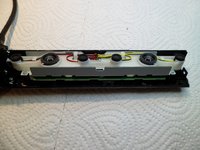
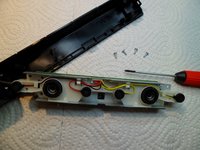
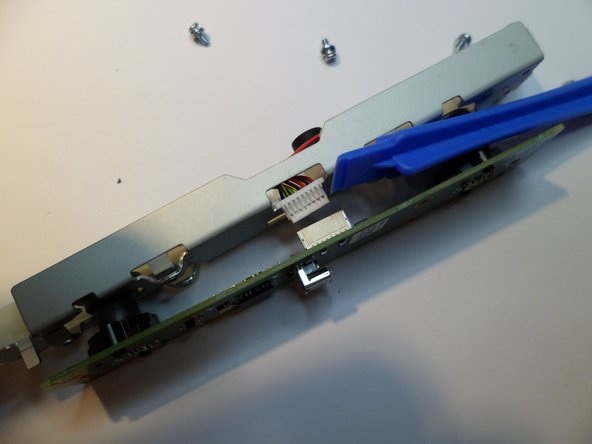
The other half of the housing is attached to a solid U-Frame with the electronics.
-
There are four silver screws, PH0.
-
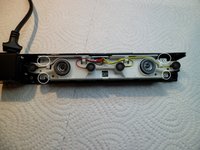
Four microphones, two with black/yellow cables and two with black/red wiring.
-
-
-
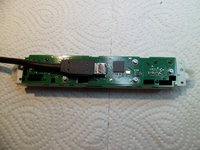
The backside of the U-frame. The cable is not soldered, there is a plug.
-
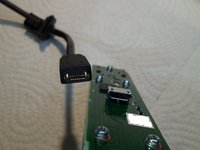
Detail of the plug.
Whats the make of the cable.. What do I search for in order to buy a new one
-
-
-
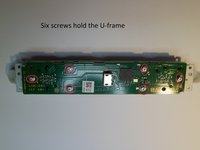
6 PH1 screws. Take a small magnet to hold them.
-
-
-
The connector of the mikrophone-array
-
-
-
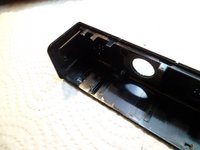
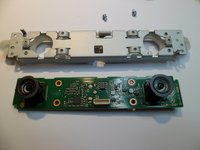
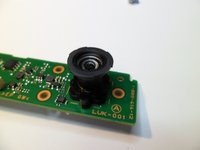
The lenses, plastic, glued tight.
-
NOT ADJUSTABLE.
-
-
-
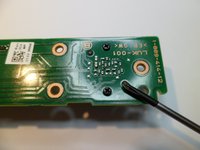
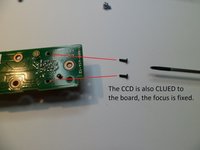
Backside, two small PH0 at each CCD. But the Cameramodules are clued to the board,too - without destruction, you can not open it.
-
I want to save it as spare-part, so i don't want to open it. So here is finito capito. :) Thanks for watching...
-
-
-
Extra: The wiring.
-
It's an USB3 cable without green/white Pimf. There are three SEPARATE ISOLATED metalfoil shields with wire, red-black-power and two Pimf yellow/blue and orange/green. So ja, thats it. Paulaner.
-


crwdns2947412:010crwdne2947412:0
Only 7 steps? Where is the rest of the teardown? I wanted to see detailed images of the optics.
Ja, okay, i made some pictures for you. The optics are in Step 10.
Enjoy.
Freundliche Grüsse. :)
Does anyone think it would be possible to cut the wires from two cameras and splice the wires together and put the power on a A/B rocker switch to switch between two cameras?
Great job, congrats. Do you have also for the other version of ps4 camera same as this one? BR.
I'm wondering if it can even be spliced or soldered back together and actually work
Hi,i want to take out 2 microfons from inside a camera,and to use that microfones to solder on a ps4 wired microfone,is it possible?Thanks
What's the name of this USB cable? I need to replace mine…
Sad that ifixit doesn't have a page for the second, round model of ps4 vr camera, cuh-zey2. I might have to borrow my friend's dremel just to find out which molding seams are actually seams between the different shell halves, as my scalpel and other blades aren't managing to pry it open.
For the second model of psvr1 camera, CUH-ZEY2, there's 2 tiny screws under the center of the sticker which I used a Phillips 000 bit to remove, then there's 3 plastic snap-tabs per each closed-ended tube half.
For anyone that needs to disassemble the round ps4 camera, I'd suggest removing one screw and sliding off that tube side to expose the PCB and plastic+metal lens bracket assembly, before repeating with the other half. Grip both the center plastic sleeve is screwed into to hold both half sides (it also holds the cable), along with the previously mentioned bracket when sliding off the second side tube.
Sony added a plastic cable retention clip to the round ZEY2 ps4 camera2, which must be pried up directly next to the port and slid down the cable length before the cable can be removed. Attempting to simply lift the cable and pull the plug over the plastic clip will not work, as the clip's nubs to hold the cable are too tall to pull the plug over. Again, pry it up behind the port itself.
Yenyasha -
Does anyone know what type of connector is used for the plug inside the camera housing?