crwdns2915892:0crwdne2915892:0
A general guide to takedown and disassemble the PlayStation 2 Slimline. This will give the user access to a number of internal components such as the motherboard, the optical drive, the cooling fan, and hard drive, among others.
crwdns2942213:0crwdne2942213:0
-
-
On a flat working surface, flip the PlayStation 2 Slimline so that the bottom side is facing up.
-
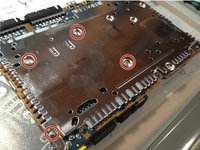
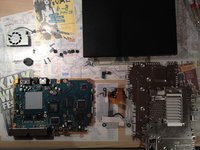
Remove the covers over the screws, circled in red on the second image.
-
Take a Phillip's #1 screwdriver and remove the five screws circled in red on the second image.
-
-
-
Take a metal spudger and separate the upper half of the chasis from the lower half.
-
-
-
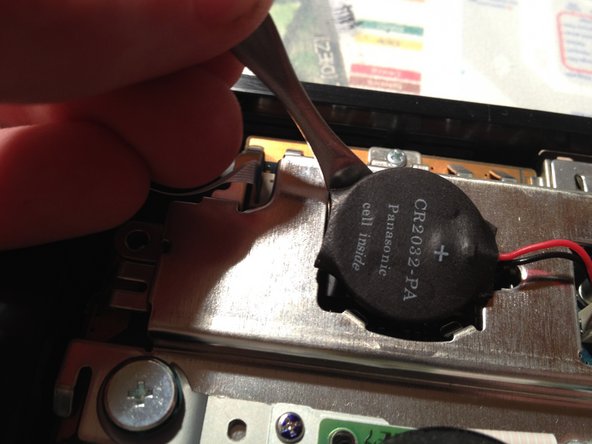
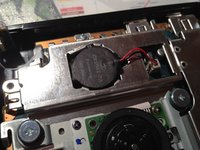
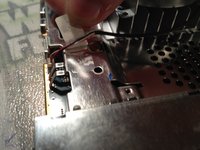
Identify the battery, then use a spudger to pry it out. Disconnect the battery from the motherboard with your hands.
I guess in 2021 or later there are many people with leaked/not working battery in their system. If you are looking for a replacement, just search any online store for “CMOS battery 2032”. The important thing is to have already attached (soldered?) leads with connector on the end.
Be aware of the polarity! The batteries that I got had switched polarity. You can easily fix that with pulling out the wires from the connector and tucking them in the other way. Just make sure that they will stay in place this time, I used some super glue before putting it in my PS2 (wait until it does not stick anymore!).
If you have excess wiring you can tuck that away anywhere.
-
-
-
-
Gently disconnect the three ribbon cables.
-
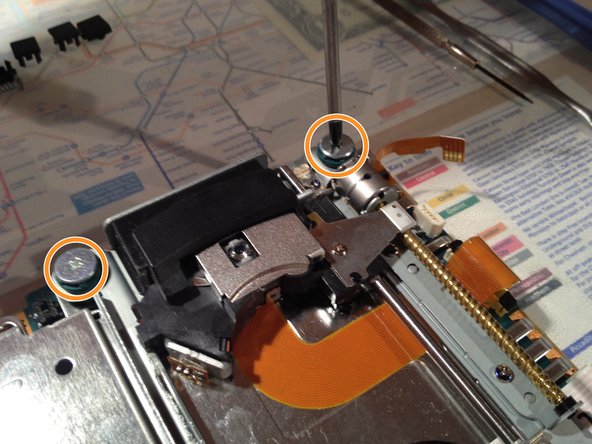
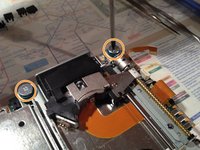
Take a Phillips #1 screwdriver and remove the four screws on the optical drive.
-
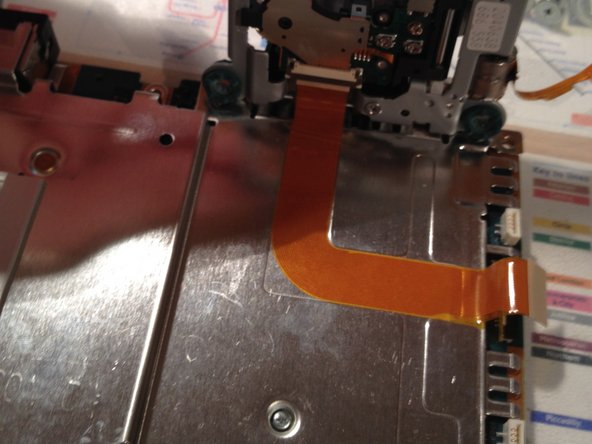
Pull up the optical drive and carefully peel the flex cable, attached underneath the drive, from the metal plate.
I found it more pleasant not to peel off the ribbon cable. Instead I left the orange ribbon cable connected to the motherboard, and after gently lifting the drive I disconnected that cable from the drive itself. Make sure you do not just pull on these cables, they might have plastic retention parts that you first need to lift gently.
Completely agree with @svidi comment here, much nicer to disconnect the ribbon from the laser than to pull it off the metal plating.
-
-
-
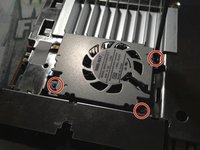
Remove the three PH00 screws from the fan's cover.
-
Then peel the duct tape back and remove the cable.
-
-
-
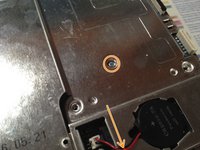
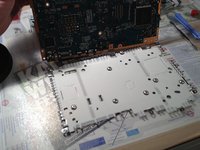
Remove the four screws marked on the picture. These are located on the bottom side of the motherboard.
-
Then flip the motherboard back over and remove the two rating screws on the upside.
In my case (haha) I was not able to remove the motherboard from the bottom chassis, because there was an additional Phillips #1 screw holding it down between the memory card/controller ports. My system is a SCPH-75004, so I guess this go for all 75xxx models.
-
-
-
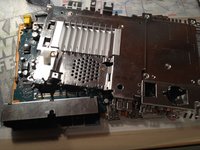
Remove the metal plate from the bottom side of the motherboard.
Very nice instructions.
my 70004 it's egual than this
ISTRUCTIONS very usefull
-


crwdns2947412:02crwdne2947412:0
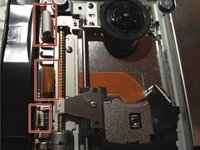
not all slimlines are internally the same. as seen in the second picture, this teardown is for the 75004 model
Komponen kotak hitam kaki 4 itu apa gan, di dalemnya kaya jumperan gitu. Itu fungsinya buat apa ya? Posisinya sudut kiri bawah iptikal drive.