crwdns2933423:0crwdne2933423:0

crwdns2935311:0crwdnd2935311:0crwdne2935311:0 crwdns2935313:0panasonic R-1159 AM radiocrwdnd2935313:0crwdnd2935313:0crwdne2935313:0

  1. Panasonic R-1159 AM radio Teardown, Panasonic R-1159 AM radio Teardown: crwdns2935265:01crwdnd2935265:01crwdnd2935265:03crwdne2935265:0 Panasonic R-1159 AM radio Teardown, Panasonic R-1159 AM radio Teardown: crwdns2935265:01crwdnd2935265:02crwdnd2935265:03crwdne2935265:0 Panasonic R-1159 AM radio Teardown, Panasonic R-1159 AM radio Teardown: crwdns2935265:01crwdnd2935265:03crwdnd2935265:03crwdne2935265:0
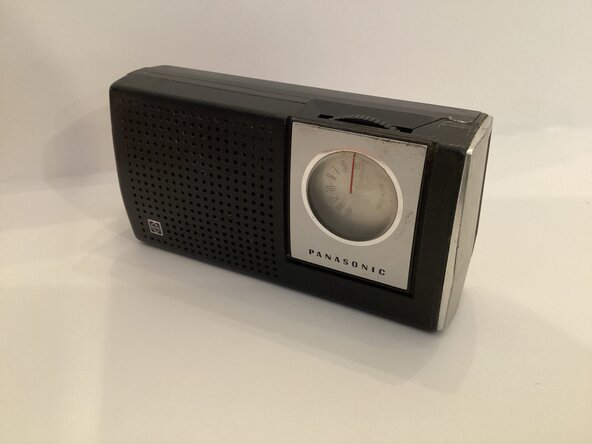
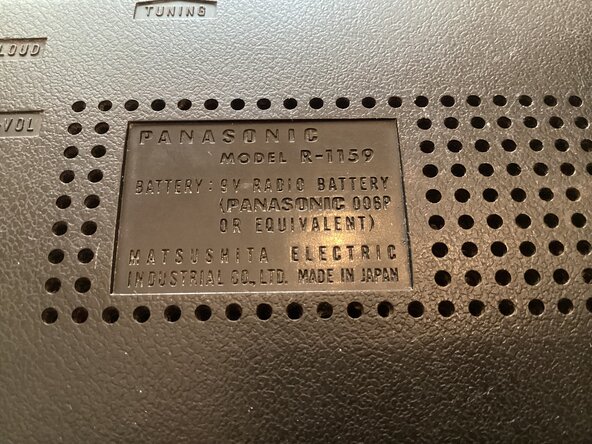
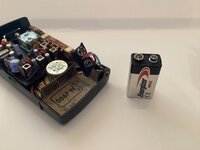
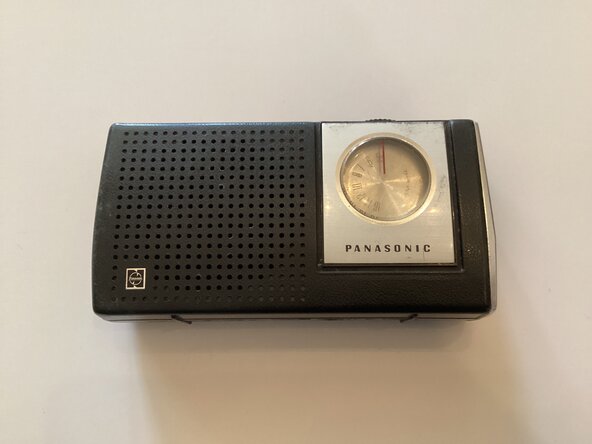
    • This is a Panasonic R-1159 portable AM transistor radio from the late 1960s. It has a standard 9V battery and a ferrite core antenna built in. It was manufactured by Matsushita Electric in Japan.

  2. Panasonic R-1159 AM radio Teardown: crwdns2935265:02crwdnd2935265:01crwdnd2935265:03crwdne2935265:0 Panasonic R-1159 AM radio Teardown: crwdns2935265:02crwdnd2935265:02crwdnd2935265:03crwdne2935265:0 Panasonic R-1159 AM radio Teardown: crwdns2935265:02crwdnd2935265:03crwdnd2935265:03crwdne2935265:0
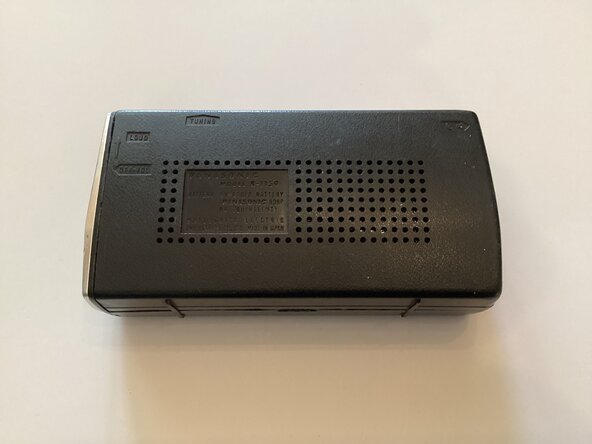
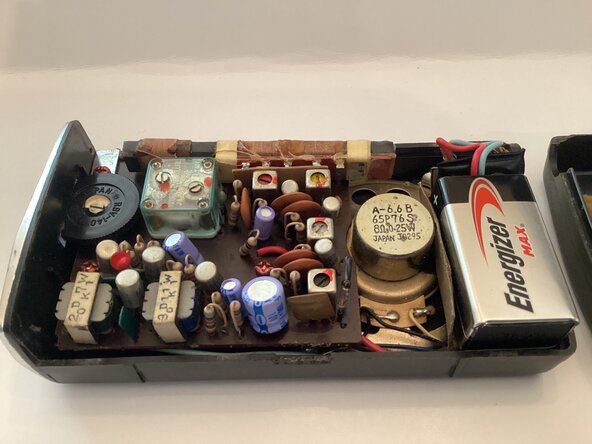
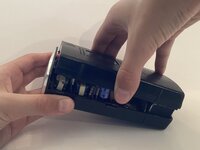
    • To begin disassembly, just pull open the case with your bare hands. Next, you can see the internal PCB and battery.

    • Be careful when Removing the battery! Do not short out the terminals with the connector. 9 volts is a painful shock.

  3. Panasonic R-1159 AM radio Teardown: crwdns2935265:03crwdnd2935265:01crwdnd2935265:01crwdne2935265:0
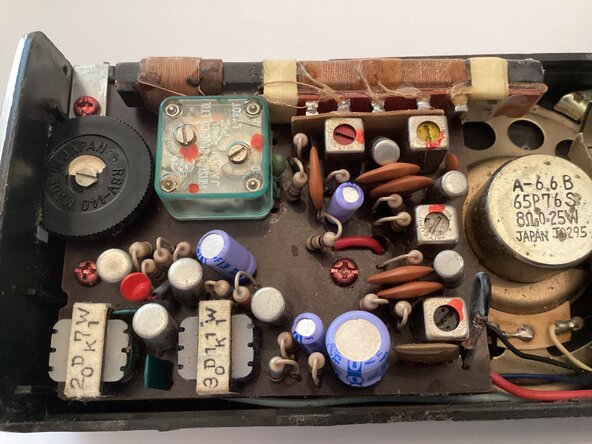
    • Once the battery is removed, you can see the whopping 7 transistors in all their glory. For comparison, the Intel 4004 microprocessor from 3 years later in 1971 had well over 2300 transistors. Microprocessors today have billions!

    • (The transistors are the silver metal cans)

  4. Panasonic R-1159 AM radio Teardown: crwdns2935265:04crwdnd2935265:01crwdnd2935265:03crwdne2935265:0 Panasonic R-1159 AM radio Teardown: crwdns2935265:04crwdnd2935265:02crwdnd2935265:03crwdne2935265:0 Panasonic R-1159 AM radio Teardown: crwdns2935265:04crwdnd2935265:03crwdnd2935265:03crwdne2935265:0
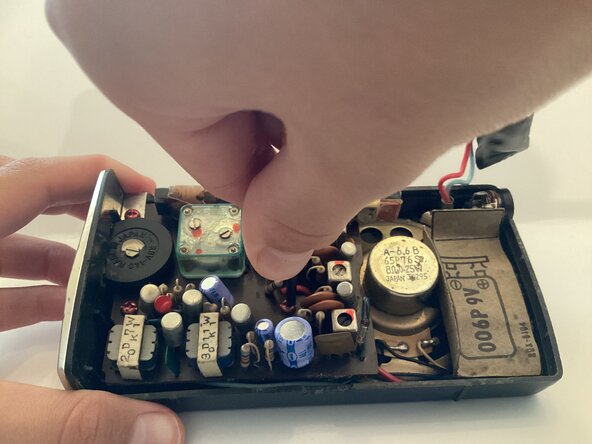
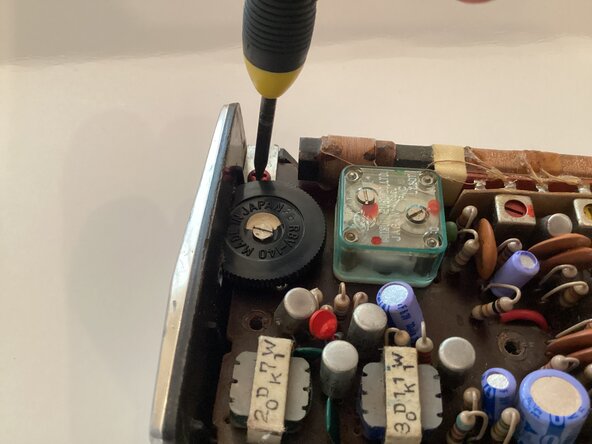
    • Next, carefully remove the three screws from the PCB. You can either use a flathead screwdriver or a Philips screwdriver. (Both will work).

  5. Panasonic R-1159 AM radio Teardown: crwdns2935265:05crwdnd2935265:01crwdnd2935265:01crwdne2935265:0
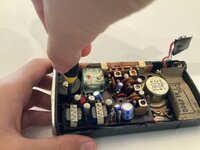
    • Next, carefully pull out the PCB with your hands.

    • Be careful when pulling out the PCB, since the wires are very fragile and delicate.

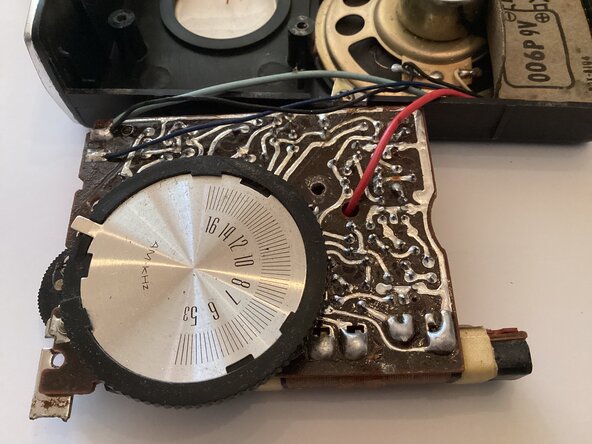
    • It’s been a while since traces were hand drawn, there was no such thing as CAD software back then to help PCB development.

  6. Panasonic R-1159 AM radio Teardown: crwdns2935265:06crwdnd2935265:01crwdnd2935265:01crwdne2935265:0
    • You’re now done! To reassemble, follow steps in reverse order to complete.

Mr. Circuit Board

crwdns2935283:004/30/25crwdne2935283:0

169 crwdns2915208:0crwdne2915208:0

crwdns2935297:05crwdne2935297:0

crwdns2947412:00crwdne2947412:0

crwdns2917038:0crwdne2917038:0

crwdns2936625:0crwdne2936625:0:

crwdns2936751:024crwdne2936751:0 12

crwdns2936753:07crwdne2936753:0 28

crwdns2936753:030crwdne2936753:0 172

crwdns2942667:0crwdne2942667:0 172