crwdns2915892:0crwdne2915892:0
I wrote this guide because one didn't exist!
My Nighthawk AX8 / RAX80 / AX6000 frequently overheats while under a sustained load. I thought I would be able to disassemble the router and use some thermal paste to help the situation.
Unfortunately:
- critical components are covered with a soldered on PCB shield
- only thermal tape is used to conduct heat from these shields to the heatsink
- whatever thermal probing is used to trigger the fan running has a tolerance so high that the router is almost guaranteed overheat and crash before the fan starts up
I'm stuck with an unreliable device, but perhaps your skill and this guide could help you come up with a better thermal management solution. Best of luck!
crwdns2942213:0crwdne2942213:0
-
-
Lift each antenna wing up and then fold it down, like how the router was when it was first removed from the box.
-
-
-
Remove the four rubber pads, and then remove the four Torx T10 screws underneath those pads.
-
Note: You will feel a divot underneath the serial number sticker, but there is no hidden screw. You do not need to remove or damage the sticker.
-
-
-
Flip the router over again.
-
Remove the left-most and right-most Torx T7 screws from both antenna wings.
-
-
-
Flip the router again.
-
Pull the bottom plate upwards to remove it.
-
-
-
Note: The router's mainboard is no longer secured to the shell, but attempting to remove it could damage the antenna wires and ribbon cable.
-
The antenna and fan wires are secured with tape.
-
Use tweezers to lift each piece of tape off.
-
-
-
-
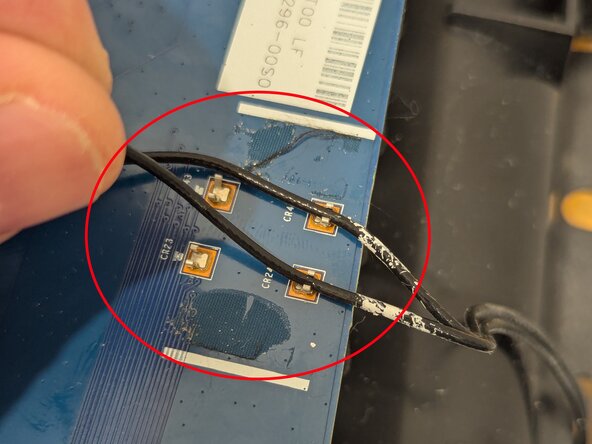
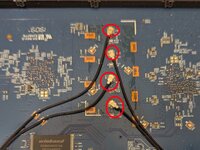
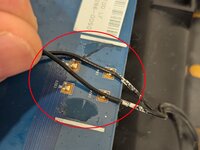
Each antenna is plugged into the mainboard with a simple snap connector.
-
Lift off each snap connector with your fingers or a plastic spudger. It is recommended you label these in order from top to bottom so assembly is easy.
-
The antenna wires are also run through 'teeth' on the board. Pull the wires out of each tooth.
-
-
-
You will find a ribbon cable connected to the mainboard in the lower-right corner.
-
Use a thin spudger or fingernail to flip the small black clip up. It does not fold over completely to the left, and do not attempt to force it.
-
Pull the ribbon cable out to the right.
-
-
-
Tilt the mainboard upwards towards the ethernet ports.
-
Pull the mainboard slightly forwards from the ethernet ports. The board should slide out with ease.
-
-
-
Flip the mainboard over so that the heat sink and fan are facing you.
-
Locate the fan connector in the upper-left of the mainboard.
-
Pull the fan connector upwards.
-
-
-
Flip the mainboard over again so that the underside is facing you.
-
Use a Torx T10 bit to remove the six screws.
-
-
-
Flip the mainboard over again so the heat sink and fan are facing you. The components will not detach as the mainboard and heat sink are stuck together with thermal pads.
-
You will have to use a fair amount of pressure to remove the heat sink from the mainboard.
-
You will hear a peeling or tearing sound, but this is just the sticky thermal pads releasing from the PCB shields on the mainboard.
-
-
-
This is the heat sink and mainboard sitting side by side
-
The metal components on the mainboard are PCB shields. These are soldered into place.
-
The thermal pads for the lower two PCB shields are thicker, and sit in a divot in the shield.
-
The thermal pad for the upper PCB shield are thinner, and just touch the shield instead of sitting in a divot.
-
The thermal pad in the middle of the board is only for extra stability.
-
-
-
The 55mm fan can be removed from the underside of the heat sink.
-
Flip the heatsink over so that the thermal pads are facing you.
-
Remove the two thermal pads covering the fan screws.
-
Use a Torx T10 bit to remove the fan screws.
-


