crwdns2933423:0crwdne2933423:0

crwdns2942213:0crwdne2942213:0

crwdns2935311:0crwdnd2935311:0crwdne2935311:0 crwdns2935313:0Motorola 120ecrwdnd2935313:0crwdnd2935313:0crwdne2935313:0

  1. Motorola 120e Teardown, Start here!: crwdns2935265:01crwdnd2935265:01crwdnd2935265:01crwdne2935265:0
    • This is a front view of the Motorola 120e that I will be tearing down. You will obviously want to turn off the device before proceeding.

  2. Motorola 120e Teardown, Back cover and battery: crwdns2935265:02crwdnd2935265:01crwdnd2935265:02crwdne2935265:0 Motorola 120e Teardown, Back cover and battery: crwdns2935265:02crwdnd2935265:02crwdnd2935265:02crwdne2935265:0
    • Now you can remove the battery cover by pressing the black button down and lifting up. You can then remove the battery by pressing it forward and lifting up on it. Thankfully, there is no adhesive to be found.

  3. Motorola 120e Teardown, Seperate the back and front: crwdns2935265:03crwdnd2935265:01crwdnd2935265:02crwdne2935265:0 Motorola 120e Teardown, Seperate the back and front: crwdns2935265:03crwdnd2935265:02crwdnd2935265:02crwdne2935265:0
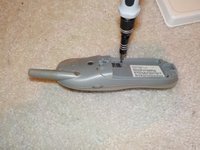
    • Now with the battery removed, you can unscrew the 6 T5 torx screws. 2 of them are at the top of the phone, and 4 more are in the battery bay. Once those are removed, You can lift the back panel off of the phone.

  4. Motorola 120e Teardown, The back panel: crwdns2935265:04crwdnd2935265:01crwdnd2935265:01crwdne2935265:0
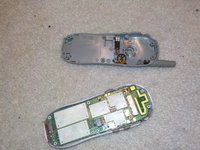
    • On the plastic back panel, there is the non-removable antenna, vibrate motor, and speaker. You can use a spudger to remove these.

  5. Motorola 120e Teardown, Logic board and front panel: crwdns2935265:05crwdnd2935265:01crwdnd2935265:01crwdne2935265:0
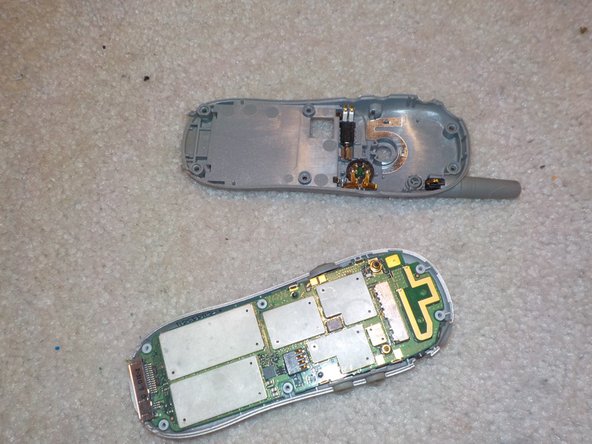
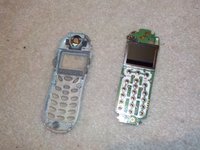
    • After removing the back, you should now see the board, with the front panel on the other side.

  6. Motorola 120e Teardown, Front panel and buttons: crwdns2935265:06crwdnd2935265:01crwdnd2935265:02crwdne2935265:0 Motorola 120e Teardown, Front panel and buttons: crwdns2935265:06crwdnd2935265:02crwdnd2935265:02crwdne2935265:0
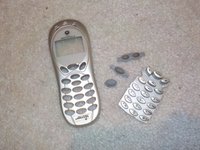
    • The front panel can be lifted off the board, and the rubber buttons can be removed from the front frame.

  7. Motorola 120e Teardown, Screen: crwdns2935265:07crwdnd2935265:01crwdnd2935265:02crwdne2935265:0 Motorola 120e Teardown, Screen: crwdns2935265:07crwdnd2935265:02crwdnd2935265:02crwdne2935265:0
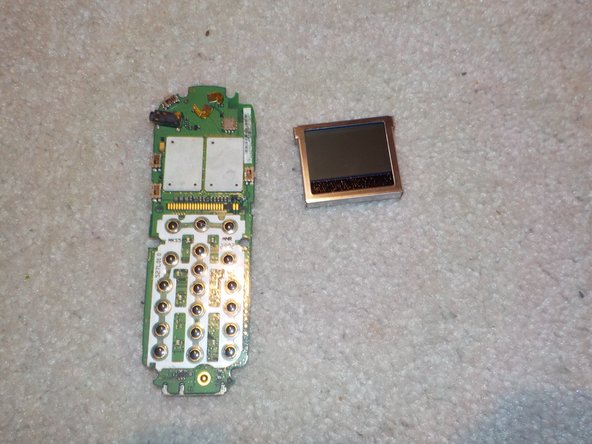
    • You can remove the screen by unclipping the 4 clips around the edge of the board and carefully lifting the screen off.

  8. Motorola 120e Teardown, Conclusion: crwdns2935265:08crwdnd2935265:01crwdnd2935265:01crwdne2935265:0
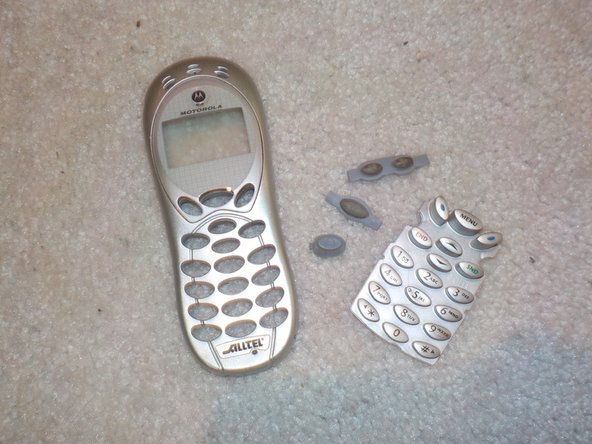
    • Here is all of the parts laid out. To re-assemble, follow the guide in reverse order.

nerdbug96

crwdns2935283:006/17/21crwdne2935283:0

1.462 crwdns2915208:0crwdne2915208:0

crwdns2935297:08crwdne2935297:0

crwdns2944067:00crwdne2944067:0

crwdns2917038:0crwdne2917038:0

crwdns2936625:0crwdne2936625:0:

crwdns2936751:024crwdne2936751:0 0

crwdns2936753:07crwdne2936753:0 1

crwdns2936753:030crwdne2936753:0 4

crwdns2942667:0crwdne2942667:0 364