crwdns2942213:0crwdne2942213:0
-
-
This should be easy to remove
-
-
-
In my case the sticky membrane that glues the rubber to the plastic stayed on the plastic.
-
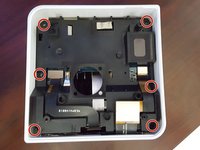
Remove the 4 hex screws that hold the bottom cover to the case
-
-
-
Remove the bottom cover carefully. it should pop right out.
-
-
-
-
Remove the 6 hex screws attaching the main board enclosure to case
-
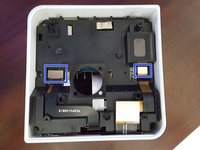
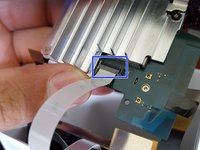
Remove connection ribbons that connect to the front LCD screen
-
-
-
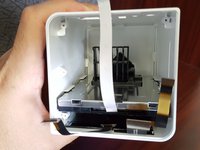
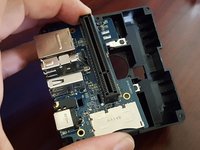
Remove the mainboard enclousre from the case by placing your finger in the middle hole and removing it carefully from the case
-
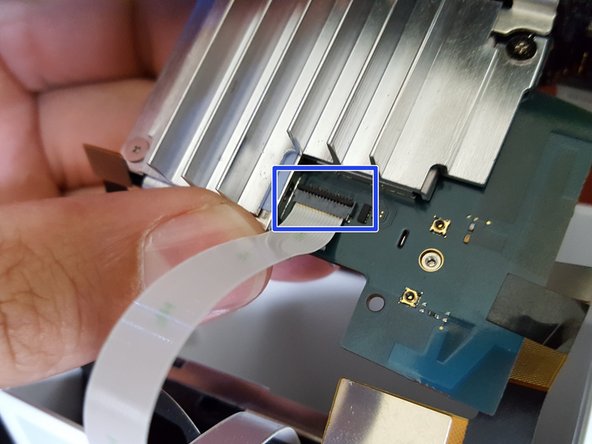
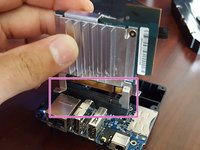
Remove the tape on top of the ribbon connector. this connects to the harddrive
-
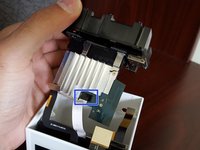
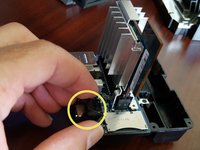
Unlock the connector by flipping the lock back to front. this flap is located closets to the heatsink
-
pull the ribbon cable away from the mailboard
-
-
-
Remove the hard drive by pulling it out
-
-
-
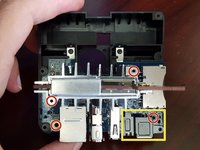
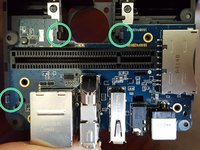
Remove the 4 hex screws, 2x are holding the main board from the expansion board. 1x is holding the sound and power metal shield and 1 is left holding the expansion board from the enclosure.
-
Remove metal audio/power shield
-
Remove main board from the enclosure board.
-
-
-
Carefully remove the expansion board away from the enclosure but un clipping it.
-
-
-
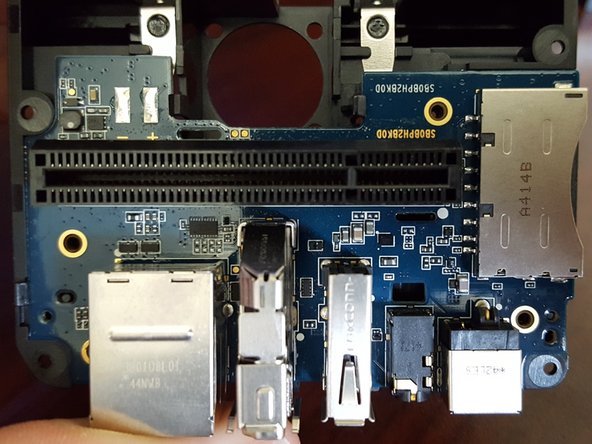
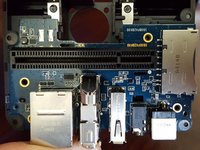
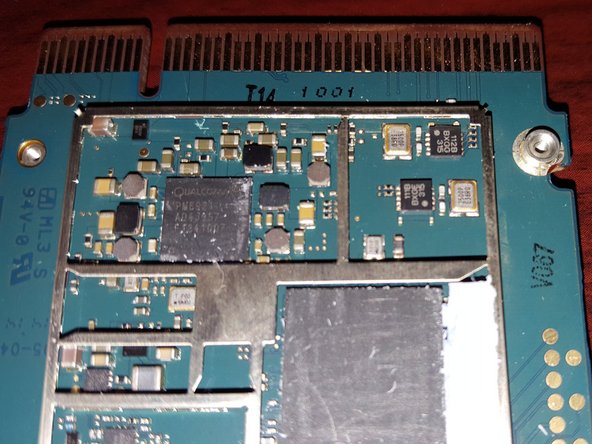
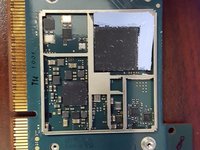
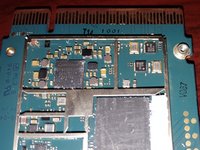
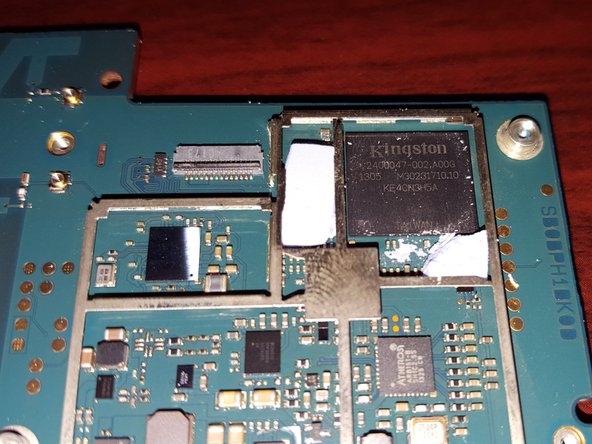
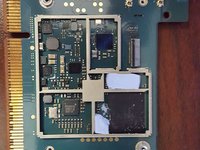
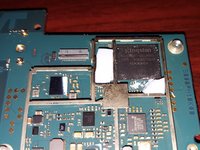
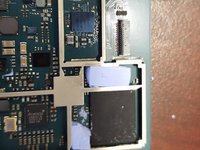
These are pictures of the main board components under the shielding
-
-
-
These are pictures of the main board components under the shielding
-


crwdns2947412:010crwdne2947412:0
Excellent!!! Been looking for this for a while. Too bad someone hasn't hacked the firmware or board to make accesible from the USB port. Anyways I guess I can harvest the 2 TB drive. Thanks again
well done!!! we may need to have video and reusability of the component
or buding software to make local cloud
I am very interested in a hack. Maybe raspberry pi?
I've been trying to figure out a use for the LCD touchscreen of the Lyve Device.... The LCD seems to be a PJ050IA-01J and when I did a search online I found this: http://www.panelook.com/PJ050IA-14A_Inno...
It seems to be a match other than the -14A vs -01J suffix difference...
If I can just figure out the signal interface it would be nice to reuse the screen with some other device like a Raspberry Pi or even an Intel Compute Stick...
Signal Category : MIPI
Signal Class : MIPI (4 data lanes)
Input Voltage for Panel : 1.8/5.4/-5.4V (Typ.)(IOVCC/VSP/VSN)
Interface Type : FPC
Just found this on aliexpress... it seems that the LCD panel is similar to the one used on Doogee X5 Max cellphones... here's a link for the screen
https://www.aliexpress.com/item/Doogee-X...
However the connector doesn't seem to jive...
Any way to keep using the Lyve Home as a digital photo frame with the photos already on the internal hard drive now that the service has been discontinued and the unit will not link to a wifi signal?
What size hex screws are used on the bottom of the case? I'm trying to find the proper size driver to use.
I unscrewed the entire device using a screwdriver T5
anyone see a JTAG or serial port for this?
Is there any way to make this a normal NAS without needing to login to Lyve? Worst case, remove the HD but it would be better if it can be used with the various ports, RG45 and SD reader.