crwdns2933423:0crwdne2933423:0

crwdns2942213:0crwdne2942213:0

crwdns2935311:0crwdnd2935311:0crwdne2935311:0 crwdns2935313:0Logitech Signature M650crwdnd2935313:0crwdnd2935313:0crwdne2935313:0

  1. Logitech Signature M650 Teardown, Logitech Signature M650 Teardown: crwdns2935265:01crwdnd2935265:01crwdnd2935265:03crwdne2935265:0 Logitech Signature M650 Teardown, Logitech Signature M650 Teardown: crwdns2935265:01crwdnd2935265:02crwdnd2935265:03crwdne2935265:0 Logitech Signature M650 Teardown, Logitech Signature M650 Teardown: crwdns2935265:01crwdnd2935265:03crwdnd2935265:03crwdne2935265:0
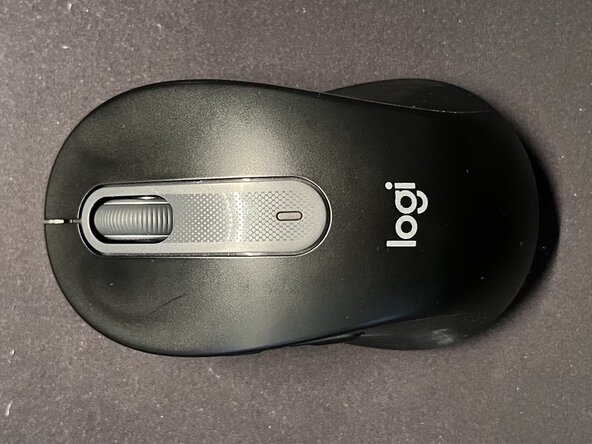
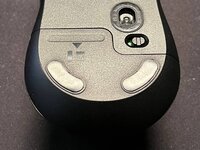
    • The Logitech M650 Mouse. In all its glory. Yes, it has been used for quite some time.

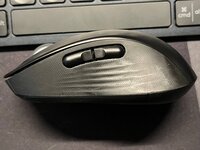
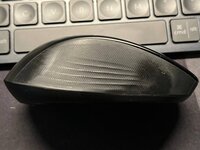
    • Side buttons - handy for moving back and forth on webpages, and scroll sideways on artboards.

  2. Logitech Signature M650 Teardown: crwdns2935265:02crwdnd2935265:01crwdnd2935265:03crwdne2935265:0 Logitech Signature M650 Teardown: crwdns2935265:02crwdnd2935265:02crwdnd2935265:03crwdne2935265:0 Logitech Signature M650 Teardown: crwdns2935265:02crwdnd2935265:03crwdnd2935265:03crwdne2935265:0
    • Flip it over.

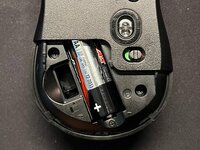
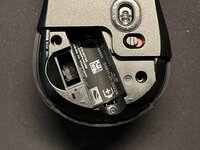
    • Turn the mouse off and slide the lid from the bottom out.

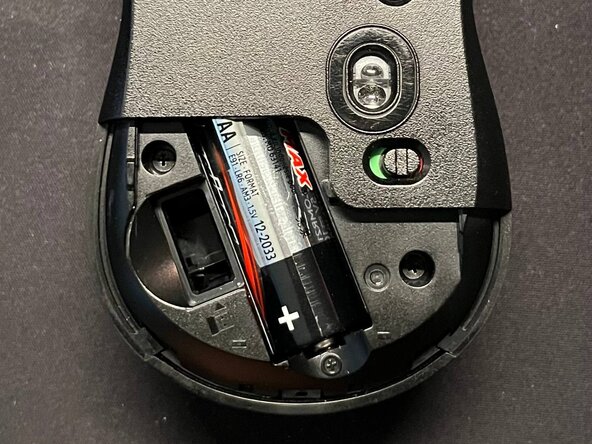
    • Take the battery out. There's a small icon that tells you which side the battery faces (butt goes inside, tip goes to the out).

  3. Logitech Signature M650 Teardown: crwdns2935265:03crwdnd2935265:01crwdnd2935265:02crwdne2935265:0 Logitech Signature M650 Teardown: crwdns2935265:03crwdnd2935265:02crwdnd2935265:02crwdne2935265:0
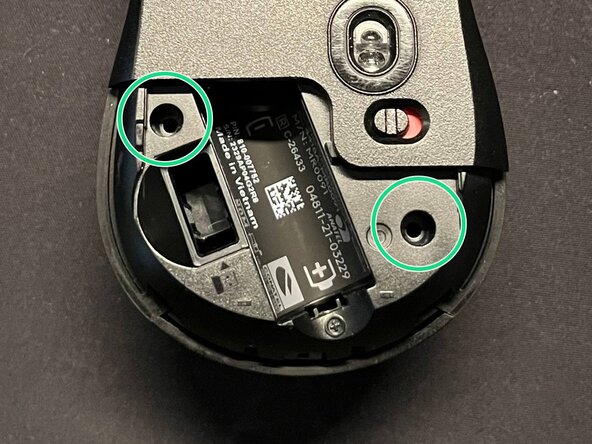
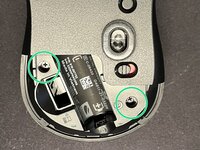
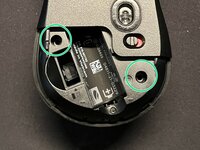
    • Two screws secure the mouse from the rear. Philips head 00 (PH00) driver bit needed to unscrew.

  4. Logitech Signature M650 Teardown: crwdns2935265:04crwdnd2935265:01crwdnd2935265:03crwdne2935265:0 Logitech Signature M650 Teardown: crwdns2935265:04crwdnd2935265:02crwdnd2935265:03crwdne2935265:0 Logitech Signature M650 Teardown: crwdns2935265:04crwdnd2935265:03crwdnd2935265:03crwdne2935265:0
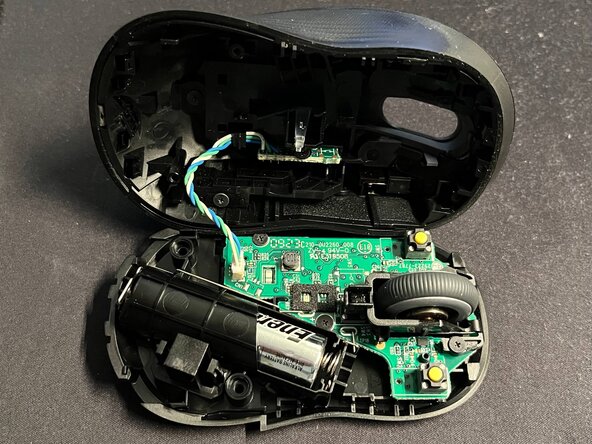
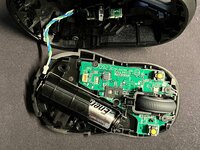
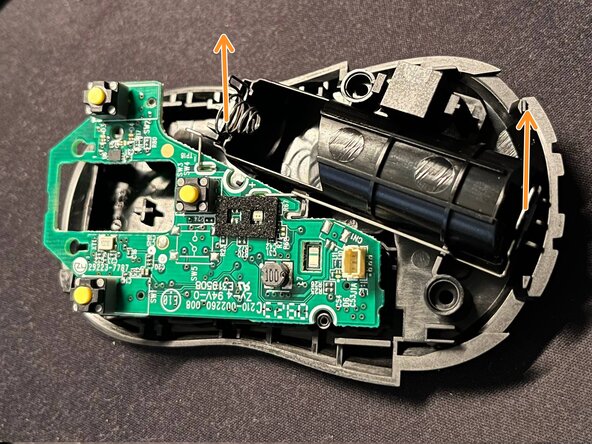
    • CAUTION: THERE'S A WIRE CONNECTED TO THE TOP SHELL. PROCEED CAREFULLY.

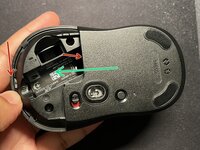
    • Ever so slightly push down on the upper shell and pull up from under the bottom shell with your two thumbs (as shown with red arrows), trying to pull in the direction on the green arrow.

    • The bottom panel will open slightly from the rear. Holding the top shell with one hand, use your other hand to slightly pull the bottom panel in the direction of the green arrow, making sure you don't pull too much, minding the wire on the inside.

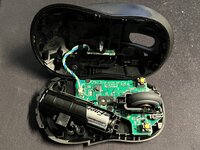
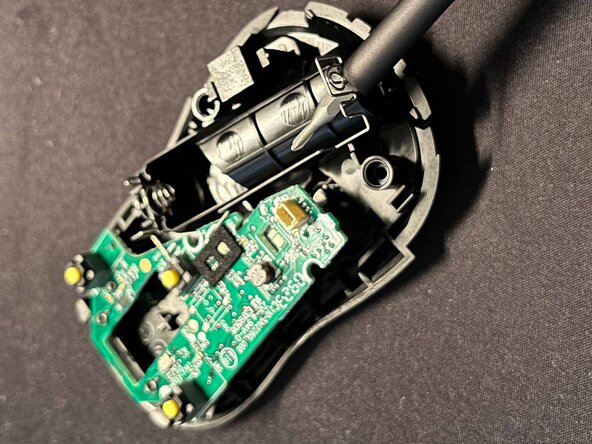
    • The top shell out with wire attached.

  5. Logitech Signature M650 Teardown: crwdns2935265:05crwdnd2935265:01crwdnd2935265:03crwdne2935265:0 Logitech Signature M650 Teardown: crwdns2935265:05crwdnd2935265:02crwdnd2935265:03crwdne2935265:0 Logitech Signature M650 Teardown: crwdns2935265:05crwdnd2935265:03crwdnd2935265:03crwdne2935265:0
    • Wire disconnected from the socket on the bottom.

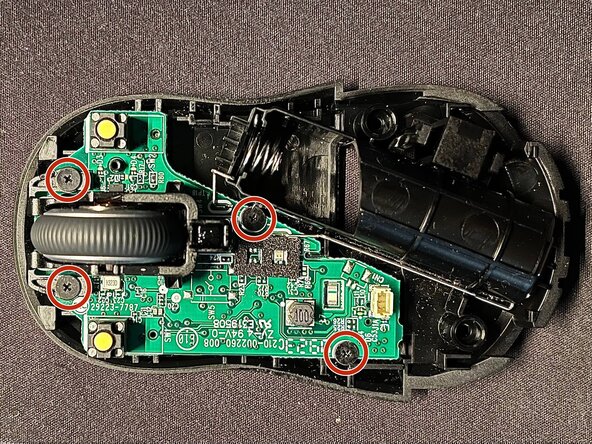
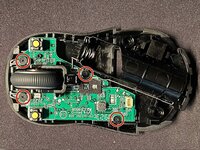
    • Four new screws holding the motherboard in place. Same PH00 for these screw heads. The top two screws hold the wheel and its housing in place.

    • The wheel has magnetic bearing its right side.

  6. Logitech Signature M650 Teardown: crwdns2935265:06crwdnd2935265:01crwdnd2935265:03crwdne2935265:0 Logitech Signature M650 Teardown: crwdns2935265:06crwdnd2935265:02crwdnd2935265:03crwdne2935265:0 Logitech Signature M650 Teardown: crwdns2935265:06crwdnd2935265:03crwdnd2935265:03crwdne2935265:0
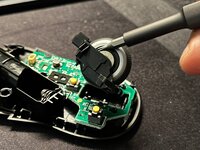
    • Top screws and wheel assembly removed.

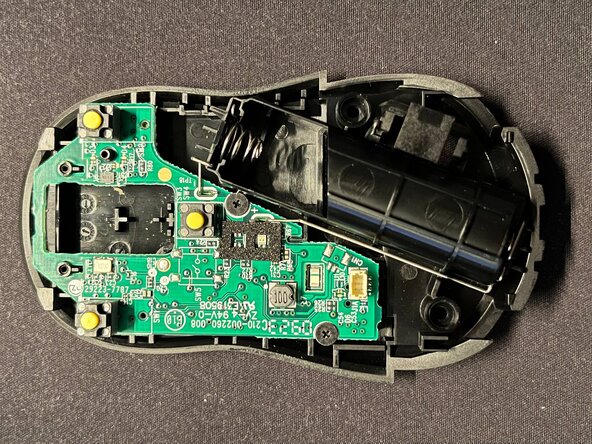
    • Bottom screws removed. Pull up on the battery contacts.

    • Both battery contacts pulled from the casing.

  7. Logitech Signature M650 Teardown: crwdns2935265:07crwdnd2935265:01crwdnd2935265:02crwdne2935265:0 Logitech Signature M650 Teardown: crwdns2935265:07crwdnd2935265:02crwdnd2935265:02crwdne2935265:0
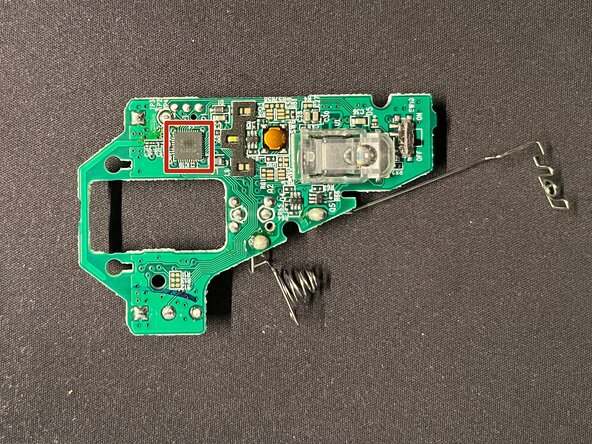
    • Motherboard filled upside down. The mouse in controlled by a Nordic Semiconductor nRF52820 chip.

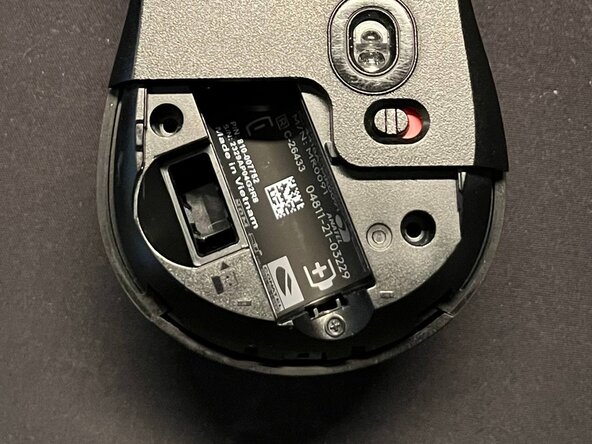
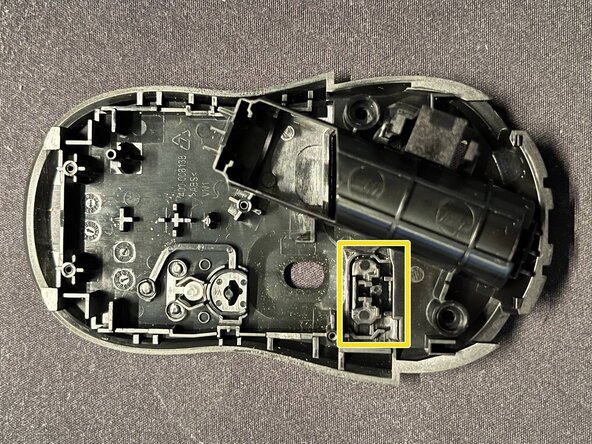
    • Empty bottom shell of the mouse. The on/off toggle cannot be put in the "wrong" direction - designers at Logitech were smart about it. CAUTION: Make sure when putting it back, the toggle is moved to 'right' side of the housing, given you turned off the mouse before disassembly.

    • The disassembly is complete. To put it back, follow the steps backwards.

Kumar Ankush

crwdns2935283:010/17/25crwdne2935283:0

13 crwdns2915208:0crwdne2915208:0

crwdns2935295:0crwdne2935295:0

crwdns2947412:00crwdne2947412:0

crwdns2917038:0crwdne2917038:0

crwdns2936625:0crwdne2936625:0:

crwdns2936751:024crwdne2936751:0 8

crwdns2936753:07crwdne2936753:0 43

crwdns2936753:030crwdne2936753:0 94

crwdns2942667:0crwdne2942667:0 94