crwdns2915892:0crwdne2915892:0
Here, we will be tearing down the Genius Smart KB-102
A keyboard designed by Genius which has elevated keys, makes it easier to clean, not easier to replace them. It is also quite cheap, so be gentle
This is done with the Spanish version of the keyboard, but it applies to the rest of them as well.
-
-
First, You'll need 2 screwdrivers, there are only 2 types of screws and they are very different from each other, don't worry about mixing them up
-
Flip you keyboard upside down. There are 13 main body screws, these are the big ones, they are all the same, remove them (2nd image)
-
There are 3 more screws grabbing the circuit board up left, they have smaller heads but are longer, no pun intended, remove them (3rd image)
-
-
-
Pop off the back cover, you will see the membrane, so yes, if you had any doubts, it is a membrane keyboard, from here and on this is almost the same procedure as any generic keyboard.
-
To take off the membrane first remove the piece of rubber holding it in place on the circuit board, it's just placed there, you can take it off by hand, same with the membrane
-
-
-
-
Multiple things to note about this keyboard, first, the circuit board doesn't really have much holding it in place, so it might pop off. You can just put it back
-
second, in order so that the rubber contacts don't fall out you'll have to elevate it from the sides so that the keys are hanging and not being pressed by any surface,
-
with this, the body is way too thin and will bend, so use as many support points as you deem necessary, here I used a bluetooth speaker, a lantern and a roll of tape. this is not how you should do it, but, it does the trick, so whatever
-
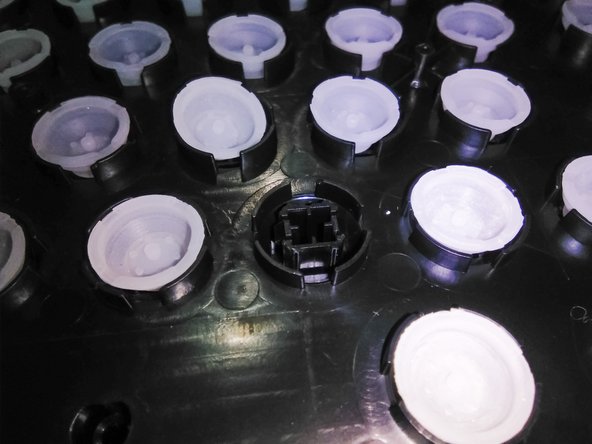
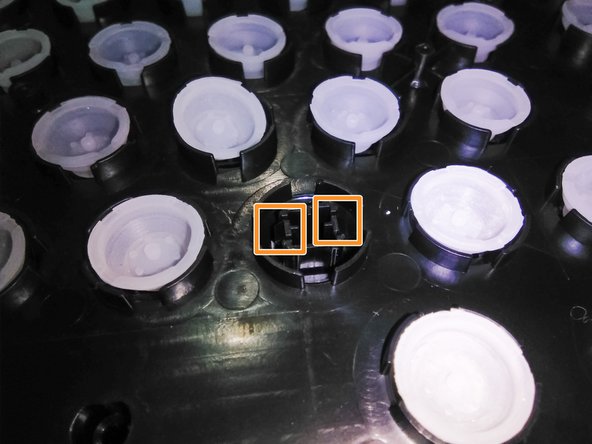
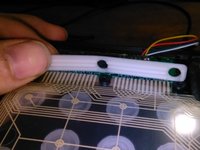
Now, in order to take off a key you will need to press this 2 latches in (3rd image), and then the key can come off, I do warn you again this are fragile the plastic of this keyboard is quite cheap, some nose pliers will work in order to press them and remove it, but be careful
-
-
-
In order to reassemble this, simply reverse the steps with some details to take in mind, these being:
-
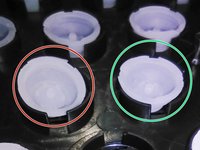
Rubber contacts must be flat into the surface and the hollow side looking up, In green is correct placement, In red, incorrect
-
The piece of rubber that hold the membrane in the board has a position as well, where its corrugated side must face down onto the membrane
-
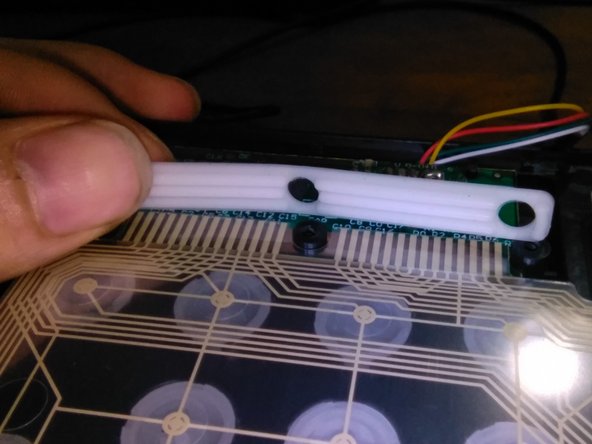
everything and membrane on place (refer to step 2 photo), the cable has almost nothing holding it on place, so make sure it's positioned correctly when putting the back cover back on place
-
-
-
Re-screw the back cover and you are good to go. So that done, and nothing else to say. Thanks for reading and have a good day.
-