crwdns2915892:0crwdne2915892:0
How to disassemble Geek Bar disposable vaping unit.
-
-
Use a wood chisel (~1 inch) along the seam to break loose the clear cover. The cover snaps into place but may be lightly glued.
-
-
-
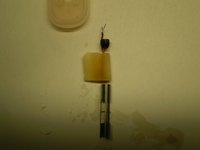
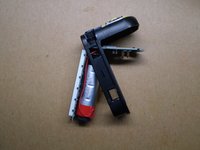
Pull out the internals. You will need to push in the on/off switch at bottom of unit to get the insides to slide out.
-
-
-
-
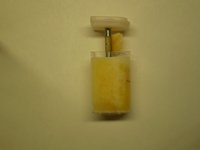
Detach tank. Note location of wiring if you are going to reassemble unit.
-
-
-
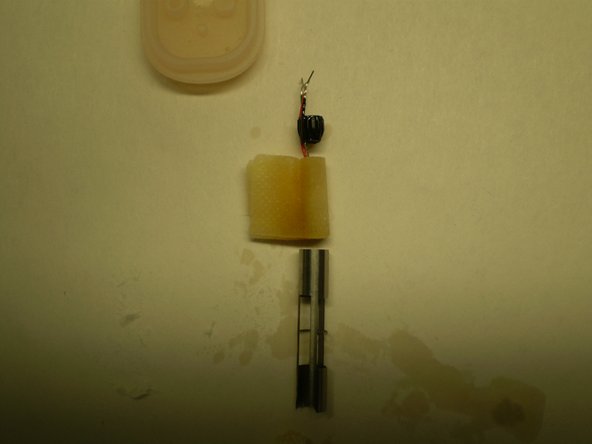
Pull off top of tank.
-
Pull heater unit out of steel sleeve.
-
Remove flat wick from heater
-
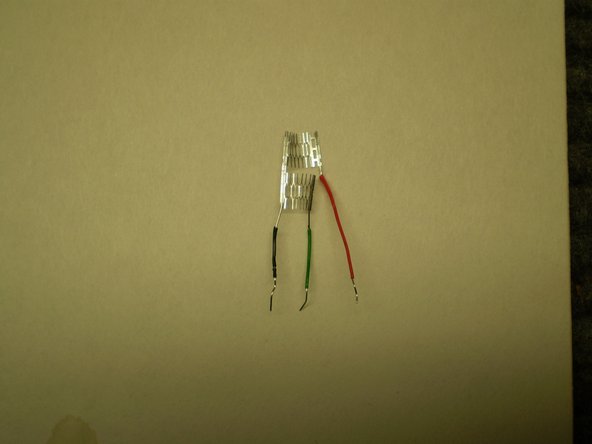
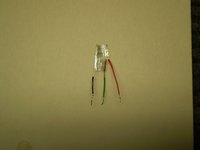
Observe basket style heater unit. Resistance readings: blk-grn: 1.1 ohms; blk-red: 1.1 ohms; red-grn: 2.2 ohms
-
-
-
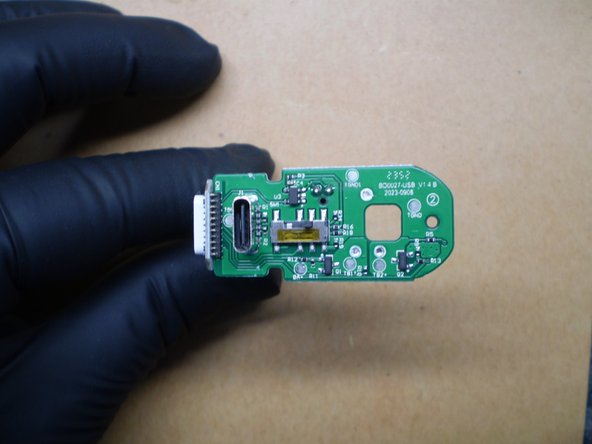
Unsnap the circuit board from the L-shaped plastic holder.
-
View board.
-
-
-
The lip piece can be unsnapped from the inside, pulled out from the top and disassembled as shown.
-


crwdns2947412:010crwdne2947412:0
Perfect illustration and pics.
Hell yeah thank you
love u man, sooo much
So satisfying. Now it's a perfect secret-stash container too!
I used this to open it and fix an auto-fire/over-fire I was experiencing. I've had it happen before but simply cannot afford to buy another. After opening, I powered it on, hit it & it hit fine. I then switched it off, put the switch cover back on, hit it and back to auto/over-firing again. I removed the switch cover and it was fine, closed it back up without the switch cover and it hits fine, pulls more air in, but I am thinking based off my understanding of vaping herbs that a faster, higher airflow willl create a lower temp & therefore, it shouldn't use up as much fluid per use even tho I have it set to pulse mode. This won't effect the fluid guage as it's predetermined and even if you add fluid while at say 60%, it will not change the level shown or the amount it displays. I'm used to having them display 0% and having several days of full flavor/hits even after this. Thanks for the breakdown, clean, simple, easy to understand. I've opened the Pulse X but never one like this, so thanks.