crwdns2915892:0crwdne2915892:0
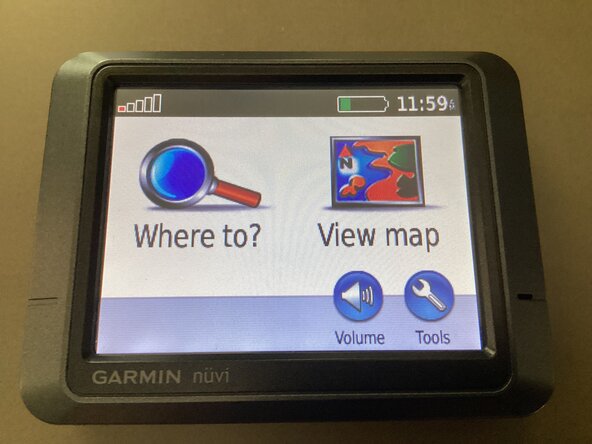
Opening an old GPS navigator from 2008.
-
-
The Garmin Nuvi 205 was an entry-level GPS navigator released in 2008 by Garmin. It has a Mediatek MT335NA processor and 32MB of Ram. It also has a 2 GB NAND flash storage chip inside. This navigator was found at a thrift store a while back. It still also surprisingly works!
-
-
-
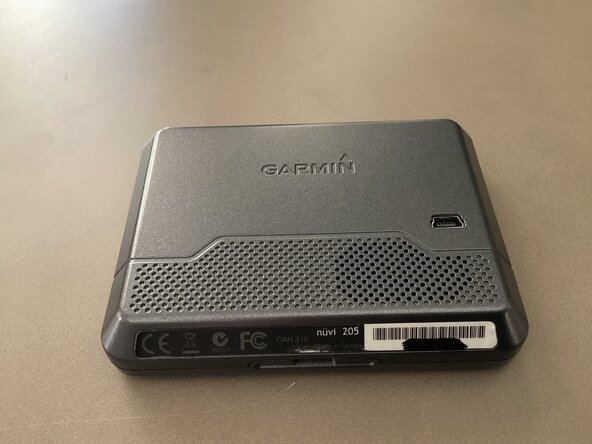
To begin Disassembly of your Garmin Nuvi 205, you will need to pull off the specifications sticker on the back of the device.
-
-
-
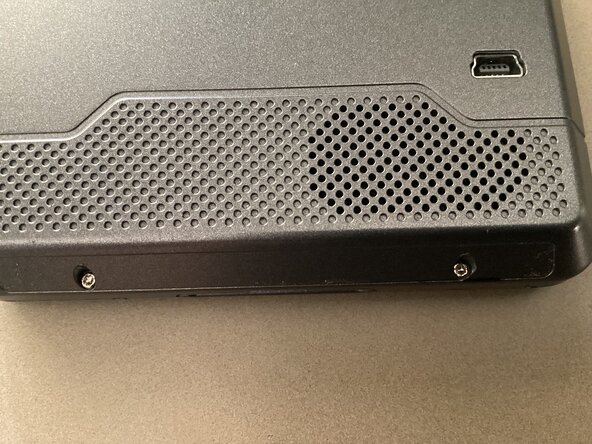
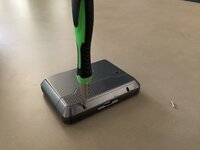
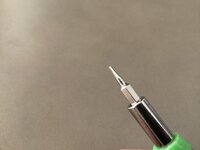
For Step Two, use a screwdriver to open the two screws securing the case in place.
-
It is strongly recommended that you keep track of your screws! Don’t lose them!
-
-
-
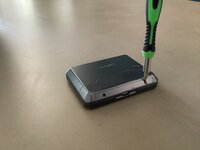
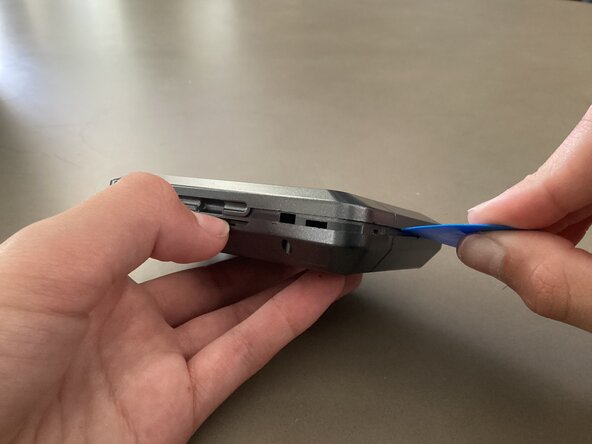
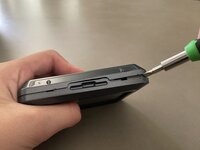
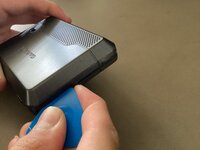
Once both screws are removed, use a flathead screwdriver to pry open the clips holding the device together. You can then use an opening pick to slide around the device and unfasten the rest of the clips.
-
-
-
-
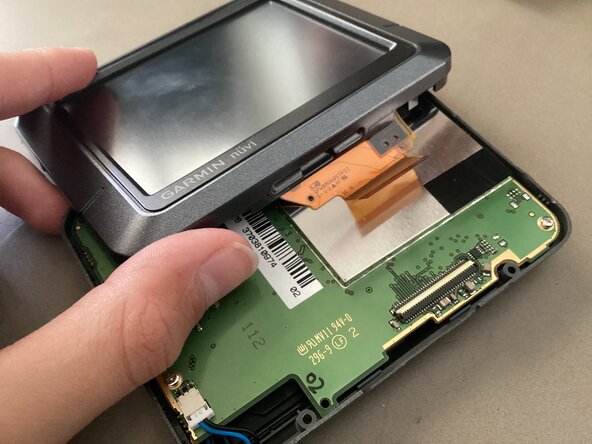
After you have removed all of the clips, you can open the device.
-
Please be careful when opening the device, since the flex cable connecting the screen is extremely fragile and delicate.
-
To remove the screen, pull off the piece of tape that secures the cable to the connector on the motherboard. You can then pull on the latch and release the flex cable connecting to the screen.
-
-
-
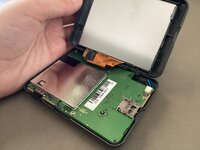
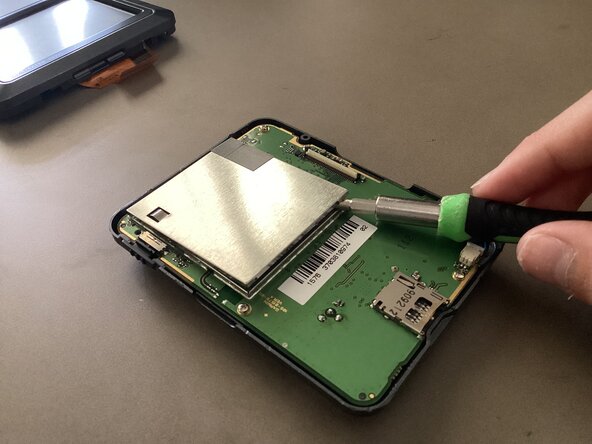
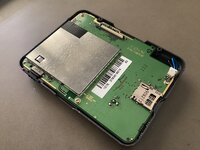
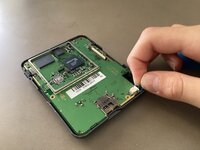
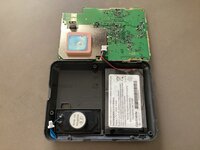
Once the screen is removed, you can finally see the brains of this little navigator.
-
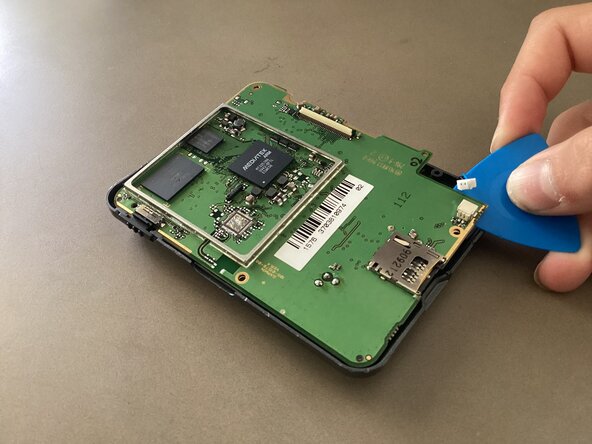
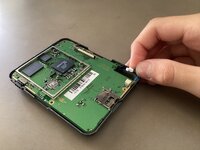
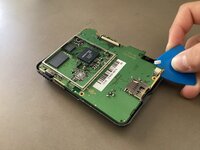
To take off the EMI shields covering the chips, use an opening pick, or a flathead to carefully remove the shields from the motherboard.
-
-
-
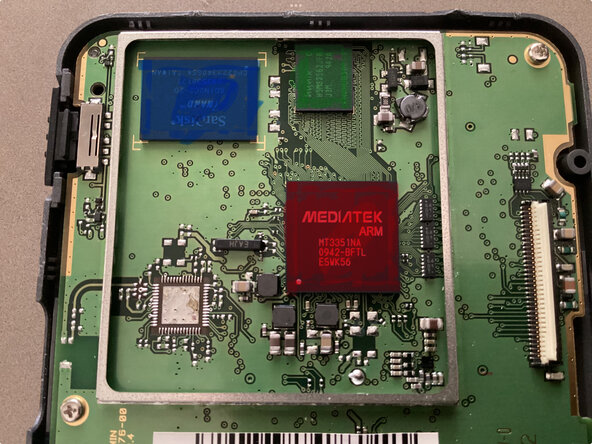
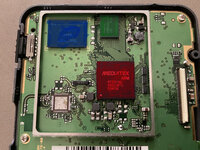
Once the EMI shields have been removed, you can see the chips that power this navigator.
-
Red: The chip colored in red is a Mediatek MT335NA microprocessor (the brains)
-
Blue: The chip colored in blue is a San disk iNAND 2GB flash chip. It is the main storage chip other than a small microSD port which can be used for external storage
-
Green: The chip colored in green is a 32MB SK Hynix RAM chip.
-
-
-
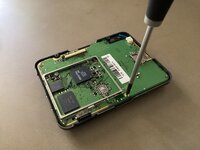
Use a Philips screwdriver to unscrew all three screws securing the motherboard to the case.
-
Again It is strongly recommended that you keep track of your screws! Don’t lose them!
-
-
-
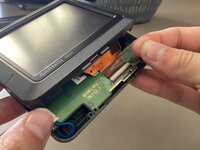
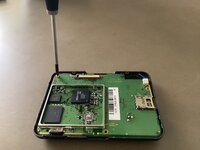
To separate the motherboard from the case, remove the speaker cable. You can do this by gently pulling on it to disconnect it.
-
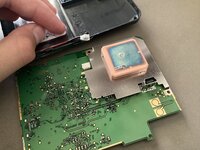
Once the cable has been removed, use an opening pick to push out the motherboard.
-
Be careful as the battery cable is still connected on the other side of the PCB.
-
-
-
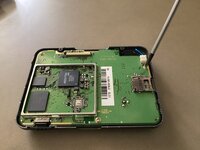
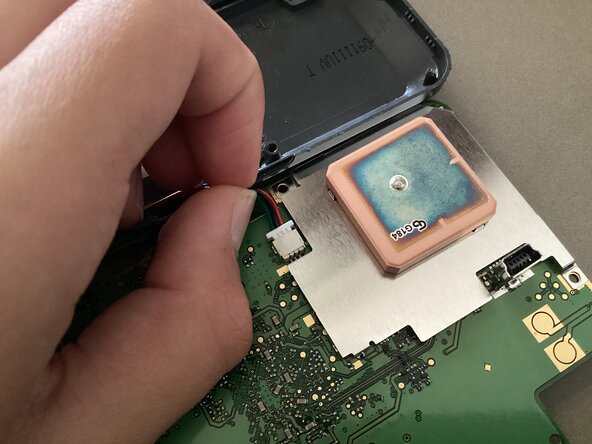
Once the motherboard is lifted out of the frame, you can now disconnect the battery cable to fully release the motherboard from the frame of the device.
-
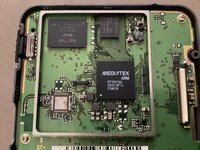
(If you noticed more EMI shields on the back, I did not remove them because of the antenna, and the fact that one side of the shield is completely soldered to the board).
-
-
-
Congratulations! You successfully disassembled your Garmin Nuvi 205 GPS navigator. To reassemble, follow these steps in reverse order.
-