crwdns2942213:0crwdne2942213:0
-
-
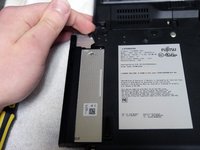
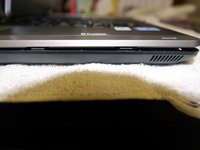
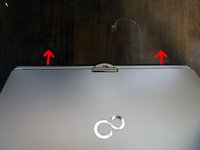
Remove battery by pushing down the latch lock and sliding the latch to the left as shown.
-
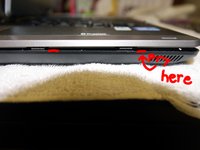
With your finger nail pry the battery off at the indent for the latch lock.
-
-
-
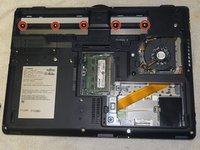
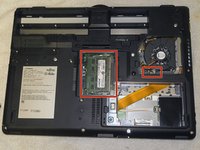
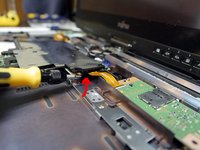
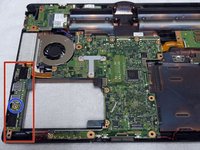
With battery removed take out the fan dust catcher (indicated by the red rectangle).
-
Using PH1 Philips screwdriver bit (indicated in third picture) remove the screws identified by the red circles.
-
Remove the RAM, fan, and hard drive covers.
-
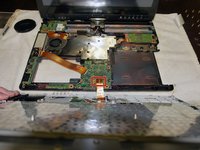
Remove the hard drive. Now everything should look like picture two.
-
-
-
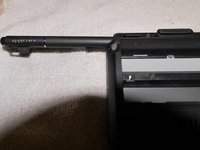
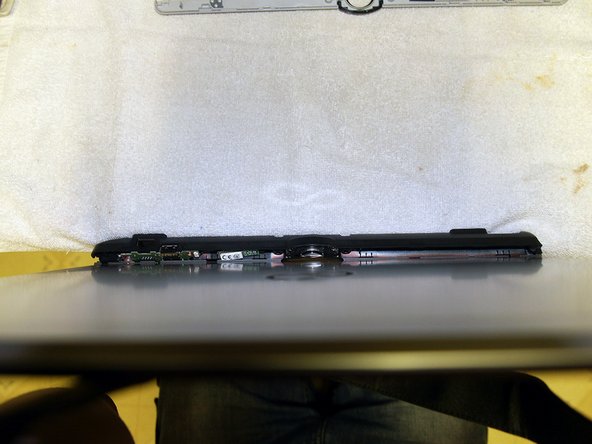
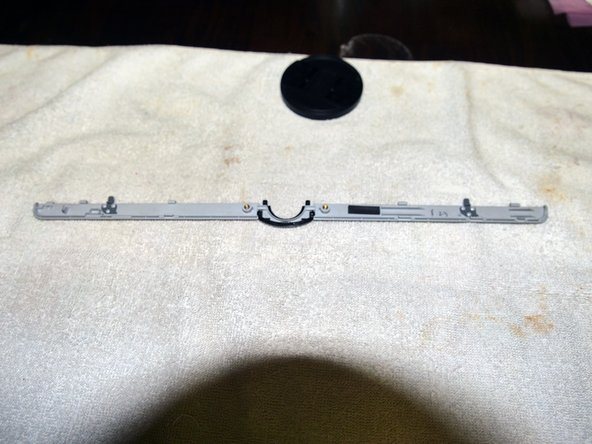
Remove expansion bay device. (battery, disk drive, weight saver)
-
Remove stylus pen.
-
-
-
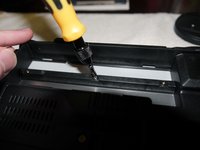
Using PH1 bit remove the five indicated screws in the battery well.
-
-
-
Remove RAM.
-
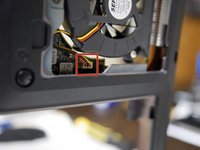
Unplug system fan. (also indicated in picture two)
-
-
-
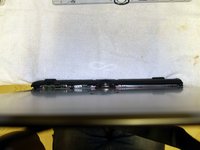
Using PH1 bit remove the 14 indicated screws on the base of the laptop, indicated by picture three.
-
-
-
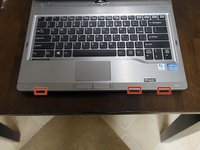
Next we are going to remove the keyboard top, this gives access to the inside of the laptop.
-
There are three tabs on the keyboard cover that keep it attached. (indicated by picture one)
-
Picture two you can see them disconnected, using a finger nail or electronic case opener gently release the tab by applying outward force on the black plastic part of the case.
-
-
-
-
After unlatching the three tabs from the last step you should be able to remove the keyboard trim underneath the screen.
-
Apply gentle force around the edges to unhook any tabs and it should come right out.
-
-
-
With the tabs unlatched and the keyboard trim removed you should be able to easily pivot the keyboard cover as shown.
-
Using a fingernail or spudger disconnect the trackpad/keyboard data cable, then set aside the keyboard cover.
-
-
-
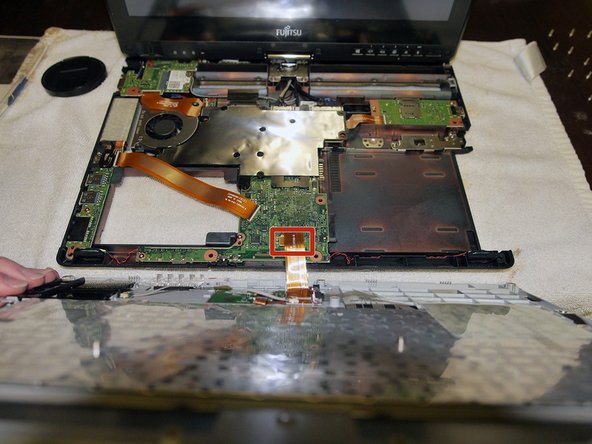
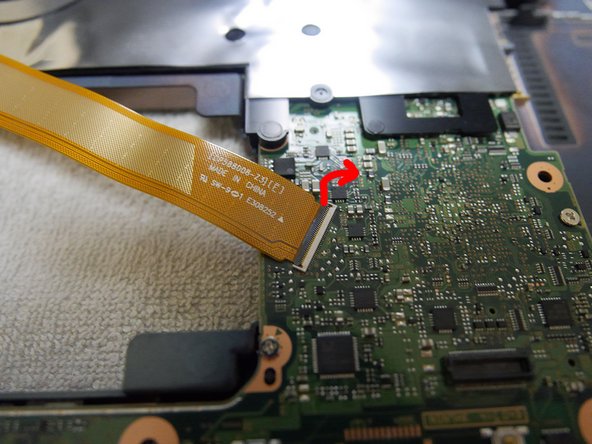
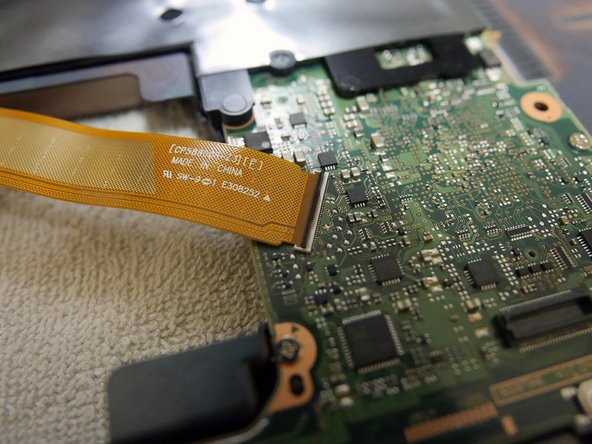
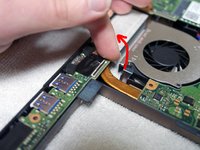
Remove the data ribbon cable indicated.
-
Very gently using a fingernail or small spudger lift up on the dark plastic part of the ZIF connectors. (illustrated in pictures two and three)
-
After unlatching both locks you can lift up on the cable and set it to the side.
-
-
-
Next we are removing the EMI shield attached to the motherbaord.
-
Shown in picture two if you release this one tab the cover pivots right off.
-
-
-
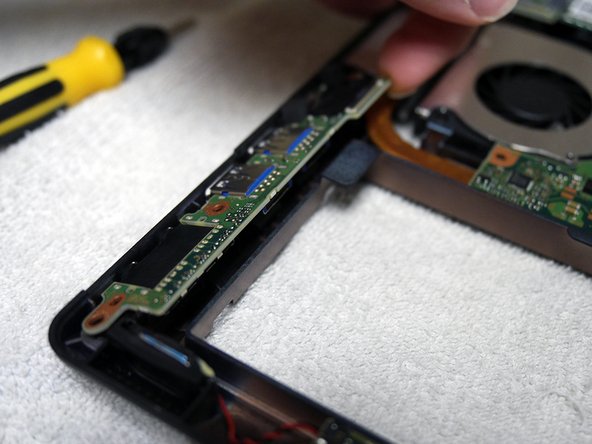
Next we are removing the USB and audio board. The blue circle is indicated where the only screw is, use your trust PH1 bit.
-
Use a fingernail or spudger to lift up the board as shown before pulling it out.
-
-
-
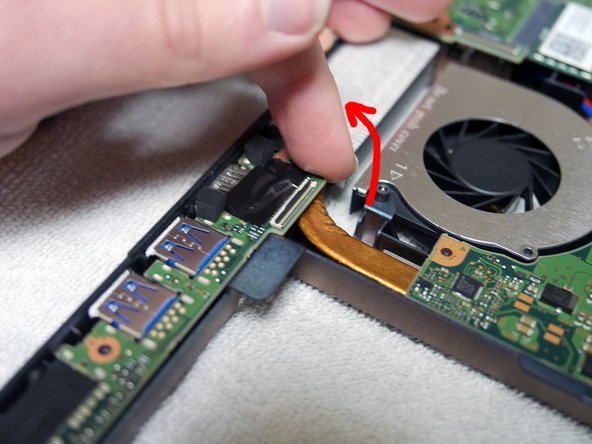
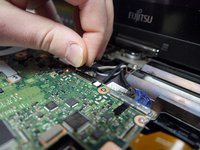
Disconnect the indicated side of the ribbon data cable.
-
-
-
Disconnect the indicated side of the ribbon data cable.
-
-
-
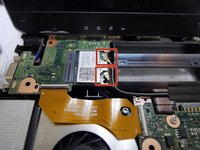
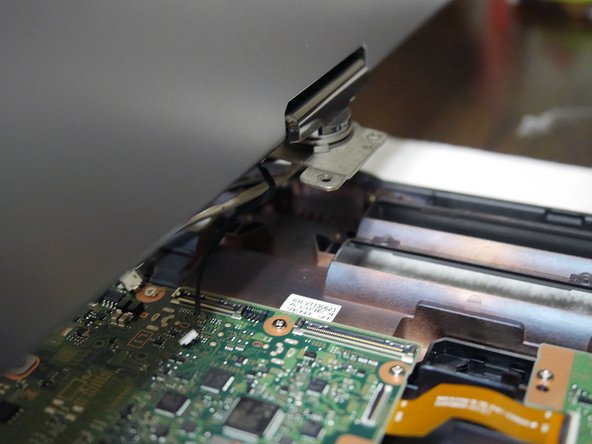
Remove the wifi antennas. (picture one)
-
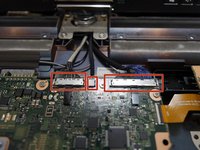
Remove the display, touch, and backlight connectors from the motherboard as indicated in pictures two and three.
-
-
-
After disconnecting the display connections we are ready to unscrew the display mount screws.
-
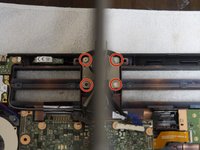
Use the trusty PH1 bit to take out the 4 screws indicated in picture one.
-
You can now lift out the display assembly, 2 antennas and 3 cables will be attached to it. Set it aside.
-
-
-
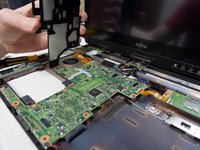
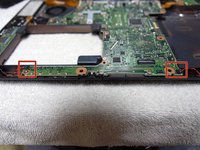
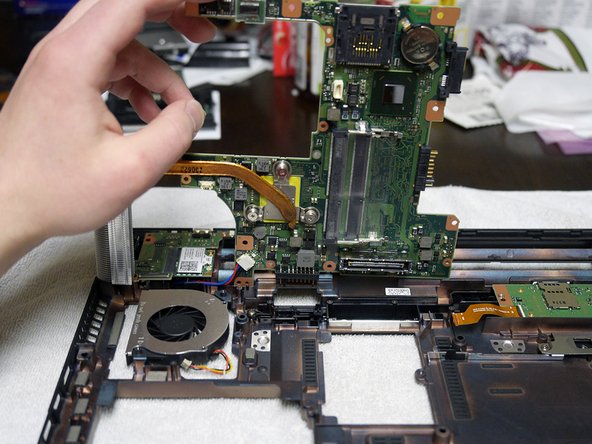
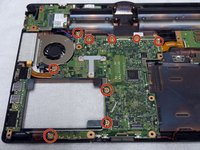
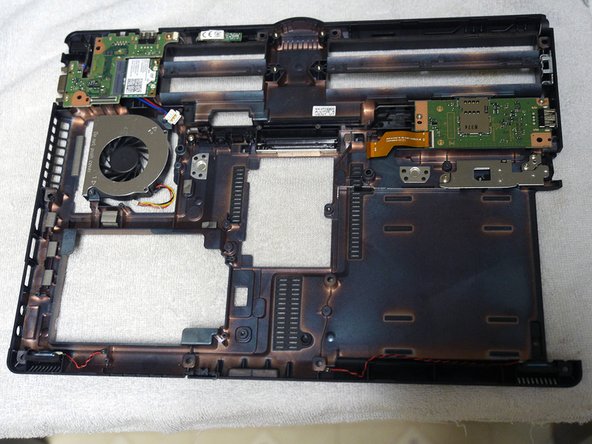
Remove the 9 screws indicated in picture 1 with PH1 bit.
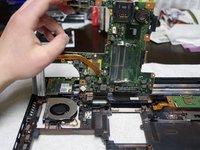
-
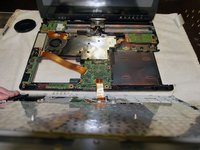
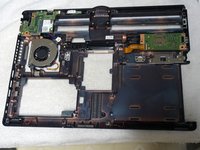
Pivot the motherboard up from the front as indicated in picture 2.
-
-
-
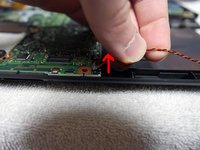
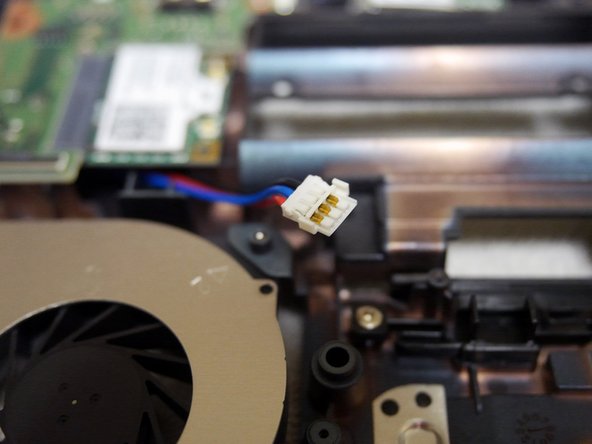
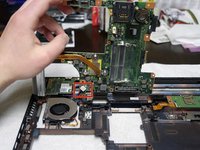
Next we must disconnect the power plug from the motherboard before we can remove it.
-
Now you can remove the motherboard and set it aside on an anti-static bag or surface.
-
-
-
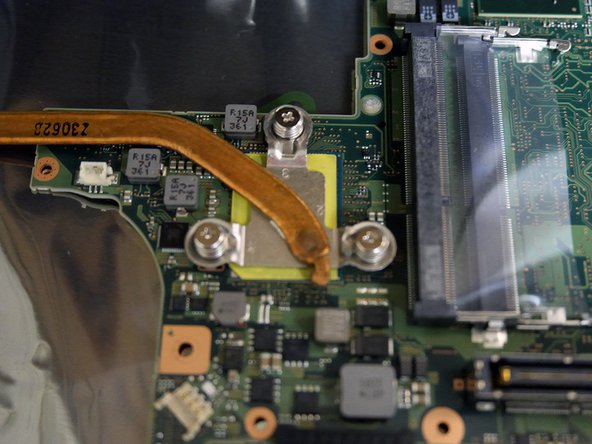
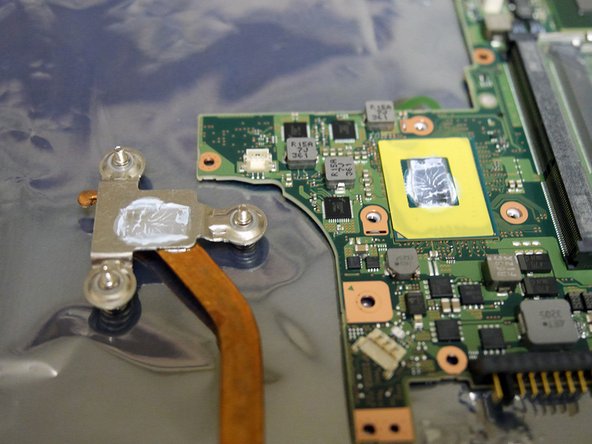
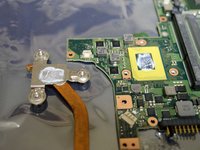
Heatsink is very inadequate, which is why this laptop gets noticeably high temperatures.
-
-
-
Correction: Battery well not keyboard well.
-


crwdns2947412:04crwdne2947412:0
Thanks for posting this..
Thank you! Very helpful
Well done! Thank you!
Hi, which one is the digitizer cable?