crwdns2933423:0crwdne2933423:0

crwdns2942213:0crwdne2942213:0

crwdns2935311:0crwdnd2935311:0crwdne2935311:0 crwdns2935313:0Digital Calipercrwdnd2935313:0crwdnd2935313:0crwdne2935313:0

  1. Digital Caliper Teardown, Remove Battery: crwdns2935265:01crwdnd2935265:01crwdnd2935265:02crwdne2935265:0 Digital Caliper Teardown, Remove Battery: crwdns2935265:01crwdnd2935265:02crwdnd2935265:02crwdne2935265:0
    • Slide the battery compartment open.

    • Pull out the battery.

  2. Digital Caliper Teardown, Screw out the housing: crwdns2935265:02crwdnd2935265:01crwdnd2935265:02crwdne2935265:0 Digital Caliper Teardown, Screw out the housing: crwdns2935265:02crwdnd2935265:02crwdnd2935265:02crwdne2935265:0
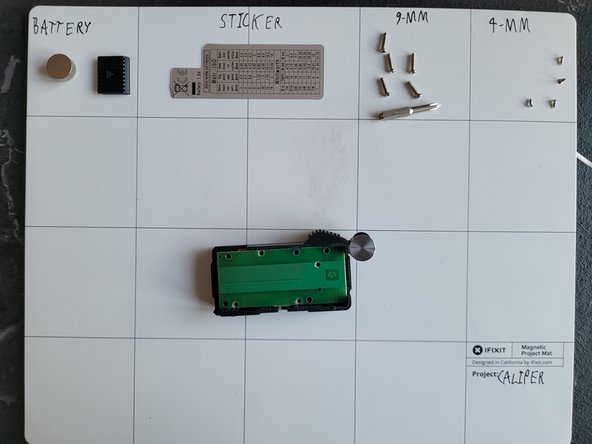
    • Remove the sticker and place it on a clean sticker-friendly surface.

    • Screw out the 9-mm screws using the J0 Bit.

  3. Digital Caliper Teardown, Housing dissasembly: crwdns2935265:03crwdnd2935265:01crwdnd2935265:03crwdne2935265:0 Digital Caliper Teardown, Housing dissasembly: crwdns2935265:03crwdnd2935265:02crwdnd2935265:03crwdne2935265:0 Digital Caliper Teardown, Housing dissasembly: crwdns2935265:03crwdnd2935265:03crwdnd2935265:03crwdne2935265:0
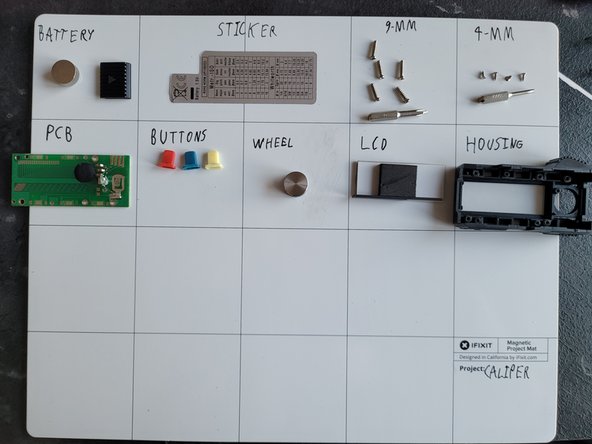
    • Screw out the 4-mm screws holding the PCB in place. Use the J000 bit.

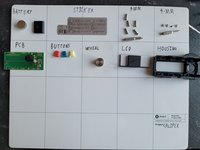
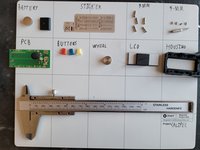
    • Now take out all the parts from the housing.

  4. Digital Caliper Teardown, Body: crwdns2935265:04crwdnd2935265:01crwdnd2935265:02crwdne2935265:0 Digital Caliper Teardown, Body: crwdns2935265:04crwdnd2935265:02crwdnd2935265:02crwdne2935265:0
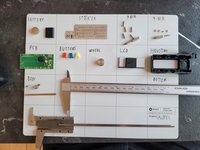
    • Remove the right/bottom 6mm screws.

    • Then the last 2 and the tightener screws. So you can pull it apart.

Sebastian

crwdns2935283:012/02/21crwdne2935283:0

532 crwdns2915208:0crwdne2915208:0

crwdns2935297:02crwdne2935297:0

crwdns2944067:00crwdne2944067:0

crwdns2917038:0crwdne2917038:0

crwdns2936625:0crwdne2936625:0:

crwdns2936751:024crwdne2936751:0 3

crwdns2936753:07crwdne2936753:0 19

crwdns2936753:030crwdne2936753:0 103

crwdns2942667:0crwdne2942667:0 1,506