crwdns2915892:0crwdne2915892:0
This iconic school calculator really needed to be torn apart.
crwdns2942213:0crwdne2942213:0
-
-
Remove these screws.
-
6x Philips #0
-
-
crwdns2935267:0crwdne2935267:0Tweezers$4.99
-
Put the tweezers (in their closed state) into the indentations on the side of the calculator.
-
Slowly open the tweezers, to split the calculator into two halves.
-
-
-
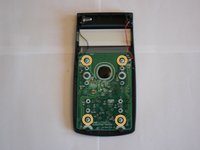
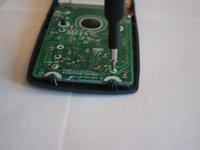
Remove these screws:
-
4x Philips #0
-
-
-
-
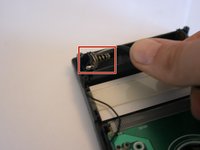
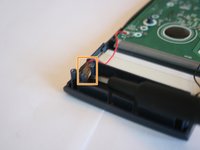
Use a pair of tweezers to pull the connector out of its holder.
-
Use a screwdriver to lever the connector out of its housing.
-
-
-
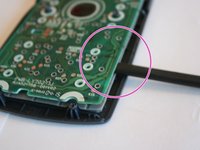
Insert a spudger in between the PCB and the rubber button holder.
-
Carefully remove the PCB and make sure not to damage the LCD ribbon cable.
-
-
-
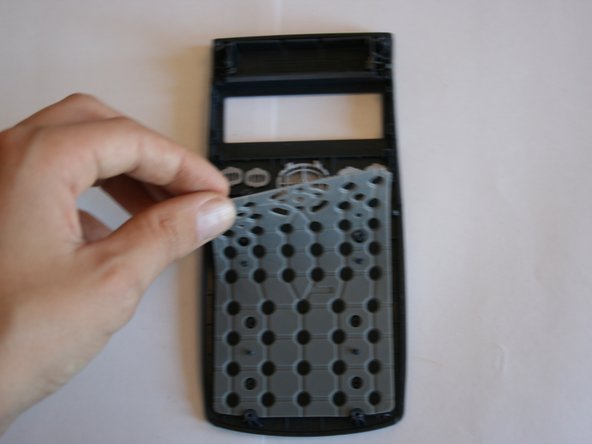
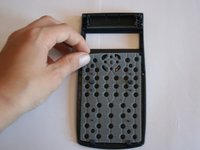
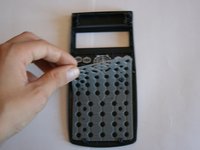
Peel off the rubber button holder starting in the top left corner.
-
-
-
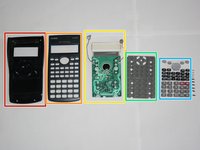
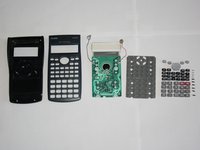
Back part of the case.
-
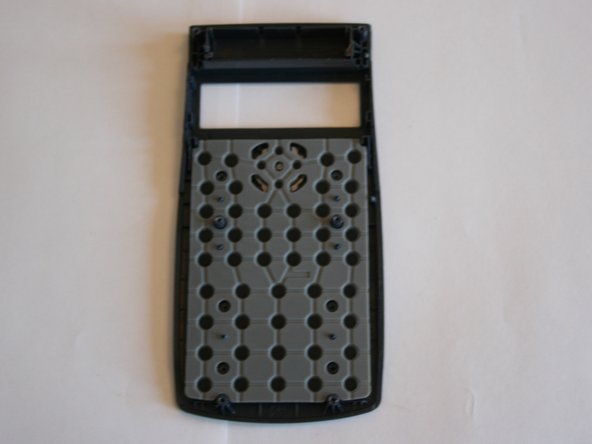
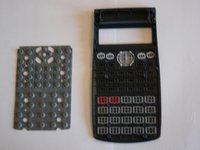
Front face of the case.
-
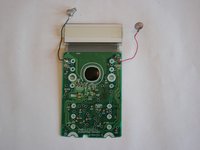
PCB with LCD and battery terminals.
-
Rubber button holder.
-
Buttons.
-
crwdns2935221:0crwdne2935221:0
crwdns2935229:012crwdne2935229:0
crwdns2947410:01crwdne2947410:0
I veganlover loved this guide although it isn’t vegan enough.


