crwdns2942213:0crwdne2942213:0
-
-
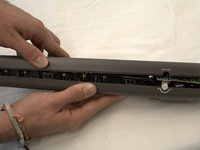
The Assembled Product, unplugged from wall
-
-
-
Turn Smart Strip upside down and locate four screw holes in corners
-
Unscrew four corner screws with #0 Phillips Screwdriver
-
-
-
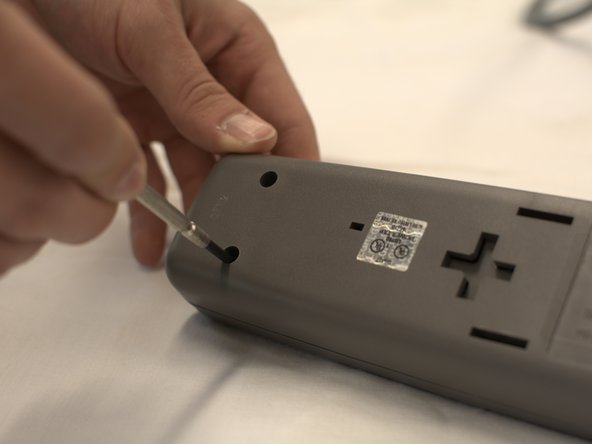
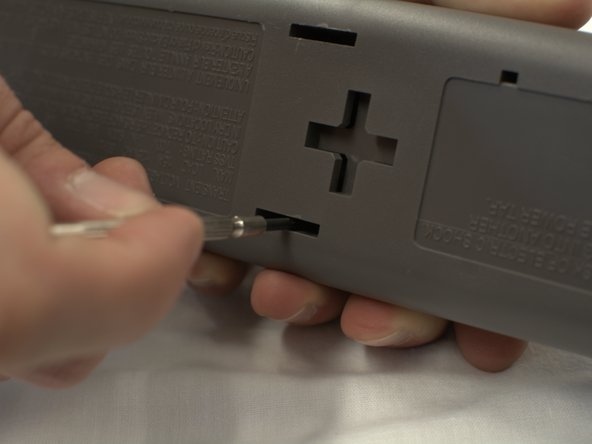
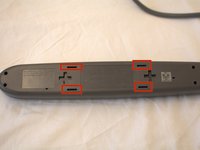
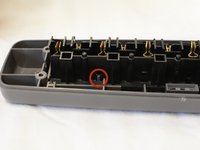
Locate four latch slots in case
-
Use 2.4mm Slotted Screwdriver, put tip into center of slot, with tip on outer edge of slot, and press inward
-
-
-
-
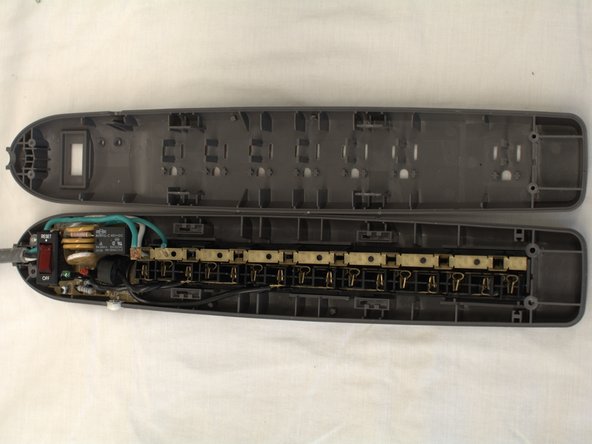
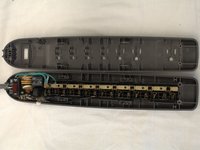
Take two halves of case apart with your hands
Really cool teardown...
Is there a reason why you decided to do one on a power strip?
FYI: there's absolutely NO sarcasm here. I'm always looking to add to my little of projects and this may have triggered and Idea
If you don't mind sharing, why did this come to mind. Plesse, I don't need specifics. It just got me thinking of using this method to make a pretty nice expanded powerstrip that I desperately need, but don't want to pay over $120+ for 2 or more of the pricey ones, even though a surge protector would be nice (sorry I don't know if yours does, I skim thru fast when I read).
Thank you!
E
-
-
-
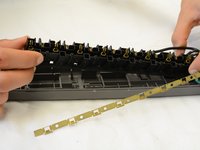
Lift Ground Copper Strip upward off of power plugs by hand
-
-
-
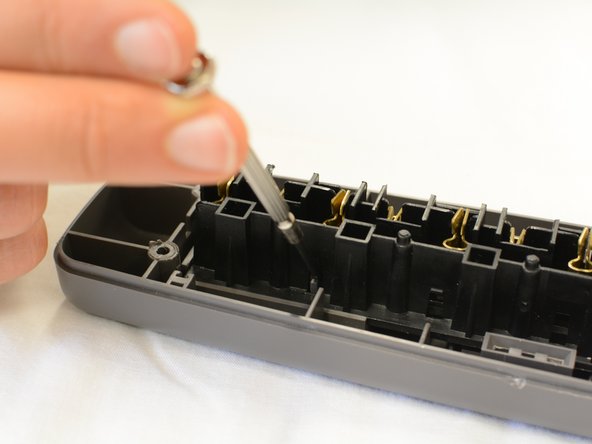
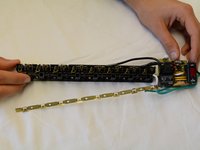
Locate latch securing power plugs to bottom of case
-
Using slotted 2.4mm screwdriver, pry latch away from power plugs to loosen power plugs
-
-
-
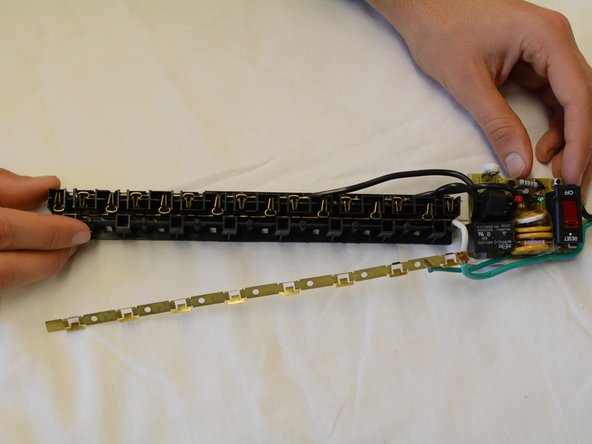
Lift power plugs out of bottom of case along with circuit assembly
-


crwdns2947412:02crwdne2947412:0
This is great! Thanks so much!
that awesome and i like how it fix