crwdns2915892:0crwdne2915892:0
This guide serves a teardown of the BSP D9 controller.
It aims to allow you to access all replaceable components.
crwdns2942213:0crwdne2942213:0
-
-
To open the controller there are 8 screws on the rear that need to be remove to access either side of the controller.
-
-
-
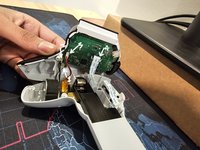
We start with the left side as the battery is this side.
-
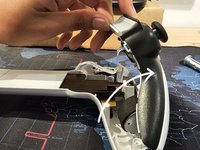
Start by squeezing the indicated area with your thumb
-
Then twist whilst pressing the squeezed area to open the controller to the left similarly to a book. As shown in the second image
-
-
-
There are 4 connections hold the top piece in as labelled
-
1. Rumble motor connection
-
2. Macro Button connection
-
3. Battery connection
-
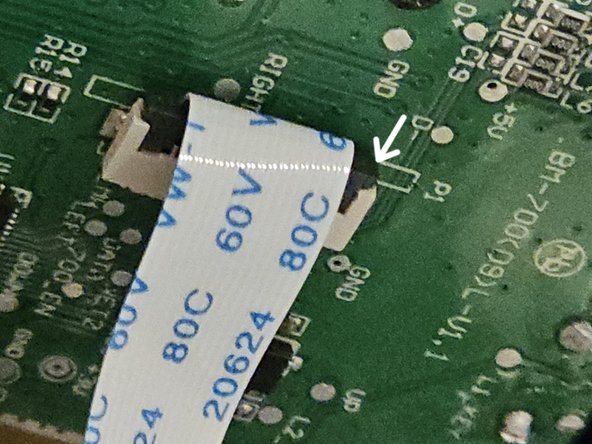
4. Interconnect Flex Cable
-
Disconnect the battery first before disconnecting anything.
-
To disconnect the ZIF connector by picking on the grey bale. As shown
-
-
-
-
In order to remove the PCB, unscrew the two screws as shown
-
-
-
And with that the left side is tore down.
-
-
-
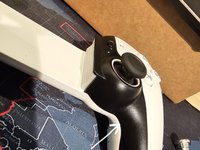
Apply pressure in the region highlighted in the images.
-
After which twist the controller in the direction shown
-
-
-
There are 3 connections for the right side.
-
1. Interconnect Flex Cable Connector
-
2. Rumble Motor Connector
-
3. Macro button Connector
-
To disconnect the flex cable follow the same steps as the left side
-
-
-
Remove the screws highlighted in the image
-
-
-
That's the right side torn down.
-


crwdns2947412:04crwdne2947412:0
What about the middle, extensible part? My Bsp-D9 stops working when fully extended, I think that part might be the problem.
Hi there @maximelumeau It's possible that either the ribbon cable that connects both sides is broken or it has come disconnected.
The only way to check is check continuity using a multimeter for each connection in the ribbon cable or replace the ribbon cable with one of same specification respectively
What type of flex cable is that and how many pins are in it . Also do you know the space between the pins
15 pin cable not sure of the pitch as I don't have a clamp to confirm the pitch