crwdns2915892:0crwdne2915892:0
This is a great guide on how to open an old Apple Mighty Mouse. This Mighty Mouse is a classic, all the way back from 2005! It came with my old laptop.
-
-
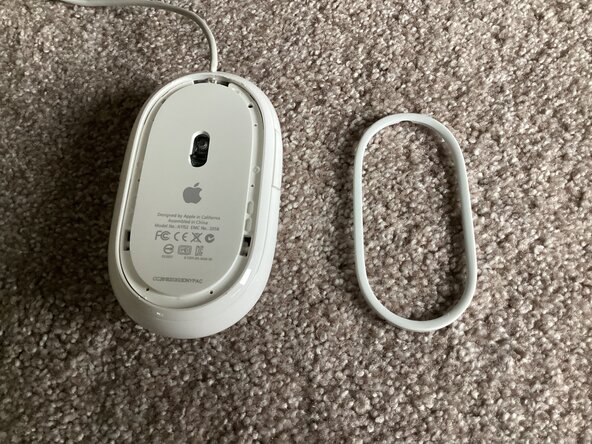
How to fully disassemble an Apple Mighty Mouse.
-
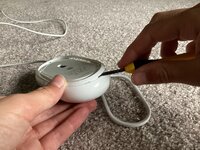
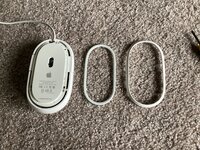
⚠️The first ring on the bottom of the Mighty Mouse is held together with glue. Only proceed if you are comfortable with breaking it off and re-adhering it.
-
-
-
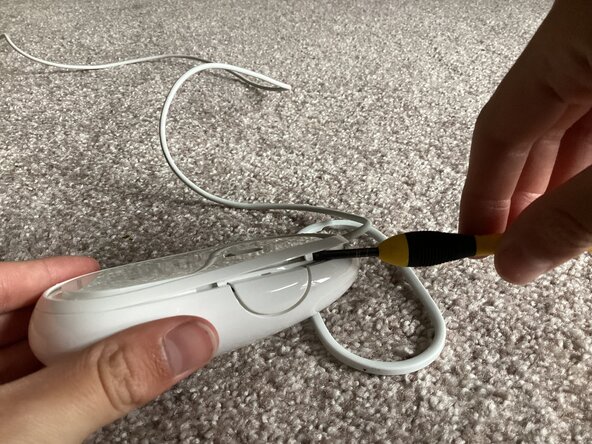
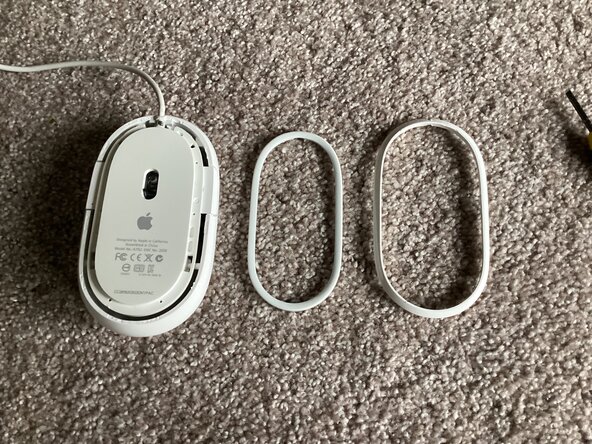
To begin disassembly, use a Flathead screwdriver to pry off the first lid on the mouse. Next, use the same screwdriver to pry off the secondary lid. All that’s holding the lid in place is a few plastic tabs.
-
-
-
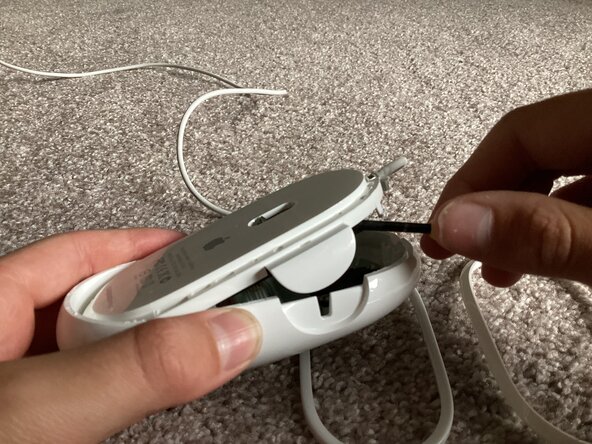
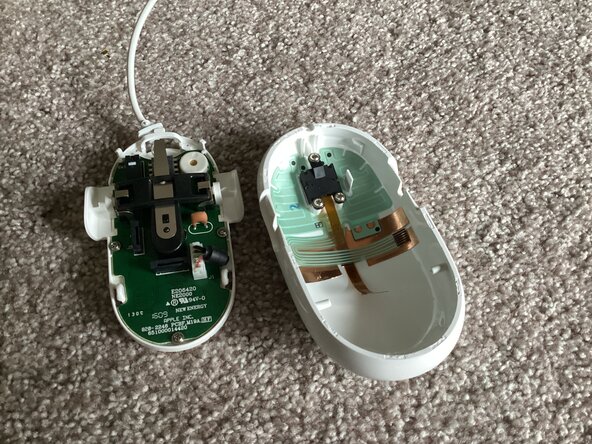
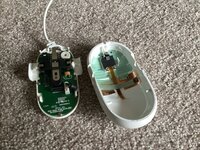
After prying off the second lid, use the same screwdriver to physically open the mouse.
-
-
-
-
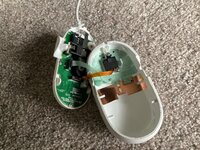
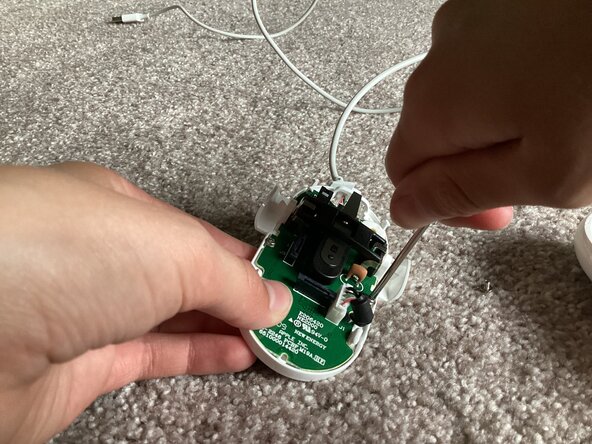
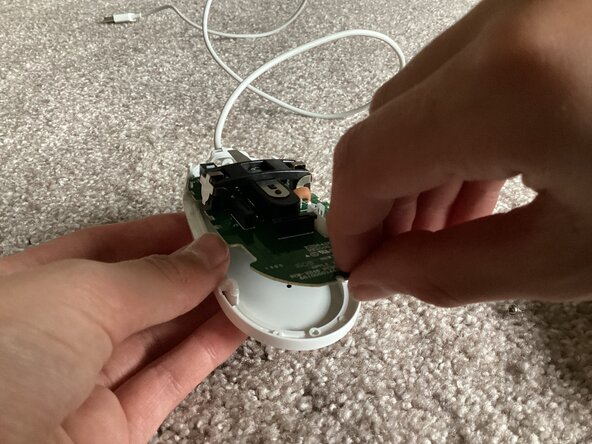
Once open, carefully remove the two ribbon/flex cables from the main PCB.
-
-
-
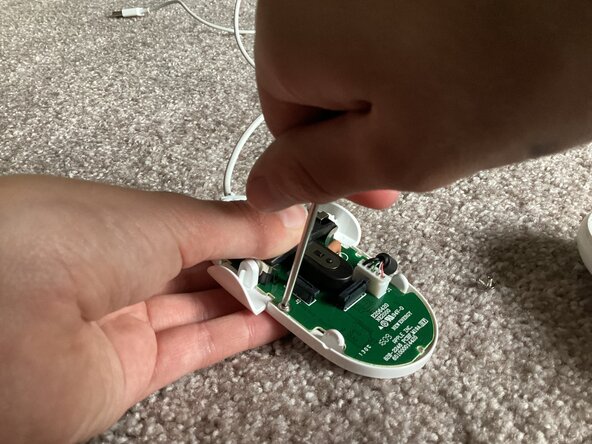
Next, unscrew the main PCB from the frame. It uses 3 Philips screws.
-
-
-
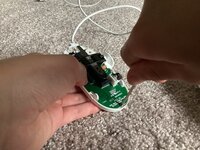
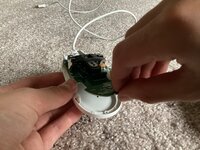
Remove the power cable from the main PCB. Next pry out the PCB with your hands, or a screwdriver. *Be Careful not to damage any of the components on the PCB*
-
-
-
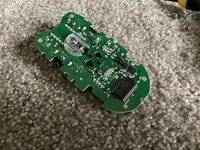
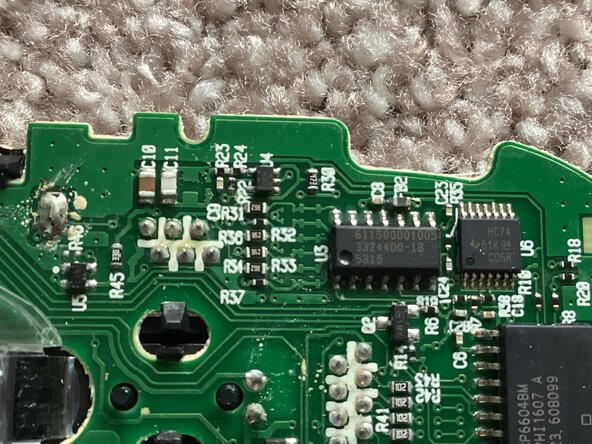
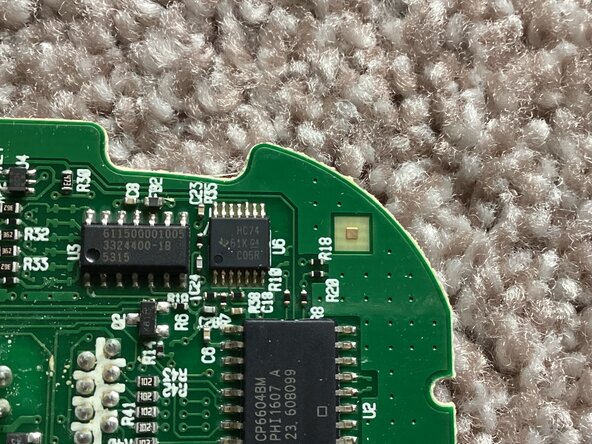
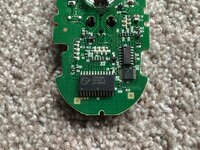
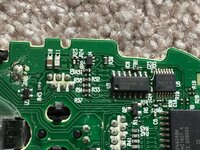
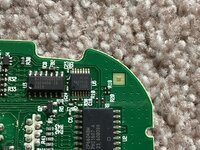
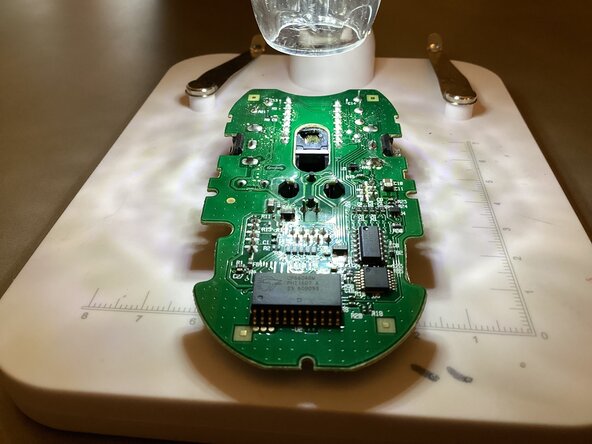
Here are some pictures of the PCB. It has 3 IC chips with the main one reading CP6604BM, and the smallest one being from Texas Instruments.(The optical sensor is underneath a piece of plastic)
-
-
-
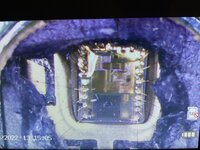
But, what’s inside that optical sensor? I put the sensor under this digital microscope after breaking the lid off with some pliers. On the silicon chip, there is some sort of pixel array, as well as the ASIC control circuit. This part also has some sort of clear epoxy to protect the bond wires and the actual chip itself.
-
-
-
Congratulations! You have successfully disassembled your Apple Mighty Mouse. To reassemble your device, follow these steps in reverse order. (If you didn’t already open the optical sensor.
-