crwdns2915892:0crwdne2915892:0
One of the early versions of the wrist or hip wearable activity, mobility and sleep monitoring device produced by ActiGraph. The device has been used for research purposes, providing raw movement data which can be used to infer physical activity and inactivity of an individual. However, this device is no longer available from the manufacturer. This device was procured for $500 AUD and provided to us by a research institute. Upgraded versions are available on their website. You can find more information about this device on this link.
crwdns2942213:0crwdne2942213:0
-
-
A class I self-certified medical device, this device was built for clinical and research grade measurement of movement data.
-
Strapped to the wrist or to the hip, this device accurately measures movement and helps determine physical activity patterns, sleep quality and other lifestyle factors.
-
Length: 34.2mm
-
Width: 45.6mm
-
Height/ thickness: 19mm
-
-
-
The device has a micro-USB port for data exchange and charging. The manual states that the device is water resistant for immersion in 1 meter of water for up to 30 minutes.
-
This micro-USB port is protected by an ABS plastic pan-head slotted flat-end screw and a Nylon rubber strap that acts as a water-tight gasket between the screw and the body.
-
The rubber strap carries the engraved ActiGraph logo.
-
The plastic screw can be unscrewed using a pry pick or even with your fingernail. The slot is fairly wide. Although the strap is stuck with an adhesive at the other end of the device, it is fairly easy to pull off.
-
Strap width: 9.6mm
-
Strap thickness: 1-2mm
-
Screw diameter: 9.8mm
-
Screw length: 6.85mm
-
-
-
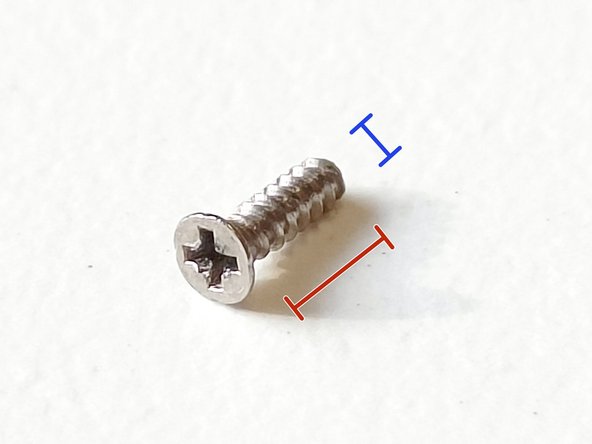
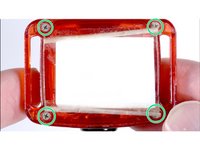
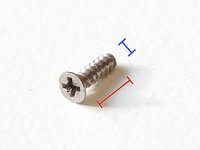
The body is made of two injection-molded red translucent polycarbonate parts: a casing and a cap. The cap is closed with 4 Philips flathead, countersunk, flat tip stainless steel screws. Use the #1 Philips head screwdriver to open the screws.
-
Screw diameter: 1.5mm
-
Thread length: 5mm
-
-
-
crwdns2935267:0crwdne2935267:0Tweezers$4.99
-
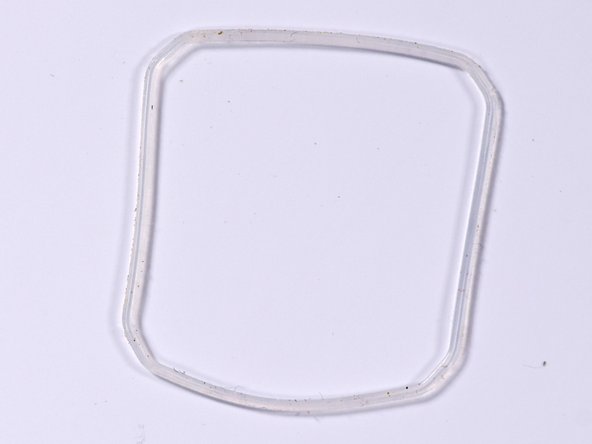
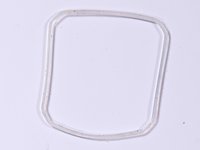
The casing was lined with a 1mm thick white translucent nylon rubber gasket.
-
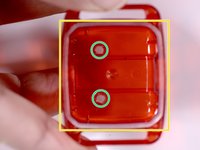
Within the red translucent polycarbonate shell, there were two colourless transparent holes. These may be for the light sensors on the PCB to detect ambient light, a feature used to assist with sleep tracking.
-
The rubber gasket can be pulled out with tweezers. This gasket would help with water resistance.
-
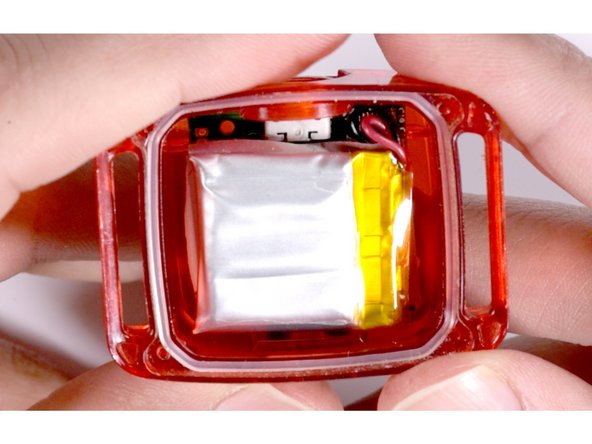
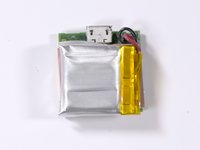
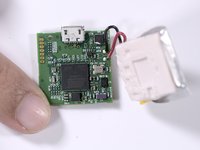
Inside the device was a single unit that included a battery and the PCB. This could be pried out using a spudger.
-
-
-
The battery is soldered on the PCB and the two are stuck together using 1mm thick foam double-sided tape (DST). The DST may also help with reducing water damage on the PCB by protecting the sensors and ICs.
-
There were no fasteners holding the PCB and the battery to the body.
-
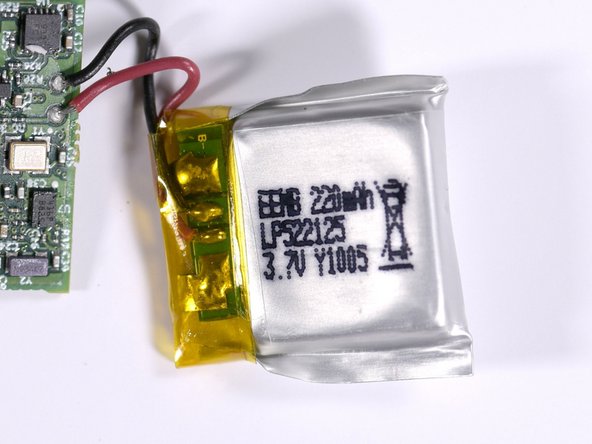
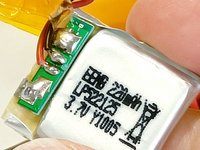
The device uses an EEMB 3.7V 220mAh Lithium Polymer Rechargeable battery. This does not seem to be available anymore on their website.
-
-
-
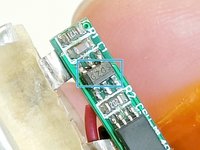
There is a protection circuit soldered on the battery, covered with a yellow translucent plastic wrapper. It has two components:
-
Marking code: 8810 BV9Z4B (?)
-
Marking code: G2GS (?)
-
-
-
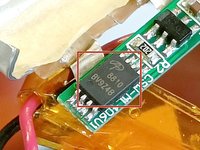
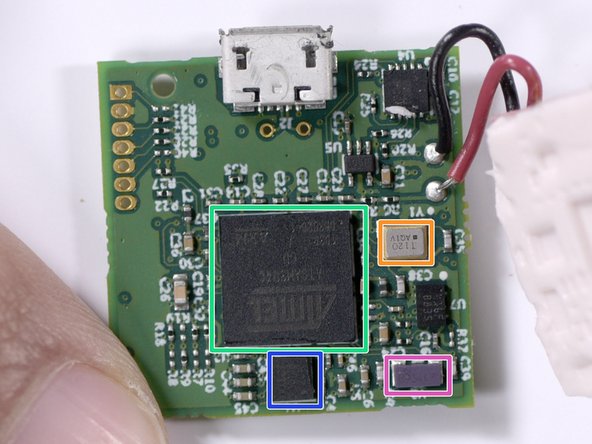
The PCB had important components on both sides. In the 3rd image, the purple component (416F 8835), the grey component (9301 FC), the brown component (65P) could not be identified. The following components were labelled, although some are unknown:
-
Micron MT29F2G08AAD (NAND Flash memory)
-
Ambient light sensors
-
Marking code: ".F". Possibly a logic gate
-
ATMEL ATSAM3U4C (Flash microcontroller)
-
Marking code: T120 AQ1V (A crystal oscillator)
-
Marking code: M934K7 (?)
-
KXSC7 1012B 2010 (Kionix (now ROHM)) MEMS Accelerometer (?)
-
-
-
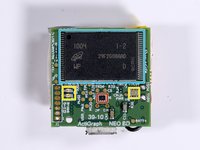
With that, the device has been fully disassembled!
-
In terms of repairability, most of the components can be replaced if available from the manufacturer. Apart from the screws, the battery and the DST, all components seem custom made for this device.
-
The device uses 4 standard screws which could be replaced by procuring them online or hardware stores.
-
The battery can be replaced, but it would require a soldering iron to connect to the board.
-
The device also uses a proprietary software and a black-box algorithm which provides the analysed data. That cannot be re-engineered easily.
-