
Fixing your PlayStation is a little more complex than fixing up your Nintendo Switch, because while the Switch is one console with a few variations, “PlayStation” comprises the entirety of Sony’s console lineup from 1994/5’s original PlayStation, up to today’s PS5. Additionally, we also have to consider the “slim” versions of many PlayStations. The good news is that you’ll only need our PlayStation Toolkit to repair any and all of them.

But on the other hand, PS repairs can be easier, because they’re not handhelds (except the PSP/PlayStation Vita of course) squeezed into the smallest possible space. And there’s one other big difference between home consoles and handheld consoles when it comes to longevity and repair. The big consoles, designed to be hooked up to power the whole time, don’t rely on batteries for their operation. Eventually you may have to replace the PRAM battery though, which is a pain, but at least it only involves a screwdriver and a spudger.
But let’s just dive in, and take a look at any quirks of each PlayStation, and anything you should watch out for in general.

Sony TV Console
Comprehensive set of repair guides for TV consoles manufactured by Sony, from the 1994 PlayStation to the newest PlayStation 5.
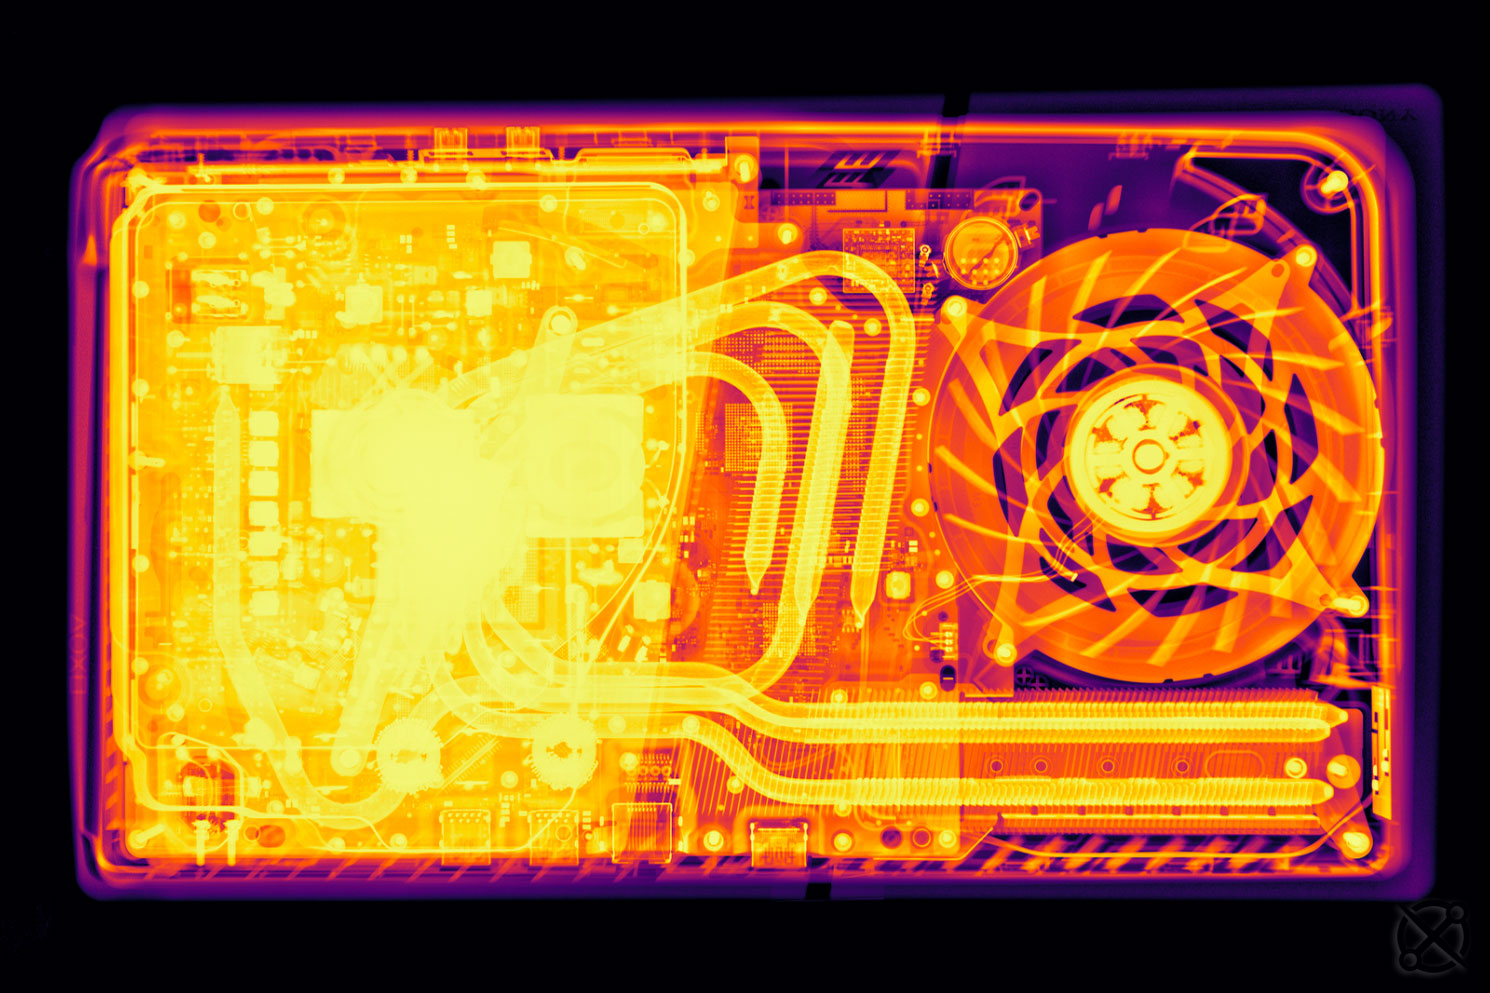
View DeviceOG PlayStation (1994)
Let’s get started with probably the most likely problems you’ll have with any console that uses an optical drive: a dirty lens. Optical drives use a laser to read the CD/DVD/Blu-Ray, and a dirty lens means disk errors. The older a console gets, the more likely it is to pick up dirt from the atmosphere, or accumulate dust.
You could try one of those disk-cleaning disks, essentially a CD with a tiny brush glued onto it, but if you’re working on an old console, you should probably just open it up and do a general spring clean for maintenance purposes. Clean the lens, brush out any dust, paying attention to any fans you see in there (although there are no fans in the PS1), and also take a look for any obvious problems with the capacitors on the power-supply board. Capacitors degrade over time, and this console is now 30 years old.
If disk-reading is the problem, also check the spindle hub, which holds the disk firmly in place while it spins. It’s replaceable, but you can just swap in a new drive, perhaps from a dead donor machine, which should be easy enough to find. That’s another tip for early gadget repair in general. Parts pairing wasn’t yet a thing, so you can often just buy a few dead units from your local classifieds, and combine the good parts into one perfect Frankenconsole.
Best of all, the original PlayStation is very easy to repair. You need only a Phillips screwdriver and a spudger for most of the work, and it’s all pretty modular in there.
The same isn’t true of the PlayStation’s derivatives and reissues. The PSOne, released in 2000, is a mini version of the PlayStation that puts pretty much everything on the main circuit board, including the AV multi-out port, which is subject to wear and tear. If this happens to you, try removing the board and reflowing the solder. iFixit member Michael Wallace got good results putting it in an oven, but ended up melting some plastic parts in the process. Be warned, though: baking your electronics might fix issues temporarily, but it is a gamble.
PlayStation 2 (2000)
Everything is a little more complicated with the sequel, exemplified by the CD/DVD drive replacement, which goes from the simple top-and-bottom-cover-removal of the original to an iPad-style full teardown. Fortunately, it’s another screwdriver’n’spudger job, which keeps it straightforward at least.
The PlayStation 2 Slimline may need more attention to its fan thanks to a possibly-higher chance of overheating. Other than the added complexity, though, the PS2 doesn’t have any particularly special problems you need to watch out for.
PlayStation 3 (2006)

The PlayStation 3 brings a Blu-Ray drive, plus on-board storage in the form of a 2.5-inch SATA hard drive. This brings us our first opportunity for upgrading a PlayStation. You can easily swap the spinning hard drive for a much-faster—and much larger—SSD. And we say “easily,” we mean it. There’s a pop-off panel on the side of the console, with a pull-out sled containing the hard drive. The most time-consuming part is removing the runners from the old drive and screwing them to the new one. You can be done in 5-10 minutes.
The PS3 is physically way more complex than its predecessors, with the addition of the hard drive, Wi-Fi and Bluetooth, and generally just more and bigger stuff in there. One thing to watch out for if buying used, or if grabbing your old PS3 from the attic, is the YLOD, or Yellow Light of Death. This is a non-specific error light (thanks Sony!) that may indicate degraded capacitors. The good news is that you can replace them. The bad news is that you’ll have to disassemble the entire PS 3 to do it. Our guide classifies it as “very difficult,” with a 6-10 hour repair time.
PlayStation 4 (2013)
In practice, the PlayStation 4 is much the same as the PS3, with another easy-to-swap hard-drive, and another cryptic flashing light (although this one is white).
One interesting fault, one that’s easily rectified, is when the PS4 starts ejecting disks unexpectedly. This is down to an overenthusiastic capacitive-touch eject button, once again proving that regular physical buttons are better in almost every way. The easy fix is apparently to remove one of the PS4’s rubber feet to stop it pressing on the switch’s circuitry. The more involved fix is to open up the console, find the button, and disable it with some insulating electrical tape.
PlayStation 5 (2020)
Other than the accumulated problems and maintenance tasks of the previous iterations, the PS5 adds a new scary failure mode: the Green Screen. This fun fault can have several different causes, from minor software glitches (look for the Rest Mode), to major motherboard and HDMI port defects. Just make sure to rule out your TV or display first.
You may have noticed that, as we advance through the generations, software issues get more and more pronounced. This is obviously just the way that modern computing works, and so you should troubleshoot the PS5 the same way you start troubleshooting any computer: Turn it off and then on again. Also, beware of full system wipe and restore, because that’s going to wipe out your saved data. Back up before proceeding.
The Handhelds and Controllers
There have been a bunch of portable PlayStations over the years. The main group consists of various PSPs, or PlayStations Portable, with separate models getting suffixes mostly in the form of X000. Then there are the mobile-phone inspired Vita, bought by like 5 people, the PSP Go, a tinier PSP with a slide-out controller and proprietary non-USB connector, and the PlayStation Portal, which looks amazing, and streams games over the internet instead of playing them locally.
The one thing they all have in common is that they will wear more like game controllers than like TV-connected consoles. They have lots of moving parts, all jammed into a tiny space with the computer brain and the screen, and then abused, stuffed into bags and pockets, and rubbed with greasy Cheeto dust.
The most common failure is going to be the joysticks, which wear out, and end up drifting. There’s very little you can do about that once it starts, so you’d better get used to using a soldering iron to remove the joystick assembly from the DualShock (or DualSense) circuit board. The only exception so far is the DualSense Edge controller, which features swappable modular sticks.
The portables fare better than the standalone controllers here. The Vita Slim’s joystick is connected via a ribbon cable, and the PSP 2000’s stick, for example, can just be popped out and replaced, once you’re inside the console.
The other common failure is, of course, the battery. We sell various batteries for the portables, as well as for the DualShock and DualSense controllers, along with guides for all models. One surprise I got while researching this article is that the little PSP Go, with its slide-out controller section, is not nearly as breakable as it seems. One common fault is a damaged ribbon cable from all that sliding back and forth, but those are fairly easy to replace.
There aren’t really any surprises in the PlayStation line in general. The home consoles are less susceptible to wear and tear, they have similarly-weird diagnostic modes as other consoles, and all joysticks and battery will give up the ghost eventually. The good news is, most of it is repairable—given the right parts and tools.
What did I miss? What’s a tip you would give someone trying to fix a PlayStation, either generally or specific to a particular model? Comment below or tag us on social media (Twitter, Facebook, Instagram)!


crwdns2944067:00crwdne2944067:0