crwdns2915892:0crwdne2915892:0
How to on how to replace the circuit board on a wireless charger.
crwdns2942213:0crwdne2942213:0
-
-
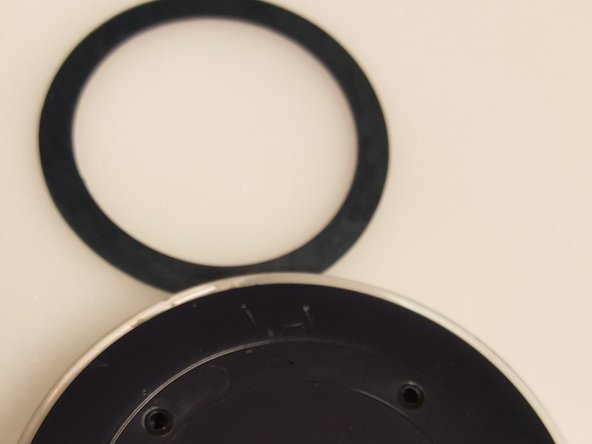
Remove the padding by using a flat tool to remove adhesive and pry padding off of device. Be careful not to rip or tear.
-
-
-
Remove (4) phillips head screws holding device together. I used a #1.2mm phillips head screwdriver.
-
-
-
-
Gently pry bottom cover off of device. This will expose the circuit board.
-
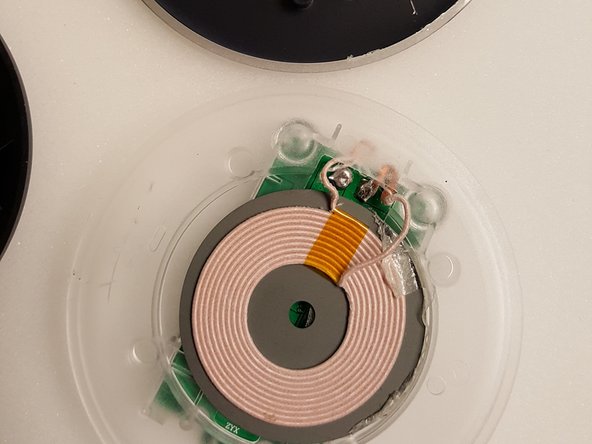
Gently pry top cover off device. This will expose the charging unit of the device.
-
-
-
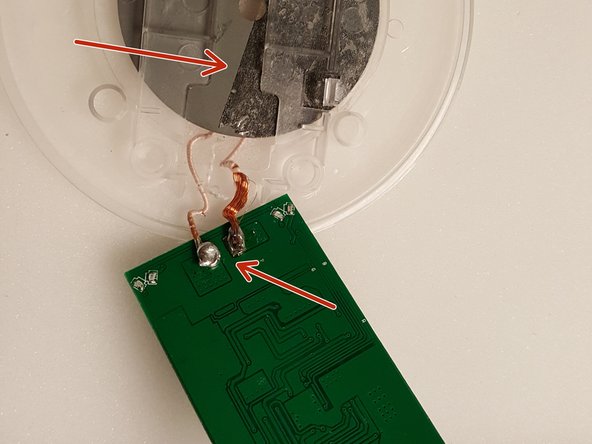
There are two clips holding the circuit board in. Using a flat surfaced tool pry on one clip until the circuit board pops up and then you can pull board out.
-
The charging device is soldered to the board so be aware and careful not to break the solder or wire to device.
-
-
-
The charging unit is held on to the top of the device by adhesive. Simply use a prying tool with a flat surface to gently pry away from adhesive.
-
-
-
Once circuit board and charging unit have been removed you can replace with a new one. Don't forget the adhesive tape. Use reverse order!
-
Note: There may be soldering involved if you only want to replace board and not charging unit.
-


To reassemble your device, follow these instructions in reverse order.
To reassemble your device, follow these instructions in reverse order.
crwdns2935221:0crwdne2935221:0
crwdns2935229:03crwdne2935229:0