crwdns2933423:0crwdne2933423:0

why! L140/1PU CMOS battery replacement

crwdns2942213:0crwdne2942213:0

  1. why! L140/1PU CMOS battery replacement, Back cover: crwdns2935265:01crwdnd2935265:01crwdnd2935265:02crwdne2935265:0 why! L140/1PU CMOS battery replacement, Back cover: crwdns2935265:01crwdnd2935265:02crwdnd2935265:02crwdne2935265:0
    • Remove the screws.

    • Lift the cover.

  2. why! L140/1PU CMOS battery replacement, Disconnection: crwdns2935265:02crwdnd2935265:01crwdnd2935265:02crwdne2935265:0 why! L140/1PU CMOS battery replacement, Disconnection: crwdns2935265:02crwdnd2935265:02crwdnd2935265:02crwdne2935265:0
    • For safety reasons, the battery must be disconnected before each intervention.

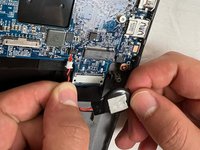
    • Disconnect the battery your fingers.

    • Other components can now be replaced safely.

  3. why! L140/1PU CMOS battery replacement, SSD1: crwdns2935265:03crwdnd2935265:01crwdnd2935265:03crwdne2935265:0 why! L140/1PU CMOS battery replacement, SSD1: crwdns2935265:03crwdnd2935265:02crwdnd2935265:03crwdne2935265:0 why! L140/1PU CMOS battery replacement, SSD1: crwdns2935265:03crwdnd2935265:03crwdnd2935265:03crwdne2935265:0
    • Unscrew the screw.

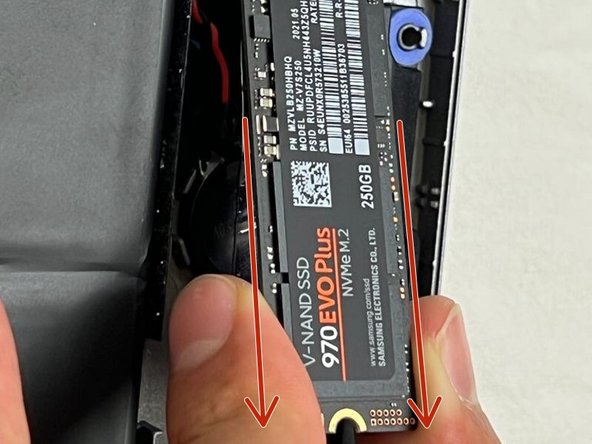
    • The SSD will lift by itself.
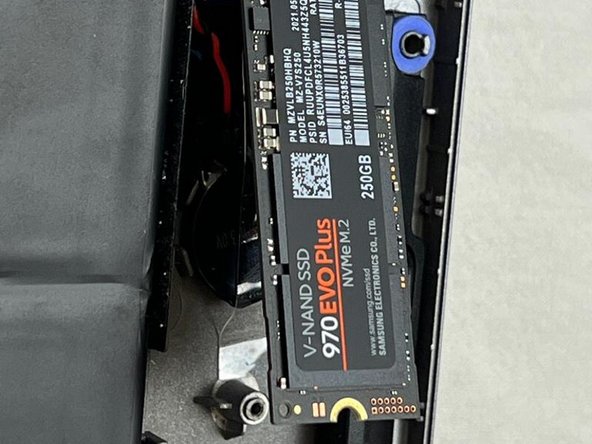
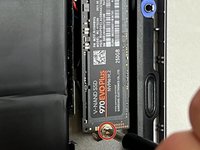
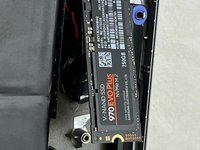
    • Remove the SSD.

  4. why! L140/1PU CMOS battery replacement, CMOS 1: crwdns2935265:04crwdnd2935265:01crwdnd2935265:03crwdne2935265:0 why! L140/1PU CMOS battery replacement, CMOS 1: crwdns2935265:04crwdnd2935265:02crwdnd2935265:03crwdne2935265:0 why! L140/1PU CMOS battery replacement, CMOS 1: crwdns2935265:04crwdnd2935265:03crwdnd2935265:03crwdne2935265:0
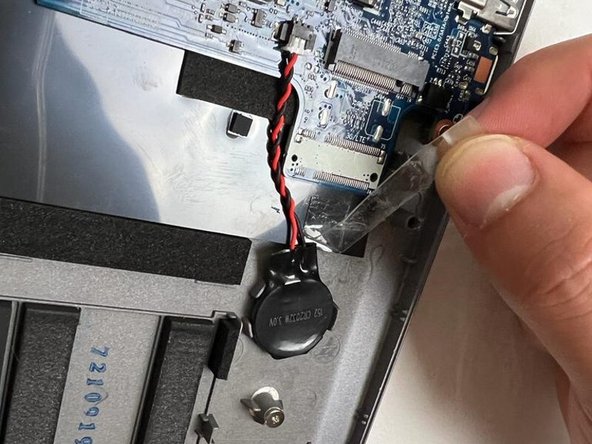
    • Peel off the adhesive tape.

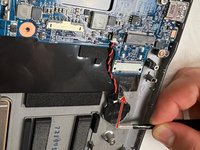
    • Using a spudger, carefully peel off the battery.

  5. why! L140/1PU CMOS battery replacement, CMOS 2: crwdns2935265:05crwdnd2935265:01crwdnd2935265:03crwdne2935265:0 why! L140/1PU CMOS battery replacement, CMOS 2: crwdns2935265:05crwdnd2935265:02crwdnd2935265:03crwdne2935265:0 why! L140/1PU CMOS battery replacement, CMOS 2: crwdns2935265:05crwdnd2935265:03crwdnd2935265:03crwdne2935265:0
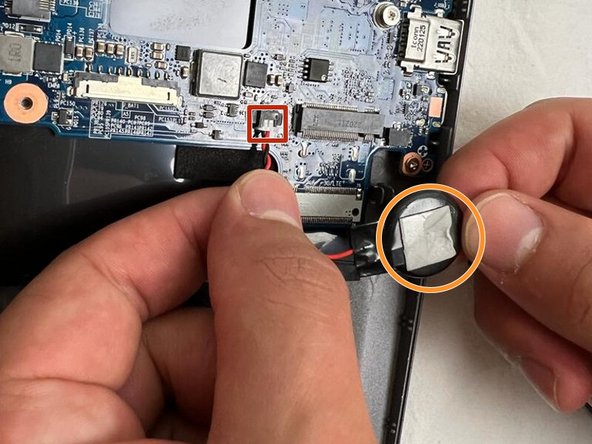
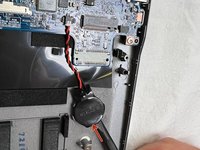
    • After carefully peeling off the battery, disconnect the cable.

    • The adhesive strip is located under the battery and is circled in orange.

crwdns2915888:0crwdne2915888:0

To reassemble your device, follow the steps in reverse order.

crwdns2934873:0crwdne2934873:0

fr en

100%

crwdns2934885:0crwdne2934885:0 crwdns2934875:0crwdne2934875:0
crwdns2934877:0crwdne2934877:0 ›

Felice Suglia

crwdns2935283:006/15/13crwdne2935283:0

33,359 crwdns2915208:0crwdne2915208:0

crwdns2935297:0282crwdne2935297:0

crwdns2947412:00crwdne2947412:0

crwdns2917038:0crwdne2917038:0

crwdns2936625:0crwdne2936625:0:

crwdns2936751:024crwdne2936751:0 0

crwdns2936753:07crwdne2936753:0 0

crwdns2936753:030crwdne2936753:0 10

crwdns2942667:0crwdne2942667:0 194