crwdns2933423:0crwdne2933423:0

Remplacement de la carte mère du Sony Vaio SVT131A11L

crwdns2931529:0crwdnd2931529:0crwdnd2931529:0crwdnd2931529:02crwdnd2931529:0crwdne2931529:0

crwdns2935425:016crwdne2935425:0

crwdns2936315:0crwdne2936315:0
crwdns2936317:0crwdne2936317:0
crwdns2931653:016crwdne2931653:0
Sony Vaio SVT131A11L  Motherboard Replacement: crwdns2935265:00crwdnd2935265:01crwdnd2935265:03crwdne2935265:0 Sony Vaio SVT131A11L  Motherboard Replacement: crwdns2935265:00crwdnd2935265:02crwdnd2935265:03crwdne2935265:0 Sony Vaio SVT131A11L  Motherboard Replacement: crwdns2935265:00crwdnd2935265:03crwdnd2935265:03crwdne2935265:0
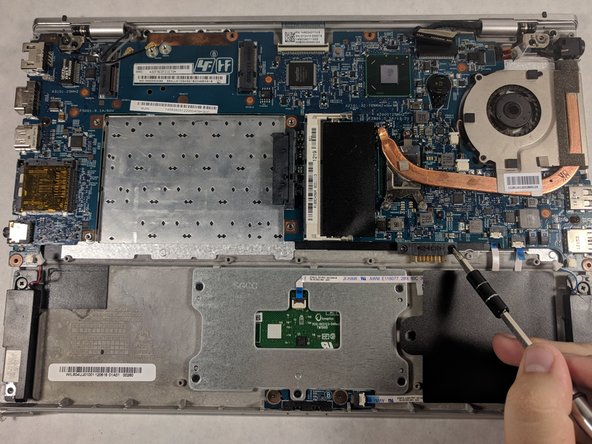
  • Unscrew the three 5mm Phillips head screws holding the motherboard to the laptop.

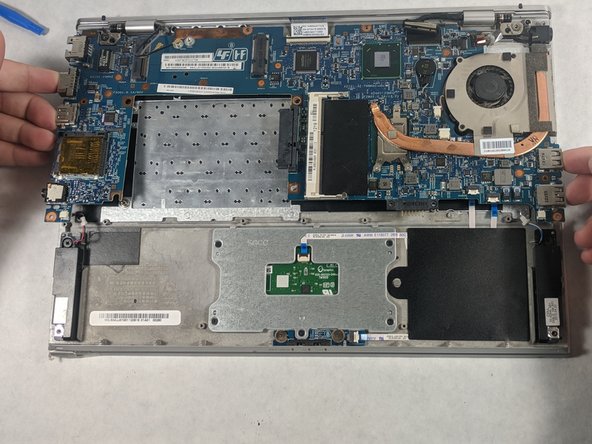
  • Grab the edges of the motherboard and lift the it slowly up and away from the back panel of the laptop.

  • It's best to lift the board away from the case by using the USB headers on the sides for leverage. Be careful when touching components on the motherboard, as oils from your skin can cause them to short out.

Dévissez les trois vis à tête cruciformes de 5 mm qui maintiennent la carte mère à l’ordinateur portable.

Prenez la carte mère par les bords et soulevez-la lentement vers le haut et vers l’extérieur de la partie supérieure du boîtier de l’ordinateur portable.

Il est préférable de soulever la carte mère du boîtier en soulevant à partir des connecteurs USB. Faites attention lorsque vous touchez les composants de la carte mère, car les substances grasses présentes sur votre peau peuvent provoquer un court-circuit.

crwdns2944171:0crwdnd2944171:0crwdnd2944171:0crwdnd2944171:0crwdne2944171:0