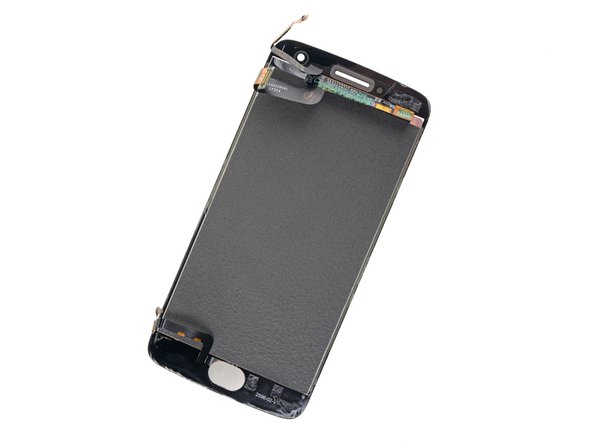
crwdns2933423:0crwdne2933423:0

Remplacement de l'écran complet du Motorola Moto G5 Plus

crwdns2931529:0crwdnd2931529:0crwdnd2931529:0crwdnd2931529:05crwdnd2931529:0crwdne2931529:0

crwdns2936315:0crwdne2936315:0
crwdns2936317:0crwdne2936317:0
crwdns2931653:03crwdne2931653:0
Motorola Moto G5 Plus Display Assembly Replacement: crwdns2935265:00crwdnd2935265:01crwdnd2935265:03crwdne2935265:0 Motorola Moto G5 Plus Display Assembly Replacement: crwdns2935265:00crwdnd2935265:02crwdnd2935265:03crwdne2935265:0 Motorola Moto G5 Plus Display Assembly Replacement: crwdns2935265:00crwdnd2935265:03crwdnd2935265:03crwdne2935265:0
  • In the following steps you will be cutting through the adhesive around the edge of the display assembly.

  • Refer to the second and third images and familiarize yourself with the width of the adhesive around edges of the display.

  • If you plan to re-use the display assembly, be particularly careful as you cut the adhesive on the sides of the phone. Don't insert your tool more than 2 mm into the phone, and angle it down (away from the display assembly) as much as possible.

Au cours des étapes suivantes, vous allez trancher l'adhésif le long du bord de l'écran.

Référez-vous à la deuxième et la troisième photo pour vous familiariser avec l'épaisseur de l'adhésif le long des bords de l'écran.

Si vous avez l'intention de réutiliser l'écran, faites particulièrement attention quand vous coupez l'adhésif sur les côtés du téléphone. N'insérez pas votre outil de plus de 2 mm à l'intérieur du téléphone et inclinez la pointe autant que possible vers le bas.

crwdns2944171:0crwdnd2944171:0crwdnd2944171:0crwdnd2944171:0crwdne2944171:0