crwdns2935425:06crwdne2935425:0
crwdns2931653:06crwdne2931653:0


-
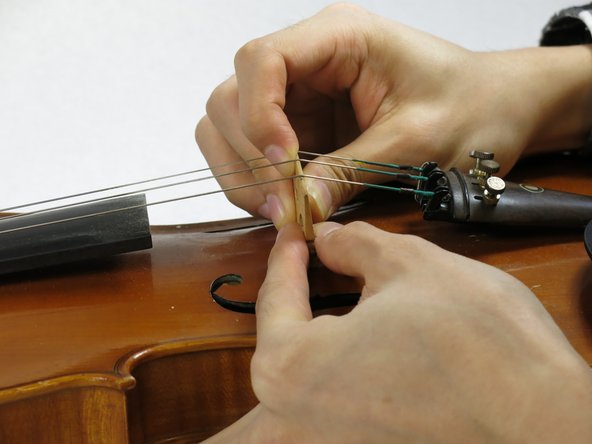
Hold the bridge in one hand and tighten the strings in the reverse order you loosened them. That is, tighten the A-string and D-string first, and then, tighten the E-string and G-string. Tighten until each string matches its rough standard pitch (violin tuner suggested).
-
After tightening all four strings, play a little to test the string placement. If the distance between the strings is not comfortable for performance (as noted in step 4), repeat step 2-6 and adjust the distance between the strings on the bridge again to find the proper distance.
crwdns2944171:0crwdnd2944171:0crwdnd2944171:0crwdnd2944171:0crwdne2944171:0