crwdns2933423:0crwdne2933423:0

Asus Zen AiO Pro Z240IC Heat Sink Replacement

crwdns2935425:01crwdne2935425:0

crwdns2936315:0crwdne2936315:0
crwdns2936319:0crwdne2936319:0
crwdns2931653:01crwdne2931653:0
Asus Zen AiO Pro Z240IC Heat Sink Replacement: crwdns2935265:00crwdnd2935265:01crwdnd2935265:02crwdne2935265:0 Asus Zen AiO Pro Z240IC Heat Sink Replacement: crwdns2935265:00crwdnd2935265:02crwdnd2935265:02crwdne2935265:0
  • Use a Phillips #1 screwdriver to loosen the four (4) large silver screws evenly in the order of the numbers engraved next to each screw.

  • Use a Phillips # 0 to loosen the other four (4) 2.4 mm screws evenly in the order engraved on the copper next to each screw.

  • Repeat the last two bullets until all the larger silver screws make a clicking sound and the 2mm screws are removed.

  • The silver screws cannot be completely removed.

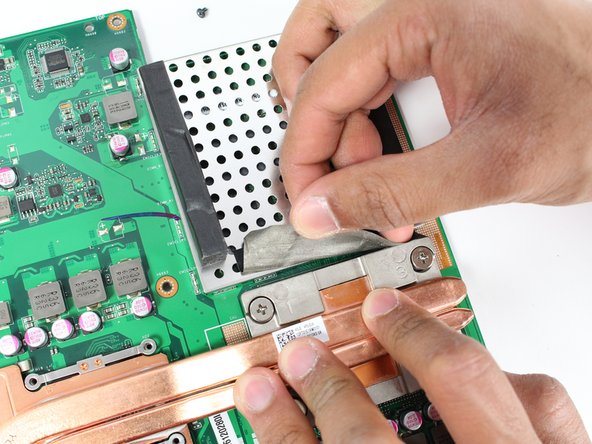
  • Peel away the black tape between the RAM shield and the heat sink.

  • When reattaching the heat sink to the motherboard, make sure to tighten the screws a little bit at a time, in the same order as before, until they are all snug.

crwdns2935429:0crwdne2935429:0

crwdns2935429:0crwdne2935429:0

crwdns2935429:0crwdne2935429:0

crwdns2935429:0crwdne2935429:0

crwdns2935429:0crwdne2935429:0

crwdns2935429:0crwdne2935429:0

crwdns2944171:0crwdnd2944171:0crwdnd2944171:0crwdnd2944171:0crwdne2944171:0