crwdns2933423:0crwdne2933423:0

why! N240JU Replacing the LCD screen

crwdns2931531:0crwdnd2931531:0crwdnd2931531:0crwdnd2931531:0crwdne2931531:0

crwdns2936317:0crwdne2936317:0
crwdns2936315:0crwdne2936315:0
crwdns2931653:04crwdne2931653:0
why! N240JU Remplacement de l'écran LCD: crwdns2935265:00crwdnd2935265:01crwdnd2935265:03crwdne2935265:0 why! N240JU Remplacement de l'écran LCD: crwdns2935265:00crwdnd2935265:02crwdnd2935265:03crwdne2935265:0 why! N240JU Remplacement de l'écran LCD: crwdns2935265:00crwdnd2935265:03crwdnd2935265:03crwdne2935265:0
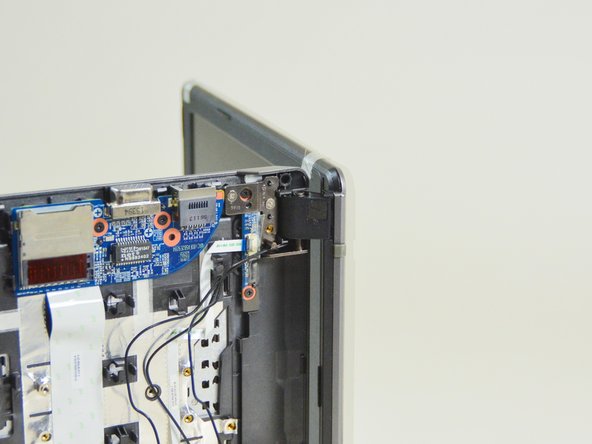
  • Repérez maintenant les deux vis qui fixent l'écran au reste du Laptop (l'autre côté).

  • Relevez ensuite le Laptop comme indiqué dans la seconde image de cette étape.

  • Dévissez la première vis.

Now locate the two screws that secure the screen to the rest of the Laptop (the other side).

Then lift the Laptop as shown in the second image of this step.

Unscrew the first screw.

crwdns2944171:0crwdnd2944171:0crwdnd2944171:0crwdnd2944171:0crwdne2944171:0