crwdns2935425:05crwdne2935425:0
crwdns2931653:05crwdne2931653:0

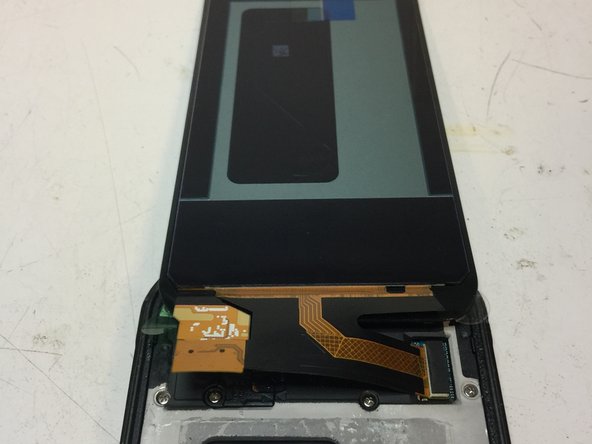


Connecting the New Assembly
-
After you've removed the cracked screen assembly, you will need to apply heat to the buttons to transplant them to the new assembly.
-
Remove the adhesive from the new assembly and carefully line up the buttons. They won't move easily once they're adhered.
-
Connect the new screen assembly to the board and install the plastic cover.
-
At this point, we recommend testing the phone before adhering the new screen into place.
crwdns2944171:0crwdnd2944171:0crwdnd2944171:0crwdnd2944171:0crwdne2944171:0