crwdns2935425:08crwdne2935425:0
crwdns2931653:08crwdne2931653:0


-
By following step 8 and 9 you will detatch the back surface of the steaming iron and expose the electrical wires. These steps also need to be completed to remove the water tank
-
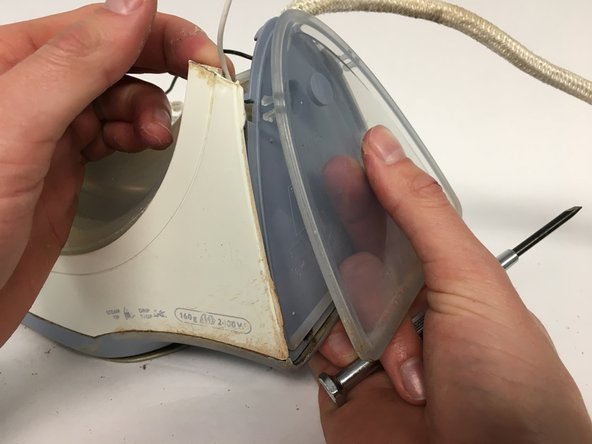
The plastic covering plate is connected by snapfits to the product. A hinch is placed between both. apply some pressure with a lever (we used a flathead screwdriver) and pull the part back with your hand to remove the transparent plastic part
-
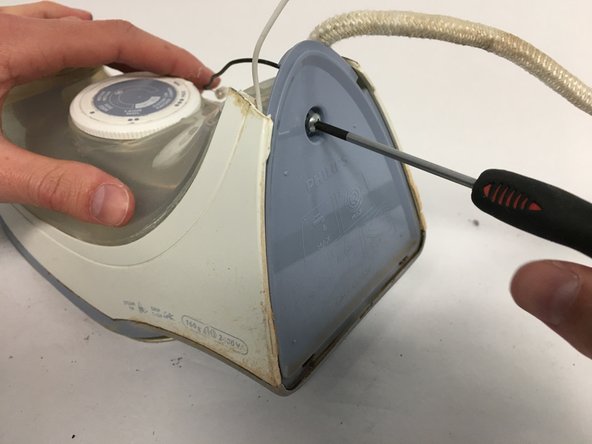
Image 3: Unscrew the exposed screw to remove the blue plastic part
crwdns2944171:0crwdnd2944171:0crwdnd2944171:0crwdnd2944171:0crwdne2944171:0