crwdns2933423:0crwdne2933423:0

Remplacement de la caméra du AvertX HD810

crwdns2931527:0crwdnd2931527:0crwdnd2931527:0crwdnd2931527:0crwdne2931527:0

crwdns2935425:01crwdne2935425:0

crwdns2936315:0crwdne2936315:0
crwdns2936317:0crwdne2936317:0
crwdns2931653:01crwdne2931653:0
AvertX HD810 Camera Replacement: crwdns2935265:00crwdnd2935265:01crwdnd2935265:03crwdne2935265:0 AvertX HD810 Camera Replacement: crwdns2935265:00crwdnd2935265:02crwdnd2935265:03crwdne2935265:0 AvertX HD810 Camera Replacement: crwdns2935265:00crwdnd2935265:03crwdnd2935265:03crwdne2935265:0
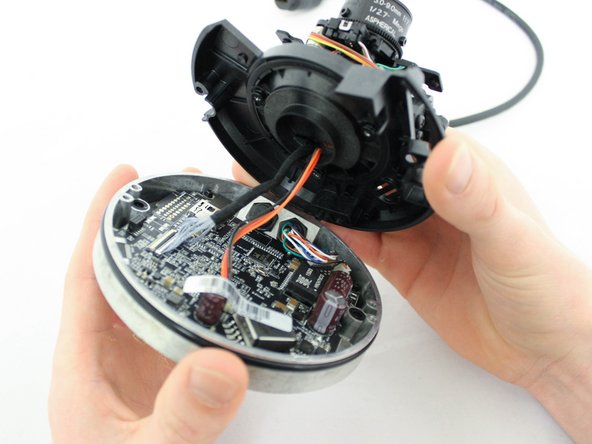
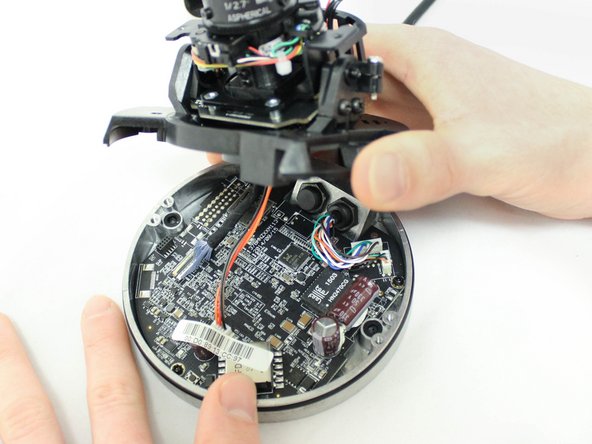
  • Using a PH1 screwdriver, remove the two 8mm screws holding the plastic base to the metal base of the camera.

  • Be sure to keep track of your screws and washers. Using the correct Phillips Head screwdriver will help prevent stripping the screws.

  • Careful when lifting the plastic base away from the metal base. There are two chords that may be damaged if pulled on.

À l'aide d'un tournevis PH1, retirez les deux vis de 8 mm qui maintiennent la base en plastique à la base métallique de la caméra.

Assurez-vous de garder une trace de vos vis et rondelles. L'utilisation du bon tournevis cruciforme aidera à éviter de dénuder les vis.

Faites attention lorsque vous soulevez la base en plastique de la base en métal. Il y a deux accords qui peuvent être endommagés s'ils sont tirés.

crwdns2944171:0crwdnd2944171:0crwdnd2944171:0crwdnd2944171:0crwdne2944171:0