crwdns2933423:0crwdne2933423:0

Hyperkin Retron 3 Disassembly

crwdns2931527:0crwdnd2931527:0crwdnd2931527:0crwdnd2931527:0crwdne2931527:0

crwdns2935425:04crwdne2935425:0

crwdns2936315:0crwdne2936315:0
crwdns2936321:0crwdne2936321:0
crwdns2931653:04crwdne2931653:0
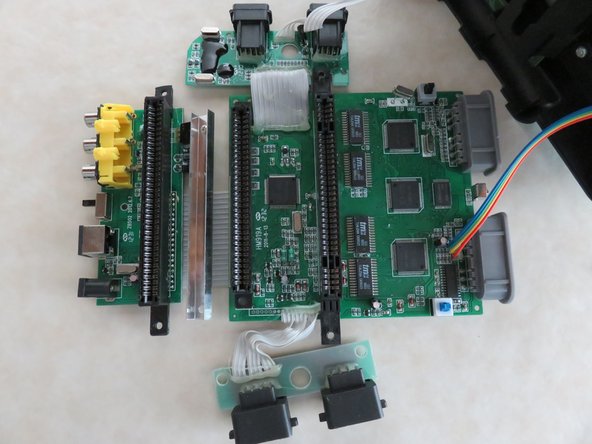
Hyperkin Retron 3 Disassembly, Remove PCBs from lower shell: crwdns2935265:00crwdnd2935265:01crwdnd2935265:02crwdne2935265:0 Hyperkin Retron 3 Disassembly, Remove PCBs from lower shell: crwdns2935265:00crwdnd2935265:02crwdnd2935265:02crwdne2935265:0
Remove PCBs from lower shell
  • The top shell won't be far away during this repair. Find a few objects to keep it upright or out of your way.

  • The AV/Power/NES PCB will be the last to remove during disassembly and first to replace during reassembly.

crwdns2935429:0crwdne2935429:0

crwdns2935429:0crwdne2935429:0

crwdns2944171:0crwdnd2944171:0crwdnd2944171:0crwdnd2944171:0crwdne2944171:0