crwdns2933423:0crwdne2933423:0

Sega Dreamcast Controller Restoration/Retro Console Restoration

crwdns2936315:0crwdne2936315:0
crwdns2936325:0crwdne2936325:0
crwdns2931653:07crwdne2931653:0
Sega Dreamcast Controller Restoration/Retro Console Restoration, Polishing the Buttons and Front Shell: crwdns2935265:00crwdnd2935265:01crwdnd2935265:03crwdne2935265:0 Sega Dreamcast Controller Restoration/Retro Console Restoration, Polishing the Buttons and Front Shell: crwdns2935265:00crwdnd2935265:02crwdnd2935265:03crwdne2935265:0 Sega Dreamcast Controller Restoration/Retro Console Restoration, Polishing the Buttons and Front Shell: crwdns2935265:00crwdnd2935265:03crwdnd2935265:03crwdne2935265:0
Polishing the Buttons and Front Shell
  • If you're restoring a white shell controller you're only polishing the buttons in this step.

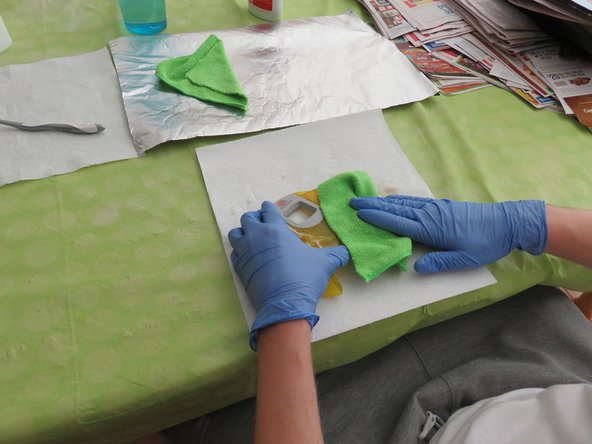
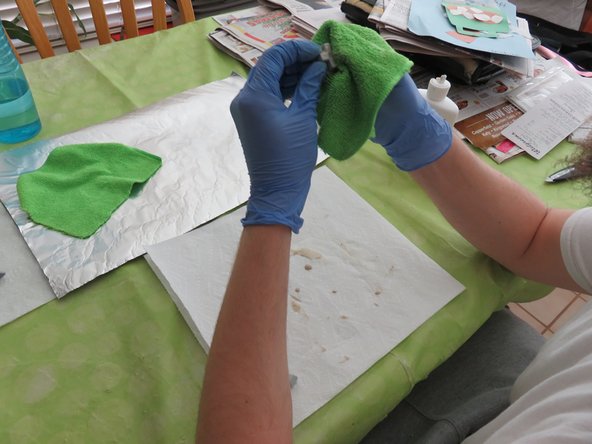
  • Here's where your aluminum foil, microfiber clothes, Novus Plastic Polish #2 and dish soap comes into play. Following the instructions on the back of the bottle, apply and buff polish to the buttons/shell until you're satisfied with results. I personally repeat this process 3 times.

  • After the final coat is applied I use the dish soap to do a final clean of the shell and to remove any remaining polish. I use the dish soap because it's a little thicker, and lathers more which helps get the remaining polish off.

  • This process is tedious and slightly time consuming. I average 1-1.5hrs work time when polishing, buffing, rinsing and repeating 3 times and the final clean with dish soap. The end results are worth it but you can polish your stuff as much as you feel is necessary.

crwdns2935429:0crwdne2935429:0

crwdns2935429:0crwdne2935429:0

crwdns2935429:0crwdne2935429:0

crwdns2935429:0crwdne2935429:0

crwdns2944171:0crwdnd2944171:0crwdnd2944171:0crwdnd2944171:0crwdne2944171:0