crwdns2933423:0crwdne2933423:0

Remplacement du numériseur du Polaroid PMID4312

crwdns2935425:07crwdne2935425:0

crwdns2936315:0crwdne2936315:0
crwdns2936317:0crwdne2936317:0
crwdns2931653:07crwdne2931653:0
Polaroid PMID4312 Digitizer Teardown: crwdns2935265:00crwdnd2935265:01crwdnd2935265:02crwdne2935265:0 Polaroid PMID4312 Digitizer Teardown: crwdns2935265:00crwdnd2935265:02crwdnd2935265:02crwdne2935265:0
  • Using a heat gun, apply heat to the front of the screen for 3-5 minutes to release the glue.

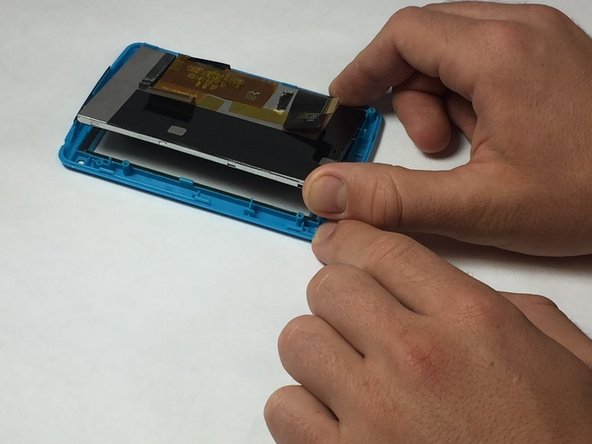
  • Using a plastic opening tool, pull back on the plastic blue tabs to release the digitizer and pry it back from the screen.

  • Remove the black trim the lines perimeter of the screen and is attached to the digitizer.

  • This step will be very easy if the heat gun that was mentioned previously is used.

À l'aide d'un pistolet thermique, appliquez de la chaleur à l'avant de l'écran pendant 3 à 5 minutes pour libérer la colle.

À l’aide d’un outil d’ouverture en plastique, tirez sur les languettes bleues en plastique pour libérer le numériseur et retirez-le de l’écran.

Retirez le contour noir des lignes de périmètre de l'écran et est attaché au numériseur.

Cette étape sera très facile si vous utilisez le pistolet thermique mentionné précédemment.

crwdns2944171:0crwdnd2944171:0crwdnd2944171:0crwdnd2944171:0crwdne2944171:0