crwdns2931529:0crwdnd2931529:0crwdnd2931529:0crwdnd2931529:02crwdnd2931529:0crwdne2931529:0
crwdns2935425:03crwdne2935425:0
crwdns2931653:03crwdne2931653:0


-
Disconnect the cable by using the precision tweezers.
-
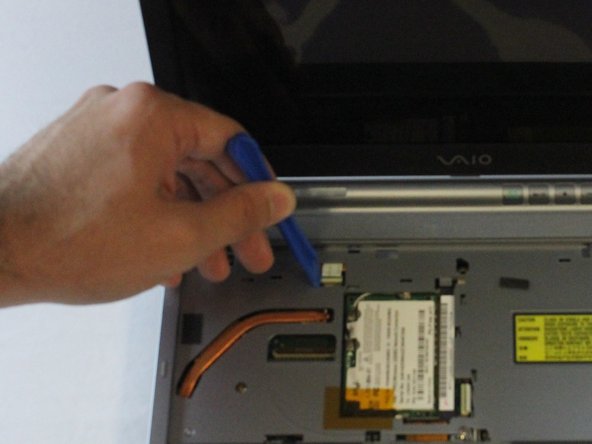
Slowly pry out the ribbon cable by using the plastic opening tool.
| - | [* black] Disconnect the cable by using the precision tweezers. |
|---|---|
| + | [* black] Disconnect the cable by using the precision [product|IF145-020|tweezers]. |
| [* black] Slowly pry out the ribbon cable by using the plastic opening tool. |
crwdns2944171:0crwdnd2944171:0crwdnd2944171:0crwdnd2944171:0crwdne2944171:0