crwdns2935425:08crwdne2935425:0
crwdns2931653:08crwdne2931653:0


-
We're ready to remove the rest of the peripherals. It'd be great to get a look at the battery, fans, heat sink, and speakers. Except we can't.
-
The symmetrical logic board keeps guard over the remaining components, so we spudger off its connecting cables and wrest it free from the case.
-
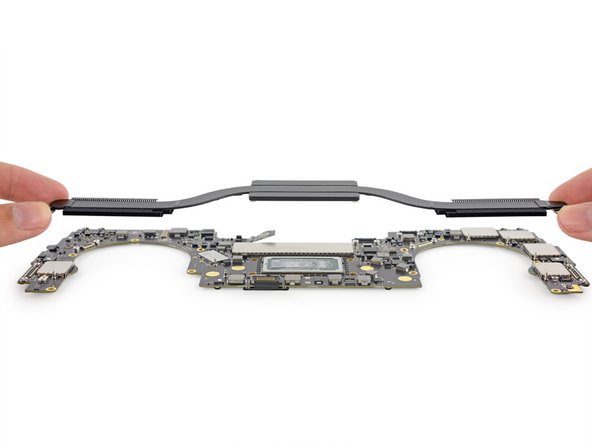
The heat sink is attached to the logic board with screws on the bottom. With the board out of the case, we're able to remove the heat sink for inspection—with a heat pipe running in each direction, it's got twice the pipe of the entry-level model.
crwdns2944171:0crwdnd2944171:0crwdnd2944171:0crwdnd2944171:0crwdne2944171:0