crwdns2933423:0crwdne2933423:0

Remplacement de la face arrière du Gateway LT2514u

crwdns2931529:0crwdnd2931529:0crwdnd2931529:0crwdnd2931529:03crwdnd2931529:0crwdne2931529:0

crwdns2935425:02crwdne2935425:0

crwdns2936315:0crwdne2936315:0
crwdns2936317:0crwdne2936317:0
crwdns2931653:02crwdne2931653:0
Gateway LT2514u Back Access Panel Replacement: crwdns2935265:00crwdnd2935265:01crwdnd2935265:03crwdne2935265:0 Gateway LT2514u Back Access Panel Replacement: crwdns2935265:00crwdnd2935265:02crwdnd2935265:03crwdne2935265:0 Gateway LT2514u Back Access Panel Replacement: crwdns2935265:00crwdnd2935265:03crwdnd2935265:03crwdne2935265:0
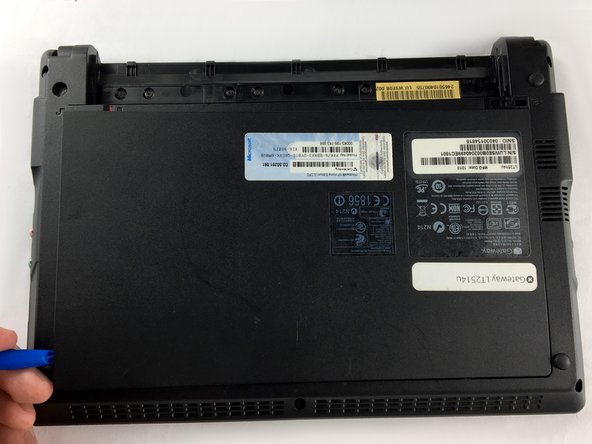
  • With the netbook lid closed, flip it over on its top. Work the head of a plastic opening tool into a corner of the back access panel until the corner pops up.

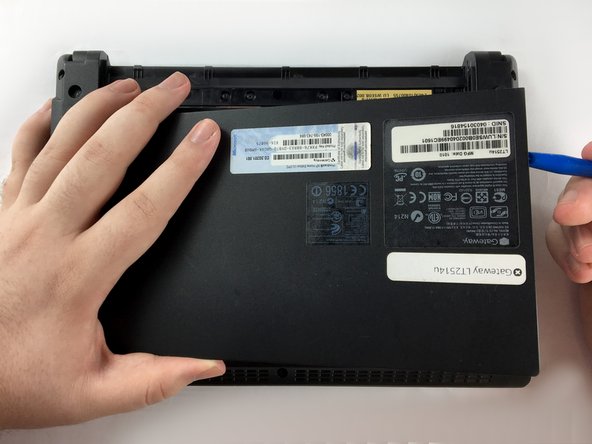
  • Keeping the head of the the plastic opening tool underneath the back access panel, work the tool in a sliding manner around the perimeter until all clips have popped.

  • Once all the clips have been released, pull the plate up and off.

Une fois l'écran fermé, retournez l'ordinateur. Utilisez le bout d'un outil d'ouverture en plastique dans un des coins de la face arrière jusqu'à ce que le coin se soulève.

Tout en gardant le bout de l'outil d'ouverture en plastique sous la face arrière, glissez l'outil le long de la face arrière de sorte à ce que tous les clips soient détachés.

Une fois tous les clips détachés, soulevez et retirez la face arrière.

crwdns2944171:0crwdnd2944171:0crwdnd2944171:0crwdnd2944171:0crwdne2944171:0