crwdns2933423:0crwdne2933423:0

Reemplazo de la Cámara del Acer One 10 S1002 145-A

crwdns2931527:0crwdnd2931527:0crwdnd2931527:0crwdnd2931527:0crwdne2931527:0

crwdns2935425:01crwdne2935425:0

crwdns2936315:0crwdne2936315:0
crwdns2936331:0crwdne2936331:0
crwdns2931653:01crwdne2931653:0
Acer One 10 S1002 145-A Camera Replacement: crwdns2935265:00crwdnd2935265:01crwdnd2935265:03crwdne2935265:0 Acer One 10 S1002 145-A Camera Replacement: crwdns2935265:00crwdnd2935265:02crwdnd2935265:03crwdne2935265:0 Acer One 10 S1002 145-A Camera Replacement: crwdns2935265:00crwdnd2935265:03crwdnd2935265:03crwdne2935265:0
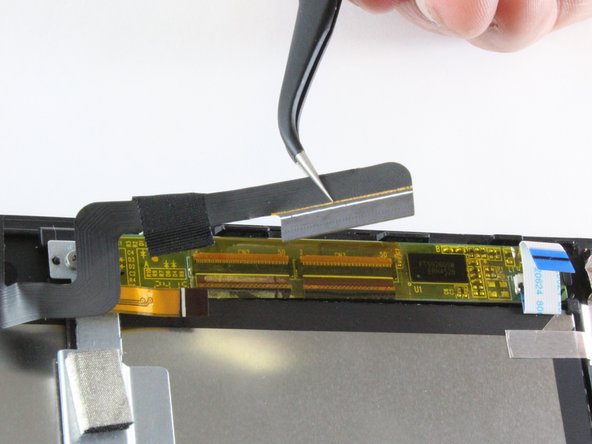
  • Separate the adhesive cable from the underlying copper ribbon cable.

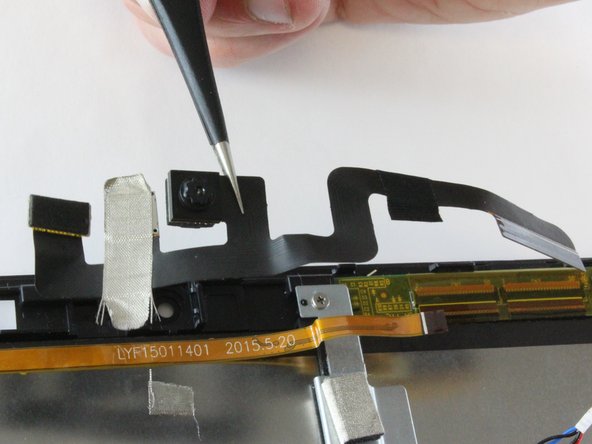
  • Gently pry off the camera from from tablet backing.

  • Remove the camera and set it aside.

Separa el cable adhesivo del cable cinta de cobre subyacente.

Con cuidado, levanta la cámara de la parte posterior de la tableta.

Retira la cámara y ponla a un lado.

crwdns2944171:0crwdnd2944171:0crwdnd2944171:0crwdnd2944171:0crwdne2944171:0