crwdns2933423:0crwdne2933423:0

Google Pixel XL 拆解

crwdns2936315:0crwdne2936315:0
crwdns2936311:0crwdne2936311:0
crwdns2931653:04crwdne2931653:0
Google Pixel XL Teardown: crwdns2935265:00crwdnd2935265:01crwdnd2935265:03crwdne2935265:0 Google Pixel XL Teardown: crwdns2935265:00crwdnd2935265:02crwdnd2935265:03crwdne2935265:0 Google Pixel XL Teardown: crwdns2935265:00crwdnd2935265:03crwdnd2935265:03crwdne2935265:0
  • Our path to victory is clear: remove the bracket, free the display, win. Tools from the 64 Bit Driver Kit make short work of the T5 Torx screws.

  • We like to say that we break things so you don't have to. That's what happened here today. Teardowns are our opportunity to learn how a new device goes together—so we can develop guides with a repeatable, nondestructive procedure for everyone else to use.

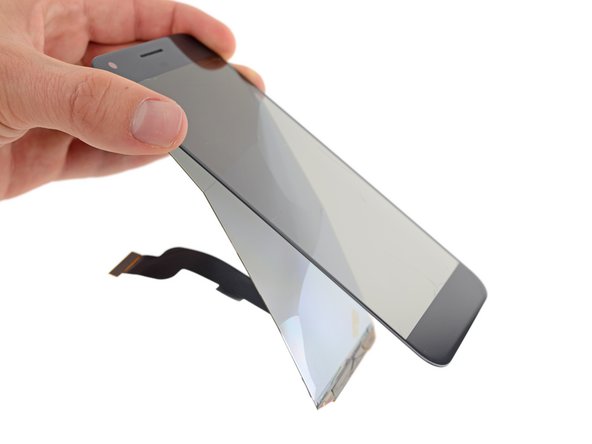
  • In this case, the OLED panel separated from the digitizer glass a little too easily for our liking. Super-thin components and no frame or bezel behind the display make it extra sketchy to remove—but, we'll be working on a better way to get it out next time.

  • The Samsung-manufactured display bears the part number AMS546KD09.

  • And riding on the back of the display panel: a Synaptics ClearPad S3708 touch controller.

通向胜利的道路清晰可见:拆开排线,分离屏幕,搞定。64 Bit Driver Kit中的工具让我们轻松地拧下了T5梅花螺丝钉。

我们想说,这次我们弄坏的东西各位不应该弄坏。拆解是一个让我们了解一件新设备如何组装在一起的好机会——因此我们会编撰一个可重复操作、无破坏性的维修指南供各位参考。

在这次拆解中,OLED面板意外的容易从玻璃面板上脱落。超薄的零件和没有背部边框固定的显示屏导致它被拆得相当粗暴——但下次我们会尽可能找到一个更好的拆解方案。

这块由三星生产的屏幕显示的部件编号为AMS546KD09。

来到显示屏背面:一颗Synaptics ClearPad S3708触控芯片。

crwdns2944171:0crwdnd2944171:0crwdnd2944171:0crwdnd2944171:0crwdne2944171:0