crwdns2931527:0crwdnd2931527:0crwdnd2931527:0crwdnd2931527:0crwdne2931527:0
crwdns2935425:02crwdne2935425:0
crwdns2931653:02crwdne2931653:0
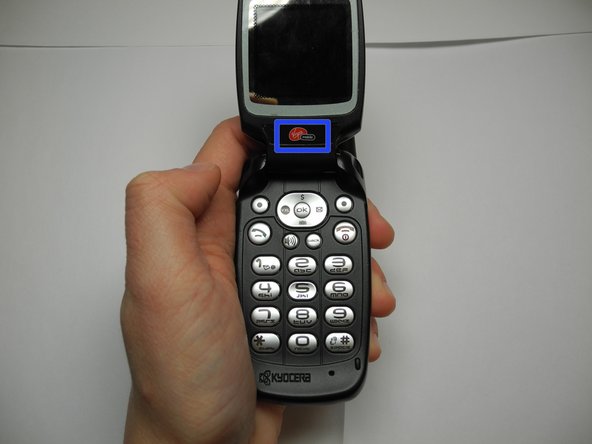


Removing screws from screen
-
Peel the Virgin Mobile sticker off of the phone's screen to reveal two screws beneath it.
-
Use the Tri-Wing Y0 screwdriver to remove the two screws from the screen.
| [title] Removing screws from screen | |
| - | [* blue] Peel the Virgin Mobile sticker |
| - | [* red] |
| + | [* blue] Peel the Virgin Mobile sticker off of the phone's screen to reveal two screws beneath it. |
| + | [* red] Use the Tri-Wing Y0 screwdriver to remove the two screws from the screen. |
crwdns2944171:0crwdnd2944171:0crwdnd2944171:0crwdnd2944171:0crwdne2944171:0