crwdns2935425:03crwdne2935425:0


-
Before we get to the main event, we need to create a Parity Battery that we'll use to maintain power supply to the Cartridge during the replacement process.
-
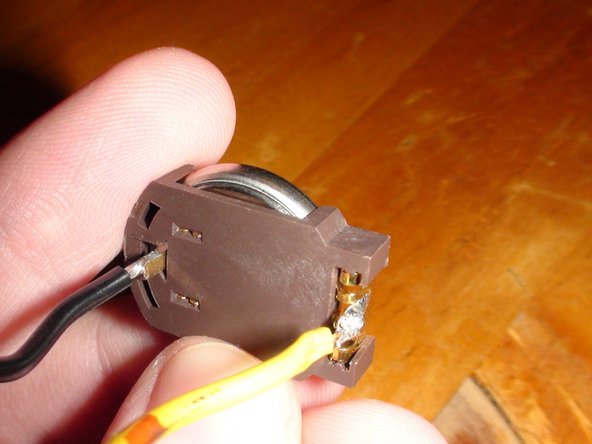
Take one of the Battery Holders and two pieces of the pre-stripped Copper Wire. Solder one end of each wire on to each of the two pins of the Battery Holder. Be sure to apply a generous amount of solder to the connections to make sure they connect well and are reasonably durable.
-
Once you're done soldering on the cables, it should look like the images in this step.
-
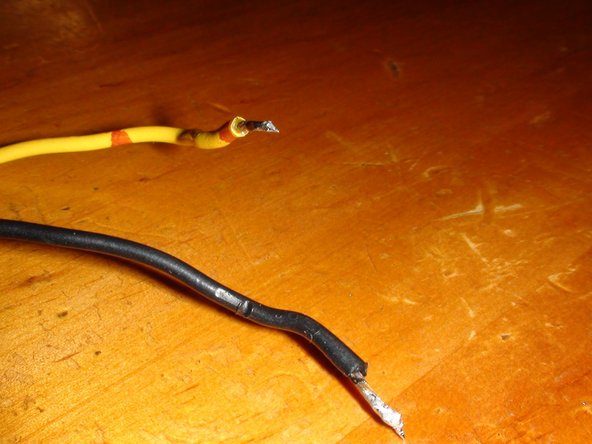
Also, it is a good idea that you tin the other ends of the cables (as shown in the third image in this step). If you don't know what tinning is, check this link for details: http://www.mediacollege.com/misc/solder/...
-
It is also a good idea to label each cable if you need help remembering witch cable connects to the positive end of the battery as well as which cable is the negative end. This will be very important later on.
crwdns2944171:0crwdnd2944171:0crwdnd2944171:0crwdnd2944171:0crwdne2944171:0