crwdns2933423:0crwdne2933423:0

Mac mini Mid 2011にデュアルハードドライブキットをインストールする方法

crwdns2931527:0crwdnd2931527:0crwdnd2931527:0crwdnd2931527:0crwdne2931527:0

crwdns2936315:0crwdne2936315:0
crwdns2936323:0crwdne2936323:0
crwdns2931653:09crwdne2931653:0
Installing Mac mini Mid 2011 Dual Hard Drive Kit: crwdns2935265:00crwdnd2935265:01crwdnd2935265:03crwdne2935265:0 Installing Mac mini Mid 2011 Dual Hard Drive Kit: crwdns2935265:00crwdnd2935265:02crwdnd2935265:03crwdne2935265:0 Installing Mac mini Mid 2011 Dual Hard Drive Kit: crwdns2935265:00crwdnd2935265:03crwdnd2935265:03crwdne2935265:0
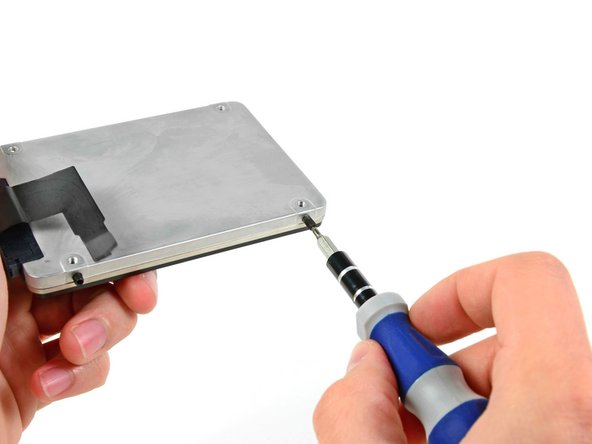
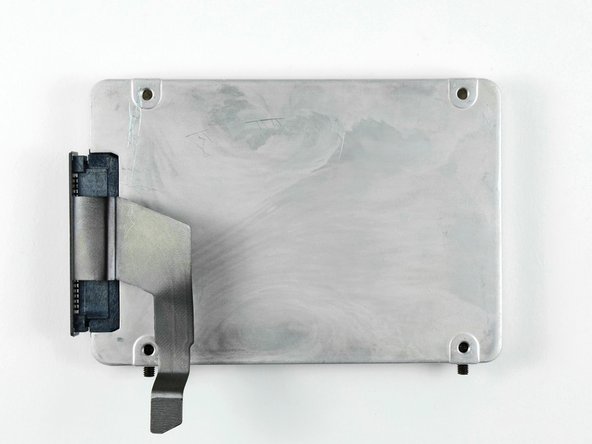
  • Use a T6 Torx screwdriver to install two of the set screws on the side of the hard drive closest to the end of the hard drive cable that attaches to the logic board.

  • Tighten the screws until they contact the end of the threaded holes in the side of the hard drive. They are shown correctly installed in the third picture.

T6トルクスドライバーを使用して、ロジックボードに接続するハードドライブケーブルの端部に最も近い、ハードドライブの側面に2本のネジを取り付けます。

ハードドライブ側面のネジ山が切ってある穴に到達するまで、ネジを締め付けます。正しく取り付けると3枚目の写真のようになります。

crwdns2944171:0crwdnd2944171:0crwdnd2944171:0crwdnd2944171:0crwdne2944171:0