crwdns2933423:0crwdne2933423:0

Smontaggio alimentatore Xbox One (Day One Edition)

crwdns2936315:0crwdne2936315:0
crwdns2936321:0crwdne2936321:0
crwdns2931653:03crwdne2931653:0
Xbox One Power Brick (Day One Edition) Disassembly, Remove Screws: crwdns2935265:00crwdnd2935265:01crwdnd2935265:03crwdne2935265:0 Xbox One Power Brick (Day One Edition) Disassembly, Remove Screws: crwdns2935265:00crwdnd2935265:02crwdnd2935265:03crwdne2935265:0 Xbox One Power Brick (Day One Edition) Disassembly, Remove Screws: crwdns2935265:00crwdnd2935265:03crwdnd2935265:03crwdne2935265:0
Remove Screws
  • Use a Phillips head screwdriver to remove the two larger screws.

  • The two smaller screws (orange) were a little tricky. They are screwed down very tight. I started with a #0 phillips head and slightly stripped the screw head. Not enough to destroy it. I recommend using a #1 phillips head on these. I also used a small rubber grip in order to get a better grip on my screwdriver. Made it much easier.

  • Once screws are removed lift the plastic frame from the left side and remove it from the top of the power brick and flip it over.

  • Unlike the X360 power brick, the light diffuser does not need to be removed from the power supply. If you want to remove it anyway simply grab it with your fingers and lift it out.

  • When I used a can of air duster to clean the inside, the smaller metal sheet (left side) immediately blew out. If this happens don't panic. There's tape on the bottom side. Simply put it back in with a little pressure to hold it down and you're good to go.

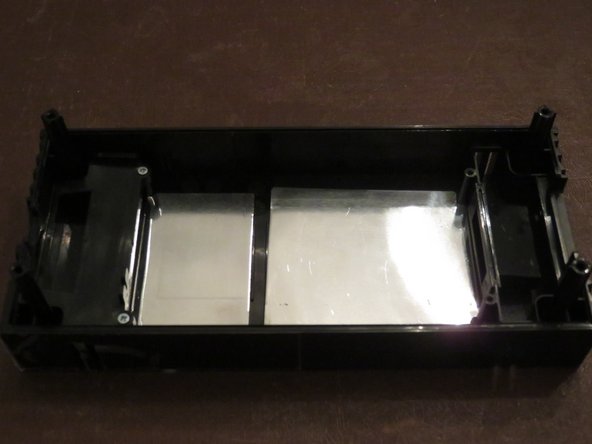
  • These screws serve no purpose. There was nothing under there. Unless you have a different variation than mine there is no need to remove these screws.

Utilizza un cacciavite a croce per rimuovere le due viti più grandi.

Le due viti più piccole (arancione) sono un po' complicate da rimuovere. Sono avvitate molto strette. Usando una testa a croce n. 0 ho leggermente spanato la testa della vite. Su queste consiglio di usare una testa a croce n. 1. Una piccola impugnatura in gomma mi ha assicurato una migliore presa sul mio cacciavite, rendendo tutto molto più facile.

Una volta rimosse le viti, solleva il telaio di plastica dal lato sinistro e rimuovilo dalla parte superiore dell'alimentatore lasciandolo capovolto.

A differenza dell'alimentatore della Xbox 360, non è necessario rimuovere il diffusore di luce dall'alimentatore. Se si desidera rimuoverlo comunque è sufficiente afferrarlo con le dita e sollevarlo.

Quando ho usato una bomboletta d'aria compressa per pulire l'interno, la lamiera più piccola (lato sinistro) è saltata via immediatamente. Se questo accade non farti prendere dal panico. C'è del nastro adesivo sul lato inferiore. Basta rimetterlo dentro con un po' di pressione per tenerlo premuto e avrete risolto.

Queste viti non servono a nulla. Non c'era niente lì sotto. A meno che tu non abbia una variante diversa dalla mia non c'è bisogno di rimuovere queste viti.

crwdns2944171:0crwdnd2944171:0crwdnd2944171:0crwdnd2944171:0crwdne2944171:0