crwdns2935425:07crwdne2935425:0
crwdns2931653:07crwdne2931653:0


-
You should now be looking at the PCB's The power board is the one that has the switch on it, as well as two heatsinks.
-
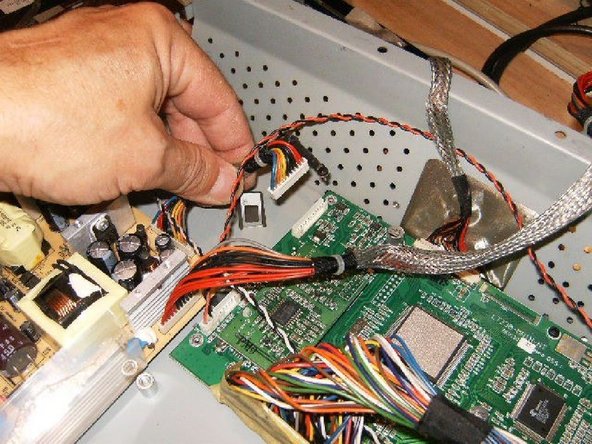
Remove the wiring harness on the top right side.
-
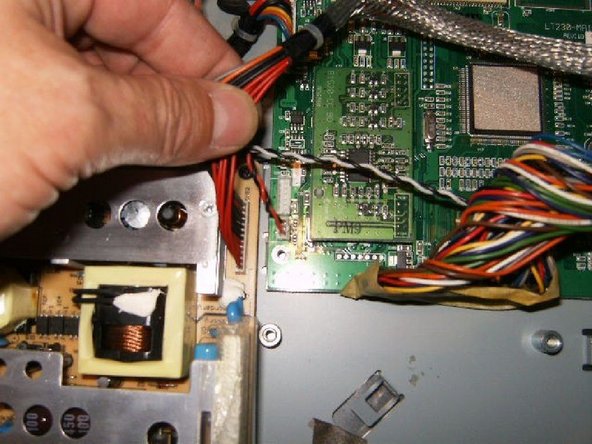
Remove the connector from the inverter board, as well as the ground wire.
-
Remove the green cable from the power board to the housing.
-
Remove the connector from the top right and top side. They will only fit one way. No reason to mark the location.
-
The two heatsinks can be removed either now or later.
crwdns2944171:0crwdnd2944171:0crwdnd2944171:0crwdnd2944171:0crwdne2944171:0