crwdns2935425:03crwdne2935425:0


-
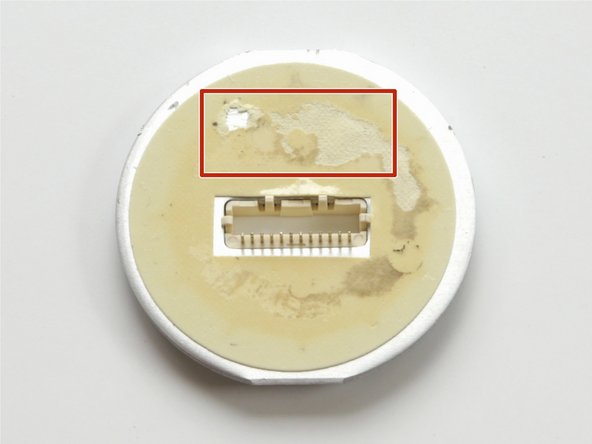
If you compare the under-side of the PCB with the bulb's case, you'll see if the thermal pad was adhered properly.
-
In these photos you can see the pad was only partially attached on one side. The other side of the PCB was lifted several millimeters away from the bulb's base.
-
The bulb's metal base serves as a heatsink. You can see the air channels running vertically along the sides. This is why these bulbs should only be installed in a vertical orientation to maintain proper airflow.
-
If you plan to re-assemble the bulb, you should scrape off all the old thermal pad from the PCB and case. Both surfaces should be clean. Replace it with a good thermal adhesive epoxy, following the manufacturer's directions.
-
Note the two Phillips-head screws in the central portion of the metal case (marked in green circles). We remove these in the next steps.
crwdns2944171:0crwdnd2944171:0crwdnd2944171:0crwdnd2944171:0crwdne2944171:0