crwdns2933423:0crwdne2933423:0

Wiko Pulp 4G Teardown

crwdns2936315:0crwdne2936315:0
crwdns2936319:0crwdne2936319:0
crwdns2931653:014crwdne2931653:0
Wiko Pulp 4G Teardown: crwdns2935265:00crwdnd2935265:01crwdnd2935265:03crwdne2935265:0 Wiko Pulp 4G Teardown: crwdns2935265:00crwdnd2935265:02crwdnd2935265:03crwdne2935265:0 Wiko Pulp 4G Teardown: crwdns2935265:00crwdnd2935265:03crwdnd2935265:03crwdne2935265:0
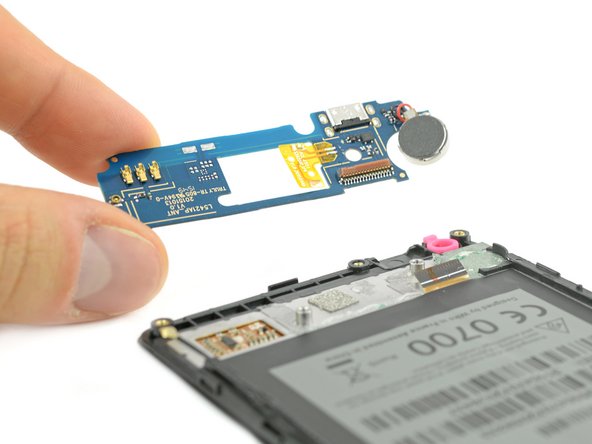
  • At the bottom of the display assembly we find a daughter board with some components.

  • First we disconnect the cable coming from the motherboard and pry out the vibrator.

  • Next we peel off a small connector plate and disconnect the antenna cable.

  • Now we are ready to carefully pry out the daughter board itself which is glued in with some double sided tape.

Am unteren Teil des Displays befindet sich die Tochterplatine mit einigen Komponenten.

Zuerst lösen wir das Kabel, das vom Motherboard kommt und lockern den Vibrationsmotor.

Als nächstes lösen wir ein kleines Verbindungsplättchen und trennen die Verbindung des Antennenkabels.

Nun können wir uns vorsichtig an die Tochterplatine selbst wagen. Diese ist mit einem doppelseitigen Klebestreifen mit dem Display verklebt.

crwdns2944171:0crwdnd2944171:0crwdnd2944171:0crwdnd2944171:0crwdne2944171:0