crwdns2935425:08crwdne2935425:0
crwdns2931653:08crwdne2931653:0


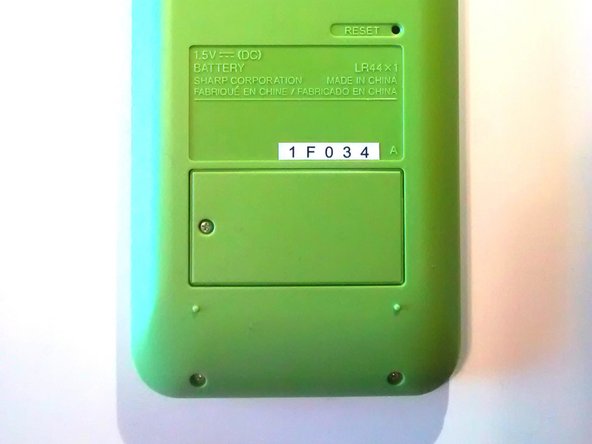


Step 8: Reassemble the battery door
-
Ensure the two small plastic latches are oriented on the bottom and right side.
-
Fit battery door into the two calculator housing slots. Once placed, the battery door should lay flush with the surrounding green housing.
-
Ensure the screw hole on the left hand side aligns with the screw hole on the battery compartment housing.
-
Using the #0 Phillips screwdriver, insert the screw.
-
Rotate screwdriver clockwise until secure.
-
Note: Do not over tighten, this may crack the plastic battery door housing or otherwise break device.
crwdns2944171:0crwdnd2944171:0crwdnd2944171:0crwdnd2944171:0crwdne2944171:0