crwdns2933423:0crwdne2933423:0

Dismantling the Jura drainage valve, instructions 2

crwdns2931527:0crwdnd2931527:0crwdnd2931527:0crwdnd2931527:0crwdne2931527:0

crwdns2936319:0crwdne2936319:0
crwdns2936315:0crwdne2936315:0
crwdns2931653:06crwdne2931653:0
Jura Drainageventil zerlegen, Anleitung 2: crwdns2935265:00crwdnd2935265:01crwdnd2935265:03crwdne2935265:0 Jura Drainageventil zerlegen, Anleitung 2: crwdns2935265:00crwdnd2935265:02crwdnd2935265:03crwdne2935265:0 Jura Drainageventil zerlegen, Anleitung 2: crwdns2935265:00crwdnd2935265:03crwdnd2935265:03crwdne2935265:0
  • Detailfotos.

  • Die Lage der Dichtringe ist in Bild 3 grün markiert.

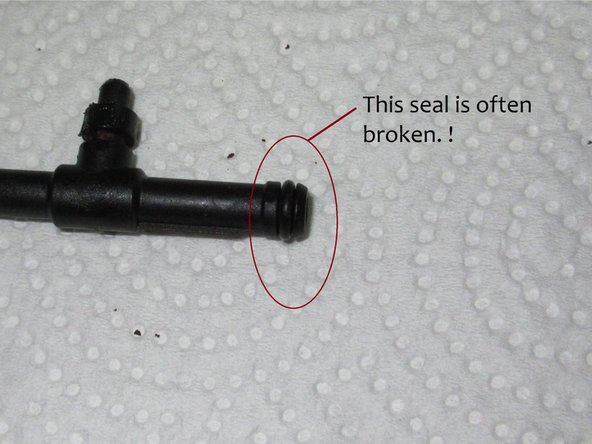
  • Der Dichtring am Andockstutzen ist in Bild 2 rot markiert. Er ist besonders wichtig. Er ist etwas dünner als die anderen beiden.

  • Die Klammern sind rot markiert.

Detailed photos.

The position of the sealing rings are marked green in picture 3.

The sealing ring on the docking socket is marked in red in picture 2. It is especially important. It's a little thinner than the other two.

The brackets are marked in red.

crwdns2944171:0crwdnd2944171:0crwdnd2944171:0crwdnd2944171:0crwdne2944171:0