crwdns2933423:0crwdne2933423:0

Dismantling the Jura drainage valve, instructions 2

crwdns2931527:0crwdnd2931527:0crwdnd2931527:0crwdnd2931527:0crwdne2931527:0

crwdns2936319:0crwdne2936319:0
crwdns2936315:0crwdne2936315:0
crwdns2931653:04crwdne2931653:0
Jura Drainageventil zerlegen, Anleitung 2: crwdns2935265:00crwdnd2935265:01crwdnd2935265:03crwdne2935265:0 Jura Drainageventil zerlegen, Anleitung 2: crwdns2935265:00crwdnd2935265:02crwdnd2935265:03crwdne2935265:0 Jura Drainageventil zerlegen, Anleitung 2: crwdns2935265:00crwdnd2935265:03crwdnd2935265:03crwdne2935265:0
  • Ziehe die Klammer am Andockstutzen heraus.

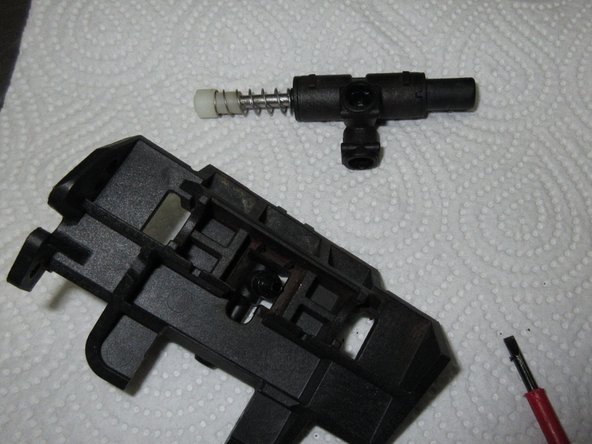
  • Heble den Ventilkörper heraus. Achte darauf, dass die weiße Kappe aus ihrem Loch herausgleitet.

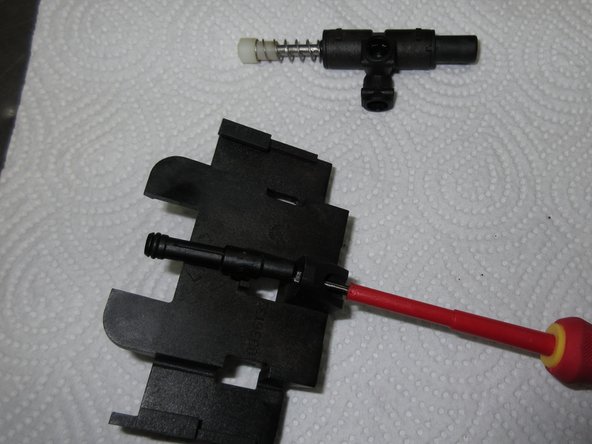
  • Löse den Andockstutzen ab.

  • Die Dichtung des Andockstutzens ist stark belastet, da sie bei jedem Brühvorgang in die Öffnung am Brühkolben hineingleitet. Sie ist etwas dünner als alle anderen Schlauchdichtungen. Wenn du versehentlich eine falsche Dichtung einbaust, funktioniert das Drainageventil nicht mehr.

Pull out the clip on the docking tube

Pry out the valve body. Make sure the white cap slides out of its hole.

Detach the docking nozzle.

The seal of the docking connector is subject to heavy loads as it slides into the opening on the brewing piston with every brewing process. It is slightly thinner than all other hose seals. If you accidentally fit the wrong seal, the drain valve will no longer work.

crwdns2944171:0crwdnd2944171:0crwdnd2944171:0crwdnd2944171:0crwdne2944171:0