crwdns2931529:0crwdnd2931529:0crwdnd2931529:0crwdnd2931529:02crwdnd2931529:0crwdne2931529:0
crwdns2935425:01crwdne2935425:0
crwdns2931653:01crwdne2931653:0

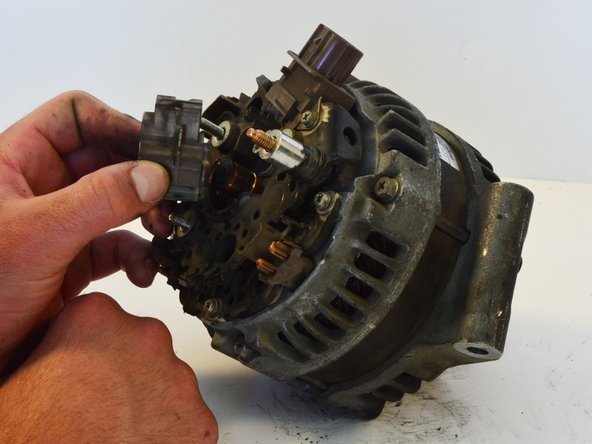


Removing the brush assembly.
-
With the alternator cover removed, use a #2 Phillips screwdriver to remove the two, 6 mm screws that hold the brush cover in place.
-
Remove the brush cover assembly from the alternator. You might need to insert a needle in the small hole to separate the brushes from the rotor. Pull it out without using much force to avoid damage.
crwdns2944171:0crwdnd2944171:0crwdnd2944171:0crwdnd2944171:0crwdne2944171:0