crwdns2933423:0crwdne2933423:0

iPhone 6s の上部コンポーネントケーブルの交換

crwdns2931529:0crwdnd2931529:0crwdnd2931529:0crwdnd2931529:03crwdnd2931529:0crwdne2931529:0

crwdns2936315:0crwdne2936315:0
crwdns2936323:0crwdne2936323:0
crwdns2931653:03crwdne2931653:0
iPhone 6s Upper Component Cable Replacement: crwdns2935265:00crwdnd2935265:01crwdnd2935265:03crwdne2935265:0 iPhone 6s Upper Component Cable Replacement: crwdns2935265:00crwdnd2935265:02crwdnd2935265:03crwdne2935265:0 iPhone 6s Upper Component Cable Replacement: crwdns2935265:00crwdnd2935265:03crwdnd2935265:03crwdne2935265:0
  • Try not to wrinkle the strips during this procedure—they will become very difficult to deal with and will not straighten out again.

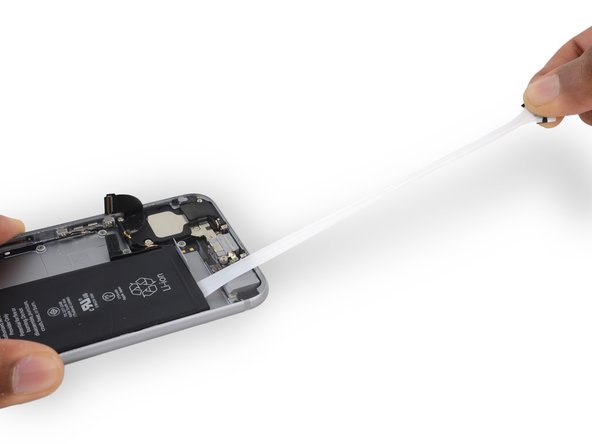
  • Pull one of the adhesive strips straight out, towards the bottom of the iPhone.

  • For best results, pull the strip at a 60º angle or less.

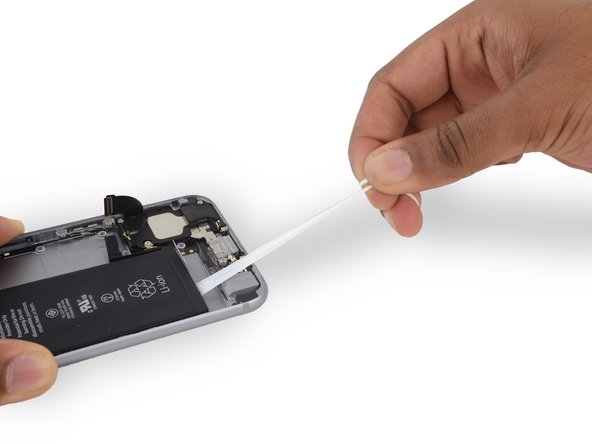
  • The strip will stretch to many times its original length. Continue to pull steadily, re-grabbing the strip closer to the iPhone if necessary.

  • Continue pulling until the strip is fully removed.

  • If the battery adhesive tabs break off at any point during the removal process, use your fingers or blunt tweezers to retrieve the remaining length of adhesive, and continue pulling.

  • If one of the adhesive strips breaks under the battery during this procedure, and cannot be retrieved, remove the remaining strip, and then skip to Step 48.

作業中、接着剤ストリップにシワが入らないようご注意ください。シワが入ってしまうと作業継続が困難となり、ストリップを元の状態に戻せなくなります。

iPhoneの下に向かって接着ストリップをまっすぐ引っ張ります。

色々試行した結果、ストリップを60度、あるいは60度以内の角度で引っ張ると効率が上がることが判りました。

ストリップは本来の長さから何倍にも伸びます。しっかりと引っ張り、長くなるとデバイスに近いポジションに持ち替えます。

ストリップが完全に取り出されるまで引っ張り続けます。

作業中、バッテリーの接着ストリップが切断した場合、指先や先の尖っていないピンセットを使って残りの接着ストリップを掴み、引き続き引っ張ります。

作業中、接着剤ストリップがバッテリー下で切れてしまい、ストリップを取り出せない場合は手順48に進んでください。

crwdns2944171:0crwdnd2944171:0crwdnd2944171:0crwdnd2944171:0crwdne2944171:0