crwdns2933423:0crwdne2933423:0

iPhone 6s Upper Component Cable Replacement

crwdns2931529:0crwdnd2931529:0crwdnd2931529:0crwdnd2931529:03crwdnd2931529:0crwdne2931529:0

crwdns2936315:0crwdne2936315:0
crwdns2936321:0crwdne2936321:0
crwdns2931653:03crwdne2931653:0
iPhone 6s Upper Component Cable Replacement: crwdns2935265:00crwdnd2935265:01crwdnd2935265:03crwdne2935265:0 iPhone 6s Upper Component Cable Replacement: crwdns2935265:00crwdnd2935265:02crwdnd2935265:03crwdne2935265:0 iPhone 6s Upper Component Cable Replacement: crwdns2935265:00crwdnd2935265:03crwdnd2935265:03crwdne2935265:0
  • Try not to wrinkle the strips during this procedure—they will become very difficult to deal with and will not straighten out again.

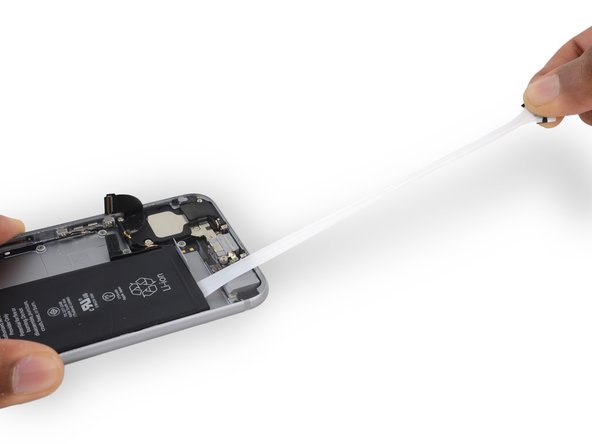
  • Pull one of the adhesive strips straight out, towards the bottom of the iPhone.

  • For best results, pull the strip at a 60º angle or less.

  • The strip will stretch to many times its original length. Continue to pull steadily, re-grabbing the strip closer to the iPhone if necessary.

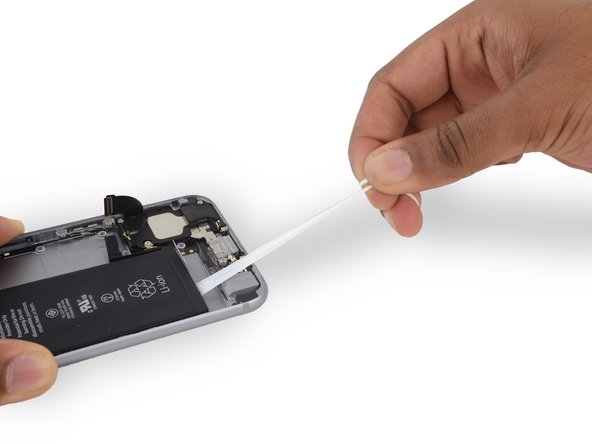
  • Continue pulling until the strip is fully removed.

  • If the battery adhesive tabs break off at any point during the removal process, use your fingers or blunt tweezers to retrieve the remaining length of adhesive, and continue pulling.

  • If one of the adhesive strips breaks under the battery during this procedure, and cannot be retrieved, remove the remaining strip, and then skip to Step 48.

crwdns2935429:0crwdne2935429:0

crwdns2935429:0crwdne2935429:0

crwdns2935429:0crwdne2935429:0

crwdns2935429:0crwdne2935429:0

crwdns2935429:0crwdne2935429:0

crwdns2935429:0crwdne2935429:0

crwdns2935429:0crwdne2935429:0

crwdns2944171:0crwdnd2944171:0crwdnd2944171:0crwdnd2944171:0crwdne2944171:0