crwdns2933423:0crwdne2933423:0

Electronics Skills Kit 101

crwdns2936315:0crwdne2936315:0
crwdns2936321:0crwdne2936321:0
crwdns2931653:023crwdne2931653:0
Electronics Skills Kit 101: crwdns2935265:00crwdnd2935265:01crwdnd2935265:03crwdne2935265:0 Electronics Skills Kit 101: crwdns2935265:00crwdnd2935265:02crwdnd2935265:03crwdne2935265:0 Electronics Skills Kit 101: crwdns2935265:00crwdnd2935265:03crwdnd2935265:03crwdne2935265:0
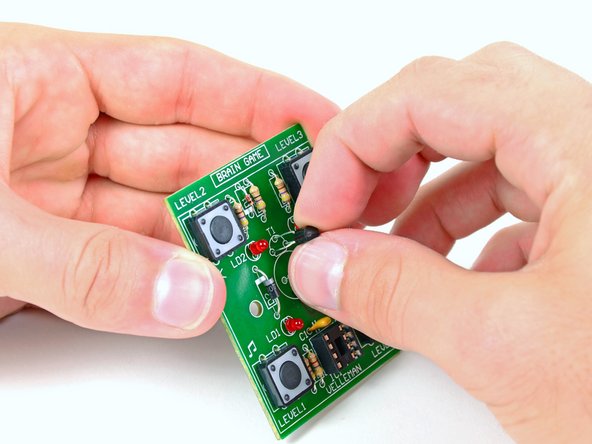
  • Locate the semi-circle labeled T1 and insert the three leads through the holes.

  • Make sure that you line up the flat part of the transistor with the flat edge of the semi-circle on the board. The two end leads fit into the holes on the ends of the flat part of the drawing. The middle lead will need to be bent so that it feeds through the hole closest to the T1.

  • Solder the three leads to the board and cut the excess off the leads.

Trova il semicerchio etichettato T1 e infila le tre gambe nei fori.

Assicurati di allineare la parte piatta del transistor con il bordo piatto del semicerchio sulla scheda. Le due gambe esterne vanno nei fori alle estremità della parte piatta del disegno. Quella centrale deve essere piegata per entrare nel foro vicino alla scritta T1.

Salda le tre gambe alla scheda e tagliane la parte in eccesso.

crwdns2944171:0crwdnd2944171:0crwdnd2944171:0crwdnd2944171:0crwdne2944171:0